EN - 13
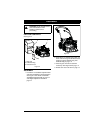
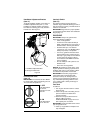
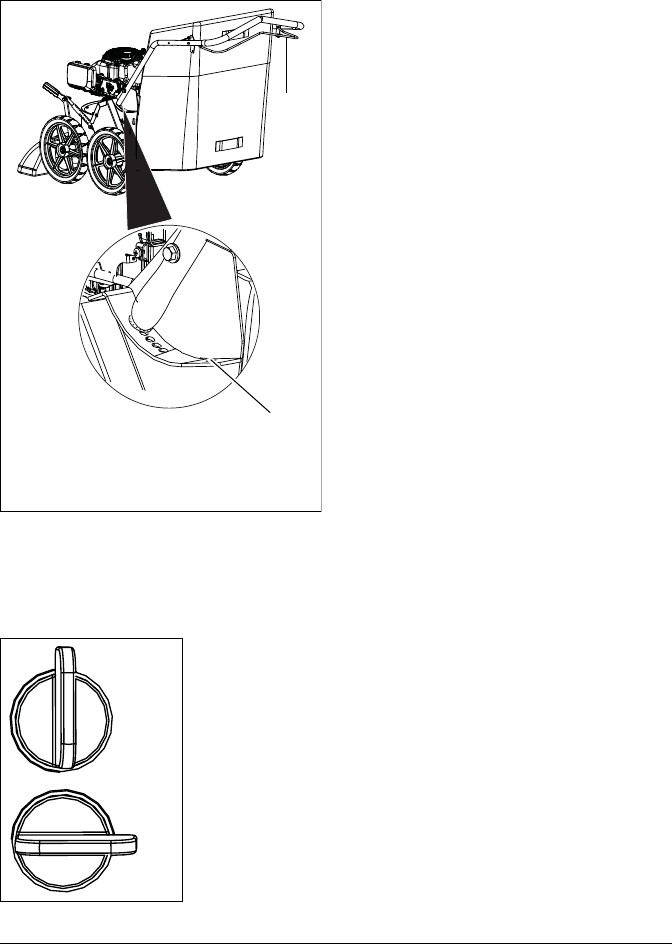
Handlebar Adjustment Bracket
(Item 11)
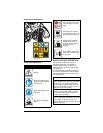
To adjust handlebar position, push down on
handlebar adjustment bar
(Item 1), move
handlebar to desired position and release
bar. Make sure locking pin is fully seated in
bracket hole. See
Figure 9.
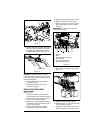
Fuel Shut-off Valve
(Item 12)
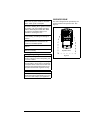
IMPORTANT: The fuel shut-off valve MUST
be closed (OFF) before transporting the unit.
The valve has two positions:
1. OFF
Use this position
to service,
transport or store
the unit.
2. ON
Use this position
to run the unit.
Interlock Switch
(Item 13)
The interlock switch engages when the
collection bag is attached, allowing the unit to
start and continue running. Unit will shut off if
switch is not activated.
IMPORTANT: Bag must be in proper position
to engage the interlock switch. See
Collection
Bag on page 12.
GASOLINE
IMPORTANT: Always use gasoline that
meets the following guidelines:
• Clean, fresh gasoline.
• A minimum of 87 octane/87 AKI (91
RON). High altitude use may require a
different octane. See Engine Manual.
• Gasoline with up to 10% ethanol
(gasohol) or up to 10% MTBE (methyl
tertiary butyl ether) is acceptable.
• Use of any gasoline other than those
approved above may void the engine
warranty. If gas pumps are not marked
for the content of alcohol or ethers,
check ethanol and MTBE levels with
the fuel supplier.
• Do not modify the fuel system to use
different fuels.
• Never mix oil and gasoline.
NOTICE: All gasoline is not the same. If the
engine experiences starting or performance
problems after using a new gasoline, switch
to a different fuel provider or fuel brand.
IMPORTANT: Excessively oxygenated or
reformulated fuels (fuels blended with
alcohols or ethers) can damage the fuel
system or cause performance problems. If
any undesirable operating problems occur,
use a gasoline with a lower percentage of
alcohol or ether.
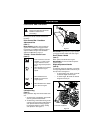
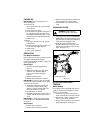
Fuel Tank
To add fuel:
1. Turn engine off and let cool for at least
three minutes.
2. Clean fuel cap and surrounding area to
prevent moisture and debris from
entering fuel tank.
3. Remove fuel cap and fill fuel tank to
bottom of filler neck. See
SPECIFICATIONS on page 19 for fuel
tank capacity. Do not overfill.
IMPORTANT: See Engine Manual for correct
type and grade of fuel.
4. Clean up any spilled fuel. Replace fuel
cap and tighten.
Figure 9
2
1
1. Handlebar Adjustment Bar
2. Storage Position Hole
1
2


