


6
2.3
I
NTERNAL
2.5”
D
EVICE
I
NSTALLATION
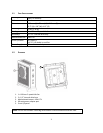
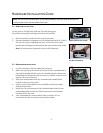
2.5” hard drives can be mounted to a bracket underneath the
motherboard. To access this bracket, you will need to remove the right side panel. If you have just
installed the motherboard, it can be helpful to replace the left side panel before continuing.
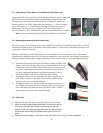
1. Lay the case down on its left side, and remove the right panel as
described in section 2.1.
2. Remove the four screws securing the bracket to the case (see
picture).
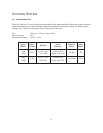
3. Attach the red insulating strips by removing the adhesive covering
and attaching them as shown in the picture.
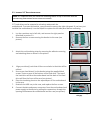
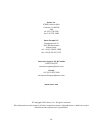
4. Align your drive(s) such that all four screw holes in the drive will be
utilized.
5. Secure your hard drive(s) to the bracket using the supplied black
screws. Fasten screws to the bottom of the hard drive. The top of
the hard drive will face the motherboard and the back of the hard
drive will face the front of the case (see picture).
6. Place the insulating sheet on the exposed part of the motherboard
in the case.
7. Reattach the HDD tray to the case, and replace the four screws.
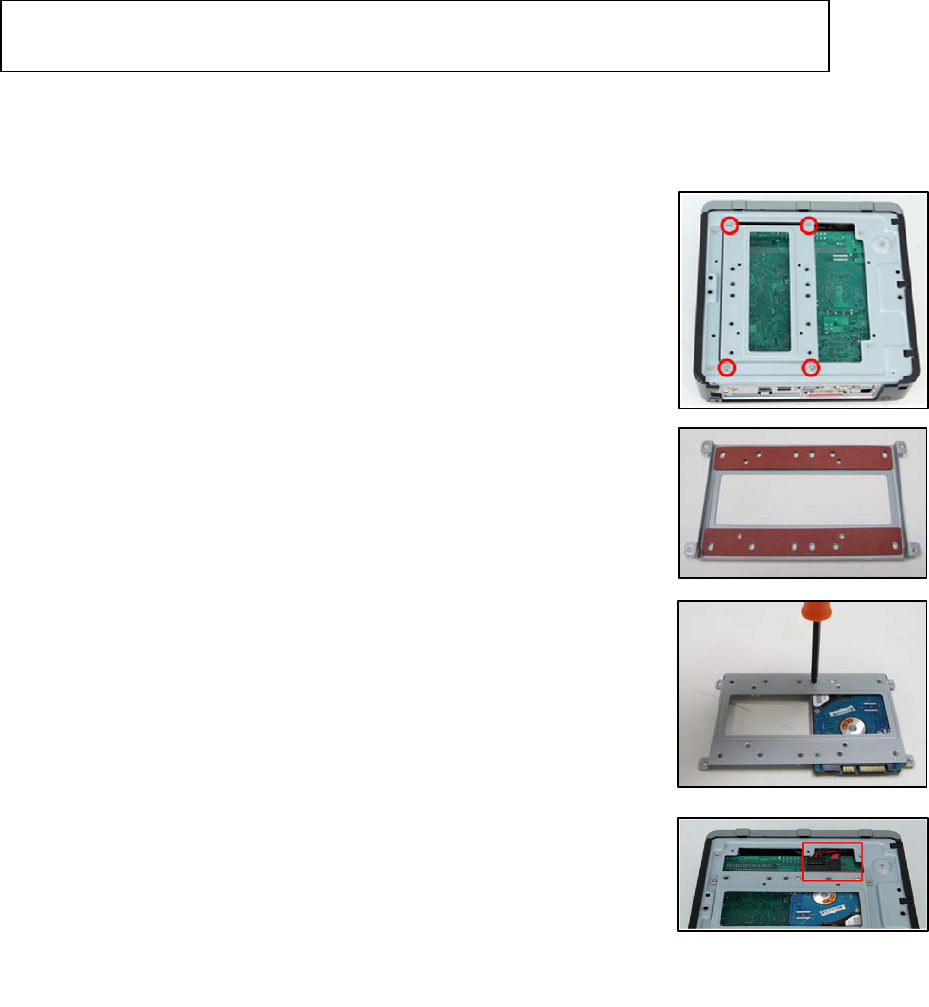
8. Connect the data and power connectors from the motherboard and
power supply to the device by pulling the connections through the
opening left between the motherboard and the case (see picture).
Note:
It is important that
you install the insulating sheet
s
in step 3 to
ensure
that the
hard drive(s) and bracket do not come into contact.
Route HDD cables through
this gap