ENGLISH
USER MANUAL
28
1463388000(1)2008-05 A SR 1301 P
ENGINE OIL LEVEL CHECK
Drive the machine on a level fl oor.1.
Engage the parking brake with the pedal (82) and the lever (75).2.
Turn the ignition key (69) to “0”.3.
Open the hood (23) and fasten it with the support rod (55).4.
Remove the screws (45), then disengage the fasteners (46) to remove the engine guard (44).5.
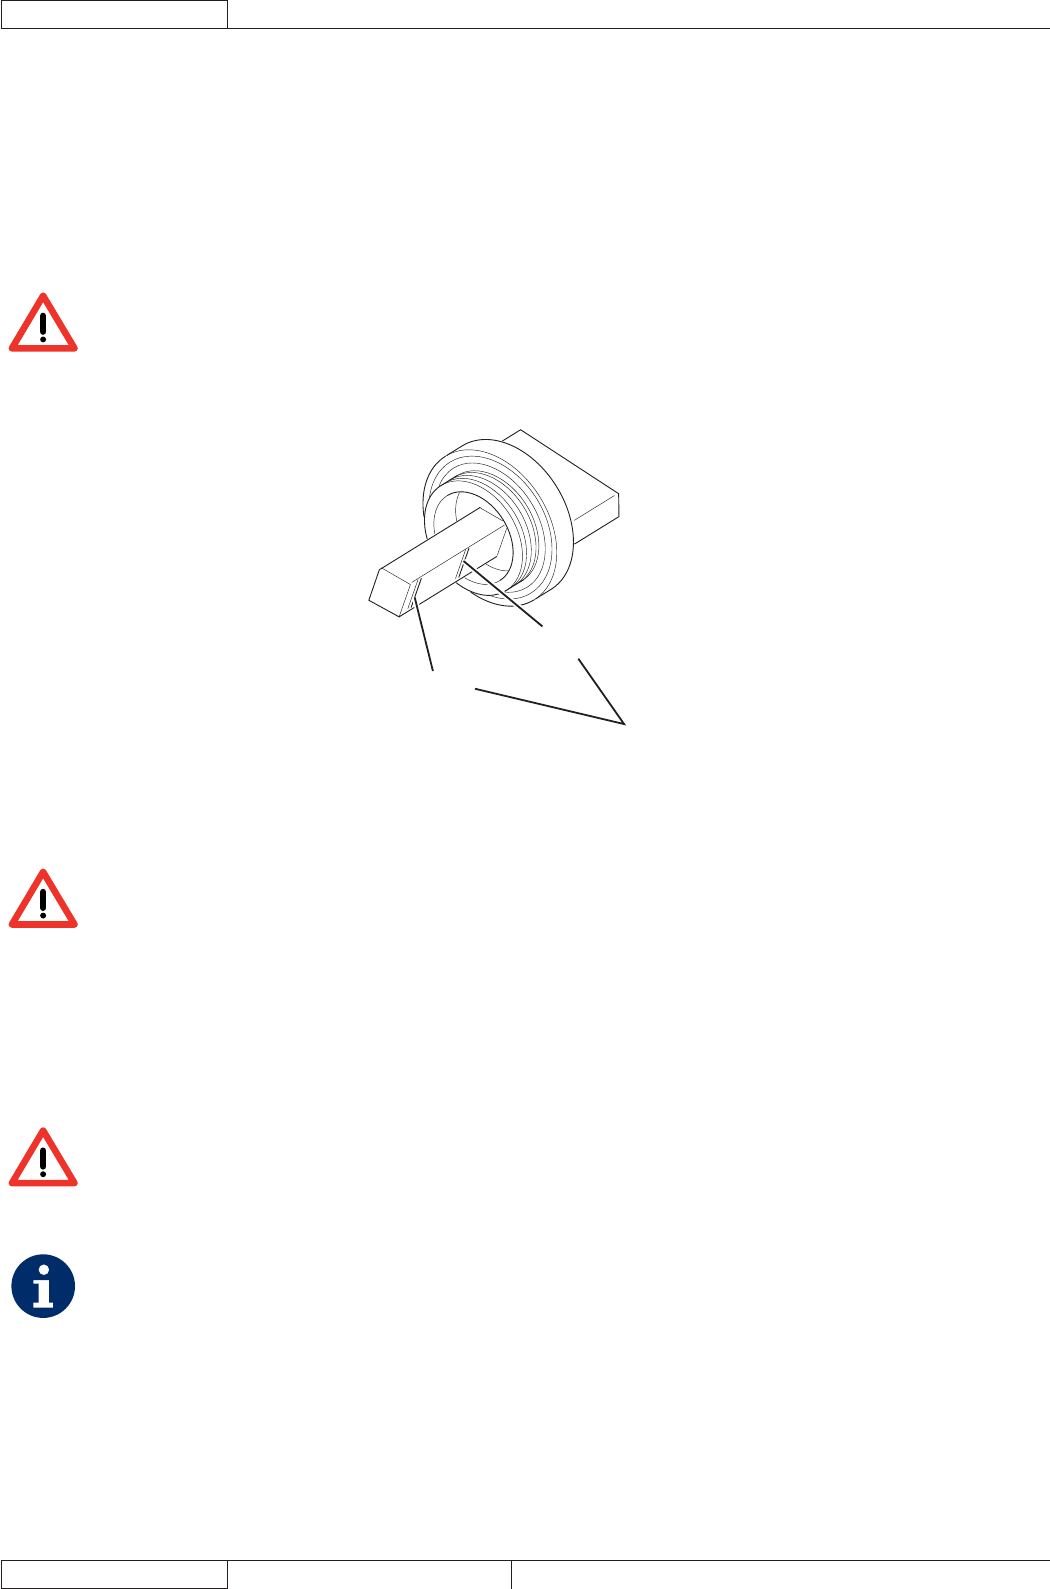
Unscrew the engine oil level plug (34) and clean it with a clean cloth. Fully screw down the oil level plug (34) then unscrew it 6.
again after a few seconds, and check that the oil level is between the ADD (minimum level) and FULL (maximum level) marks
(A, Fig. 27).
If the oil level is lower than the minimum mark (ADD), remove the fi ller plug (35) and top up.
CAUTION!
Top up using the same type of oil as that in the engine.
Install the fi ller plug (35) and check the oil level as shown in the previous steps.7.
Perform steps 3 to 5 in the reverse order.
ADD
FULL
A
P100240
Figure 27
ENGINE OIL CHANGE
CAUTION!
It is advisable to change the oil when the engine is still hot, to make the oil downfl ow easier.
Drive the machine on a level fl oor.1.
Engage the parking brake with the pedal (82) and the lever (75).2.
Turn the ignition key (69) to “0”.3.
Remove the screws (48), then disengage the fasteners (49) to remove the left side bulkhead (47).4.
Open the hood (23) and fasten it with the support rod (55).5.
Remove the screws (45), then disengage the fasteners (49) to remove the engine guard (44).6.
Remove the engine oil fi ller plug (35).7.
Remove the engine oil drain plug (38) from the hose (40) and drain the oil into a suitable container.8.
CAUTION!
The discharged engine oil must be disposed of properly according to the Law in force.
Install the engine oil drain plug (38) to the hose (40).9.
Top up with new oil through the fi ller (35).10.
NOTE
As for engine oil type and quantity, see the Technical Data chapter and the Petrol Engine Manual.
Install the fi ller plug (35).11.
After a few seconds, unscrew the engine oil level plug (34) again and check that the oil level is between the ADD (minimum 12.
level) and FULL (maximum level) marks (A, Fig. 27).
If necessary top up. Screw down the oil level plug (34).
Perform steps 4 to 6 in the reverse order.13.


