Page 7
1. Install mounting brackets on wall as shown in Figure 2. Use enclosed “paper
template” for proper location of holes. It may be necessary to use plastic or lead
anchors for plaster walls.
2. Drill holes at marked locations using 9/64"drill bit.
3. Insert mounting screws through bracket and into wall studs.
4. Tighten screws until mounting bracket is firmly fastened to wall studs.
Attaching to wall anchor method
For attaching mounting bracket to hollow walls(wall areas between studs) or solid
walls (concrete or masonry):
1. Drill holes at marked locations using 5/16" drill bit. For solid walls (concrete or
masonry), drill at least 1 inch deep.
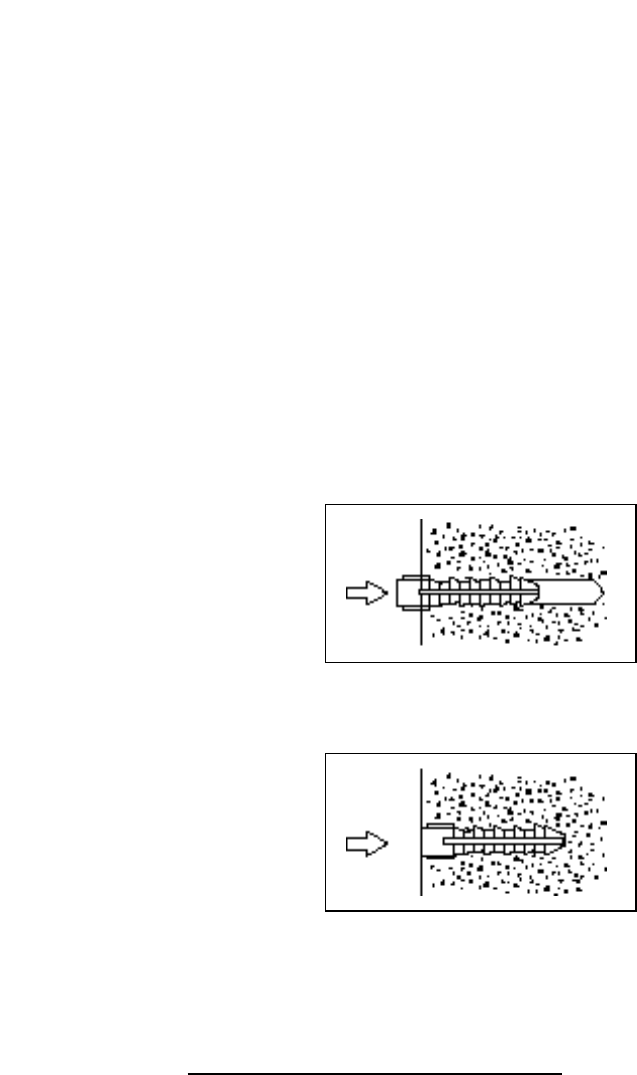
2. Insert the plastic anchor as shown in Figure 3 below:
3. Tap anchor flush to wall as shown in Fig.4
4. Insert mounting screws through each bracket and into wall anchors.
5. Tighten screws until mounting bracket is firmly fastened to wall.
Installing Bottom Mounting Screws
1. Locate two bottom mounting holes. These holes are near bottom on back
panel of heater (See Figure 5.).
2. Mark screw locations on wall.
3. Remove heater from mounting bracket.
4. If installing bottom mounting screws into hollow or solid wall, install wall
anchors. Follow steps 1 through 4 under, "Attaching To Wall Anchor Method",
page 7. If installing bottom mounting screw into wall stud, drill holes at marked
locations using 9/64drill bit.
5. Replace heater onto mounting bracket.
6. Place spacers between bottom mounting holes and wall anchor or drilled hole.
7. Hold spacer in place with one hand. With other hand, insert mounting screw
through bottom mounting hole and spacer. Place tip of screw in opening of wall
Figure 3
Figure 4


