User’s Manual
58
Highlight the box beside Video Loss and press the
button. You can select the cameras for which you
want any reports of lost video.
Highlight the box beside Text-In and press the button. You can select the text-in devices which you want
any report of text input.
Highlight the box beside Record Channels and press the button. You can select the cameras that you
want to search for any reports of event recorded data. The DVR will display the events (not the camera
channels) that occurred and that also are recorded on the camera channel that you selected. If you do not
select a camera channel in this field, the DVR will search events that are not associated with cameras.
You can also toggle On and Off self-diagnostic events as part of your search. The choices are:
Panic Record
Check Recording
Check Alarm-In
Disk Almost Full
Disk Bad
Disk Temperature
Disk S.M.A.R.T.
Fan Error
Once you set your desired search conditions, highlight Search and press the button to display the search
results in the Event Log Search screen. Selecting Cancel exits the screen without saving the changes.
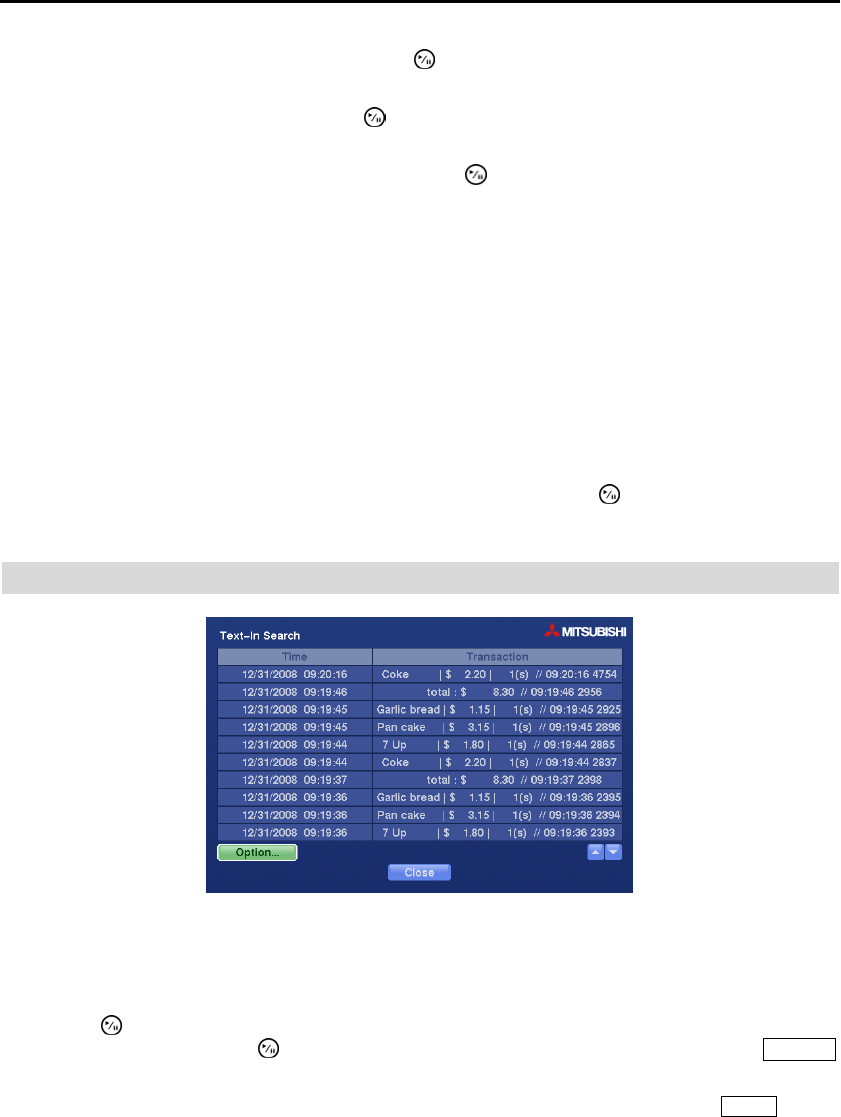
TEXT-IN SEARCH
Figure 44 ─ Text-In Search screen.
The DVR maintains a log of each time there is Text Input. The Text-In Search screen displays this list.
Use the arrow buttons to highlight the event for which you would like to see video.
Pressing the (Play/Pause) button will extract the video associated with the Text Input and display the first
image of the event. Pressing the button will start playing the “event” video segment. Pressing Playback
returns to live monitoring.
NOTE: It is possible that no recorded image displays on the current screen. Press the Display button
and change the screen mode to 4x4. You will be able to easily see the camera have recorded video
during target time.
NOTE: Text Input information will be overlaid on the image while the recorded video is played at
regular speed.
