9
9.4 Using Scan to Server (FTP) Operations
9-68
Internet Fax & Network Scan Chapter 9
9.4.1 Procedure for Scanning to a Server
9.4.1.1 Using the Auto Document Feeder
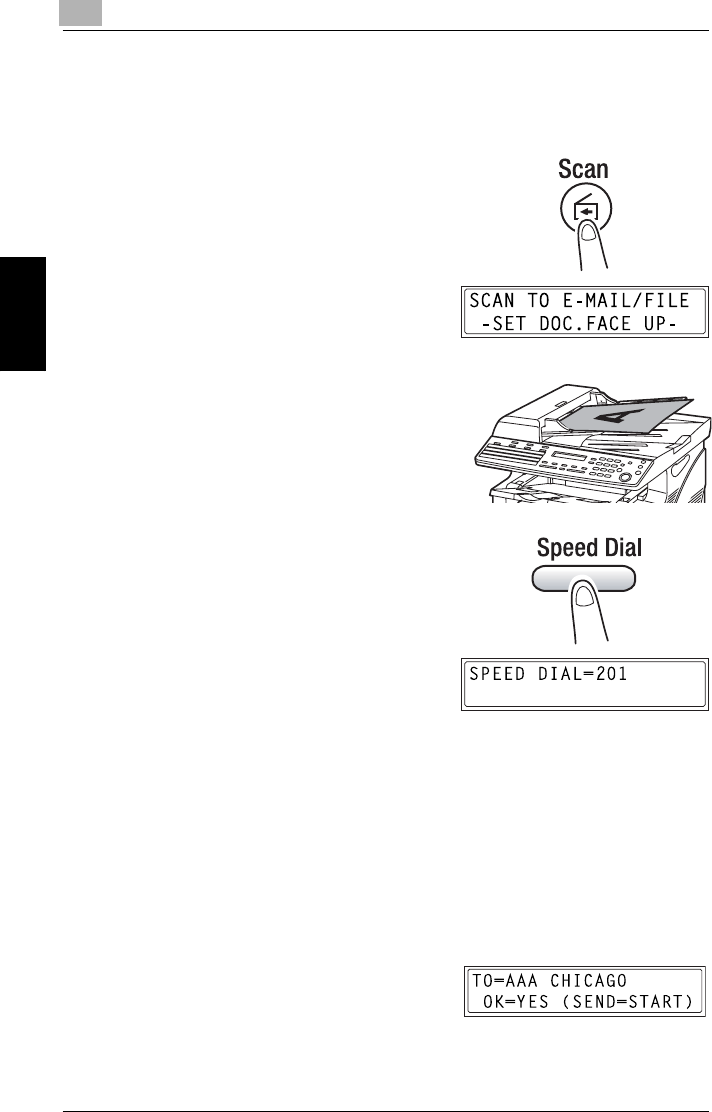
1 Press the [Scan] key.
The copier switches to Scan mode,
and the scan screen appears.
2 Place the document to be scanned
in the auto document feeder.
❍ Adjust the guides to the size of
the document.
❍ Load the document with the
surface to be scanned face up.
3 Press the [Speed Dial] key, and
then use the 10-key pad to enter the
3-digit speed dial number
programmed with the FTP server
address where you want to upload
the scan data.
❍ Specify a speed dial number
between “201” and “210”.
❍ An FTP server address can only
be specified with a speed dial number. In addition, the FTP server
addresses are registered for a speed dial number using
PageScope Light. For details, refer to “Specifying the Settings for
Speed Dialing” on page 9-48.
❍ If you make a mistake, press the [No] key, and then enter the
correct number.
❍ If there is no address registered for the specified speed dial
number, an error message appears. Enter a correct speed dial
number.
4 Press the [Yes] key.
❍ To skip specifying the image
resolution, press the [Start] key
instead of the [Yes] key.


