EN29
RECORDING
5S
P
L
A
Y
O
F
F
FOCUS
EXPOSURE AUTO
OFF
OFF
AUTO
AUTO
W. BALANCE
FLASH ADJ.
FADER
/ WIPE
P. AE
/ EFFECT
4
END
0
FOCUS
EXPOSURE AUTO
OFF
OFF
AUTO
AUTO
W. BALANCE
FADER
/ WIPE
P. AE
/ EFFECT
4
END
0FLASH ADJ.
FLASH
0
Flash Brightness Adjustment
When a snapshot (੬ pg. 26) is taken in the dark the
camcorder flashes (੬ pg. 28) while adjusting the
brightness automatically. You can also adjust the flash
brightness manually. When you find that the snapshots
you took look too bright or too dark, adjust it manually.
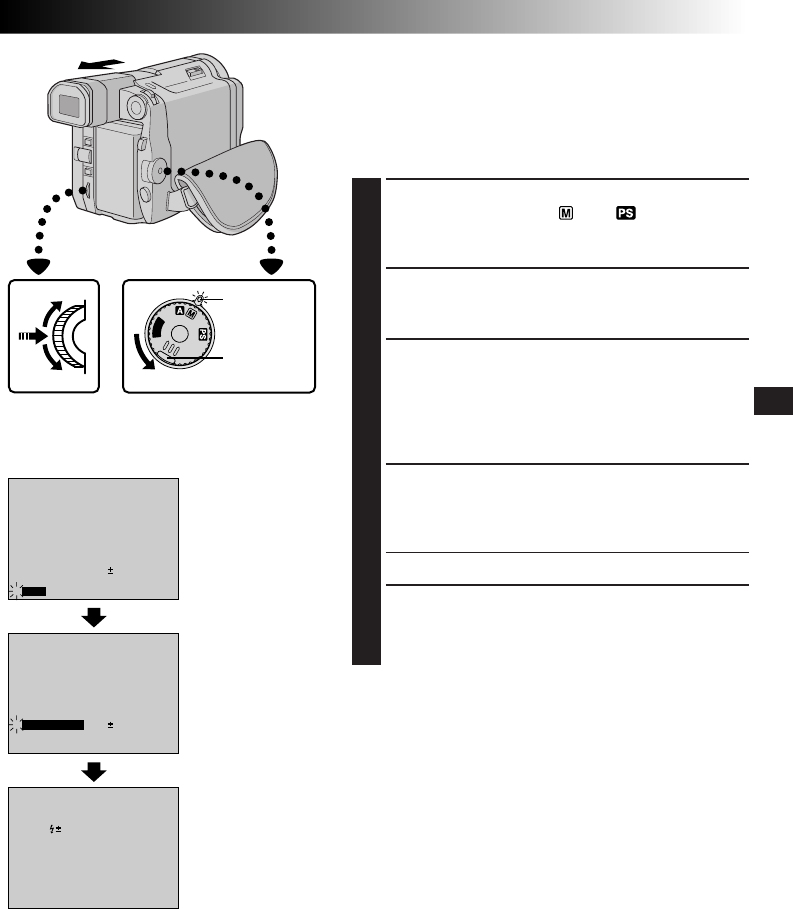
1
SELECT OPERATION MODE
Set the Power Switch to “ ” or “ ” while pressing
down the Lock Button, and pull out the viewfinder
fully or open the LCD monitor fully.
2
ACCESS MANUAL MODE ITEM MENU
Press the Select Dial and move the highlight bar to
“FLASH ADJ.” by rotating the Select Dial.
3
ACCESS FLASH ADJUSTMENT
Press the Select Dial.
The Manual Mode Item Menu disappears, “FLASH”
appears in the upper left corner and a number
appears next to the indication to allow adjustment of
the flash manually on the screen.
4
ADJUST BRIGHTNESS OF FLASH
Rotating the Select Dial upward increases the number
of the brightness adjustment indicator and rotating
the Select Dial downward decreases it.
•The adjustment range is from –3 to +3.
5
ACTIVATE BRIGHTNESS OF FLASH
Press the Select Dial. The flash brightness adjustment
is complete. The indication “FLASH” changes to
“MANUAL”.
NOTES:
●
When the battery power is low or when “FLASH” is set
to “OFF” in the Recording Menu, the screen to set
“FLASH ADJ.” does not appear.
●
When you change the subject you are shooting or the
shooting location, set it back to ±0 as described in step 4
and take a snapshot to check the flash brightness. After
doing this adjust to your desired brightness.
Select Dial Power Switch
Manual Mode Item
Menu
Flash Adjustment
Display
Lock Button
Power lamp


