101
Advanced Setup—Continued
Name Edit
You can enter a custom name for each individual input
selector and radio preset for easy identification. When
selected, the custom name will appear on the display.
1
Select the input selector to which
you want to give a custom name.
To name a radio preset, use the [Tuner]
button to select AM or FM, and then
select the preset.
2
Press the [Receiver] Remote
Mode button, followed by the
[Setup] button.
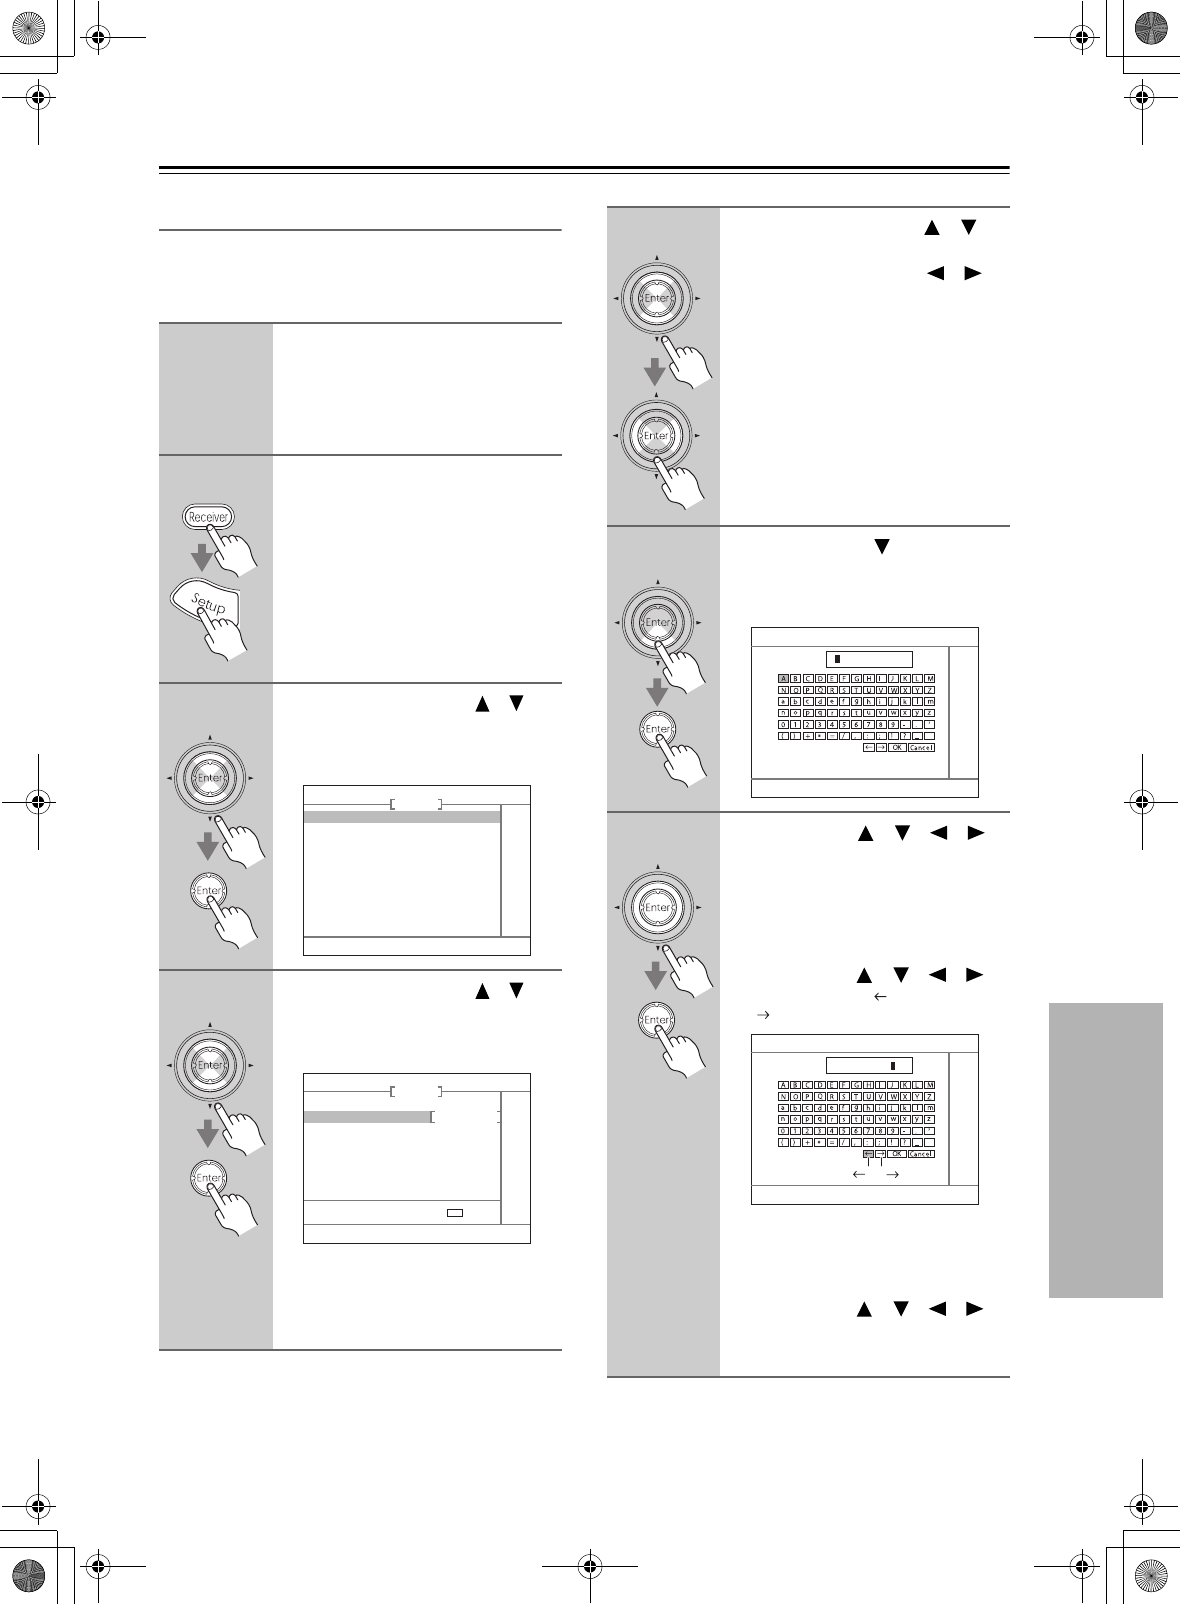
3
Use the Up and Down [ ]/[ ]
buttons to select “4. Source
Setup,” and then press [Enter].
The Source Setup menu appears.
4
Use the Up and Down [ ]/[ ]
buttons to select “3. Name Edit,”
and then press [Enter].
The Name Edit screen appears.
If you’re naming an item for the very
first time, go to step 6.
If the item already has a name, you can
select Default or Custom in step 5.
4. Source Setup
1. IntelliVolume
2. A/V Sync
3. Name Edit
DVD
4–3. Name Edit
Display Default
Name
DVD
ENT
: EDIT
5
Use the Up and Down [ ]/[ ]
buttons to select “Display,” and
use the Left and Right [ ]/[ ]
buttons to select:
Default: The default name is dis-
played.
Custom:The custom name is dis-
played.
When Default is selected, the station’s
frequency appears on the display when
a radio preset is selected.
6
Press the Down [ ] button to
select “Name,” and then press
[Enter] to open the character
input screen.
7
Use the arrow [ ]/[ ]/[ ]/[ ]
buttons to select a character, and
then press [Enter].
Repeat this step to enter up to 10
characters.
To correct a character:
1. Use the arrow [ ]/[ ]/[ ]/[ ]
buttons to select “ ”(Left) or
“ ”(Right) and then press [Enter].
2. Press [Enter] several times to select
the incorrect character (The cursor
moves one letter each time [Enter] is
pressed).
3. Use the arrow [ ]/[ ]/[ ]/[ ]
buttons to select the correct charac-
ter, and then press [Enter].
4-3. Name Edit
Name
“ ” “ ”
4-3. Name Edit
Name
123456789
DTR-6.8_En.book Page 101 Wednesday, June 20, 2007 4:16 PM