DCN Next Generation Automatic Camera Control en | 15
i Note
It is recommended that the number selected
corresponds to the actual number of audience
monitors present in the venue. If the number
selected is higher than this, there may be some
reduction in system performance.
After you have made all the required settings:
• Click on the ‘OK’ push button.
The settings will be saved, and you will return to the
‘Camera Installation’ window. To exit the ‘Settings’
window without saving any changes:
• Click on the ‘Cancel’ push button.
i Note
In stand-alone systems, when all settings have
been specified and the Camera Control
software has been exited, it is necessary to
make a direct connection between the CCU
and the Allegiant video switcher to enable
camera control by the system. For information
concerning the required connections, refer to
the DCN Next Generation Installation and User
Instructions.
3.4 The file menu
The file menu contains the following:
• Camera Activity
• Clear all (resets complete Assignment list)
• Print… (prints out camera and seat (unit) data
• Import…(imports a Camera Installation
configuration file)
• Export… (exports a Camera Installation
configuration file)
• Exit (closes the Camera Installation program)
3.4.1 Camera activity
When activated, this function transmits control
commands to the Allegiant switcher (AVS) or the
AutoDome camera (DCC). If switched off, the CCU
ill not transmit these commands. This function is
useful if you wish to disable camera control
functionality in the DCN CCU. By default, camera
activity is enabled.
To disable this function:
• Select ‘File’ and click on ‘Camera Activity’.
A tick mark appears to indicate that this option has
been enabled.
3.4.2 Clear all
This menu command clears all entries in the
assignment list. To enable this function:
• Select ‘File’ and click on ‘Clear All’.
3.4.3 Printing
It is possible to print a hard copy of the current
Camera Installation file. To do so:
• Select ‘File’ and click on ‘Print’.
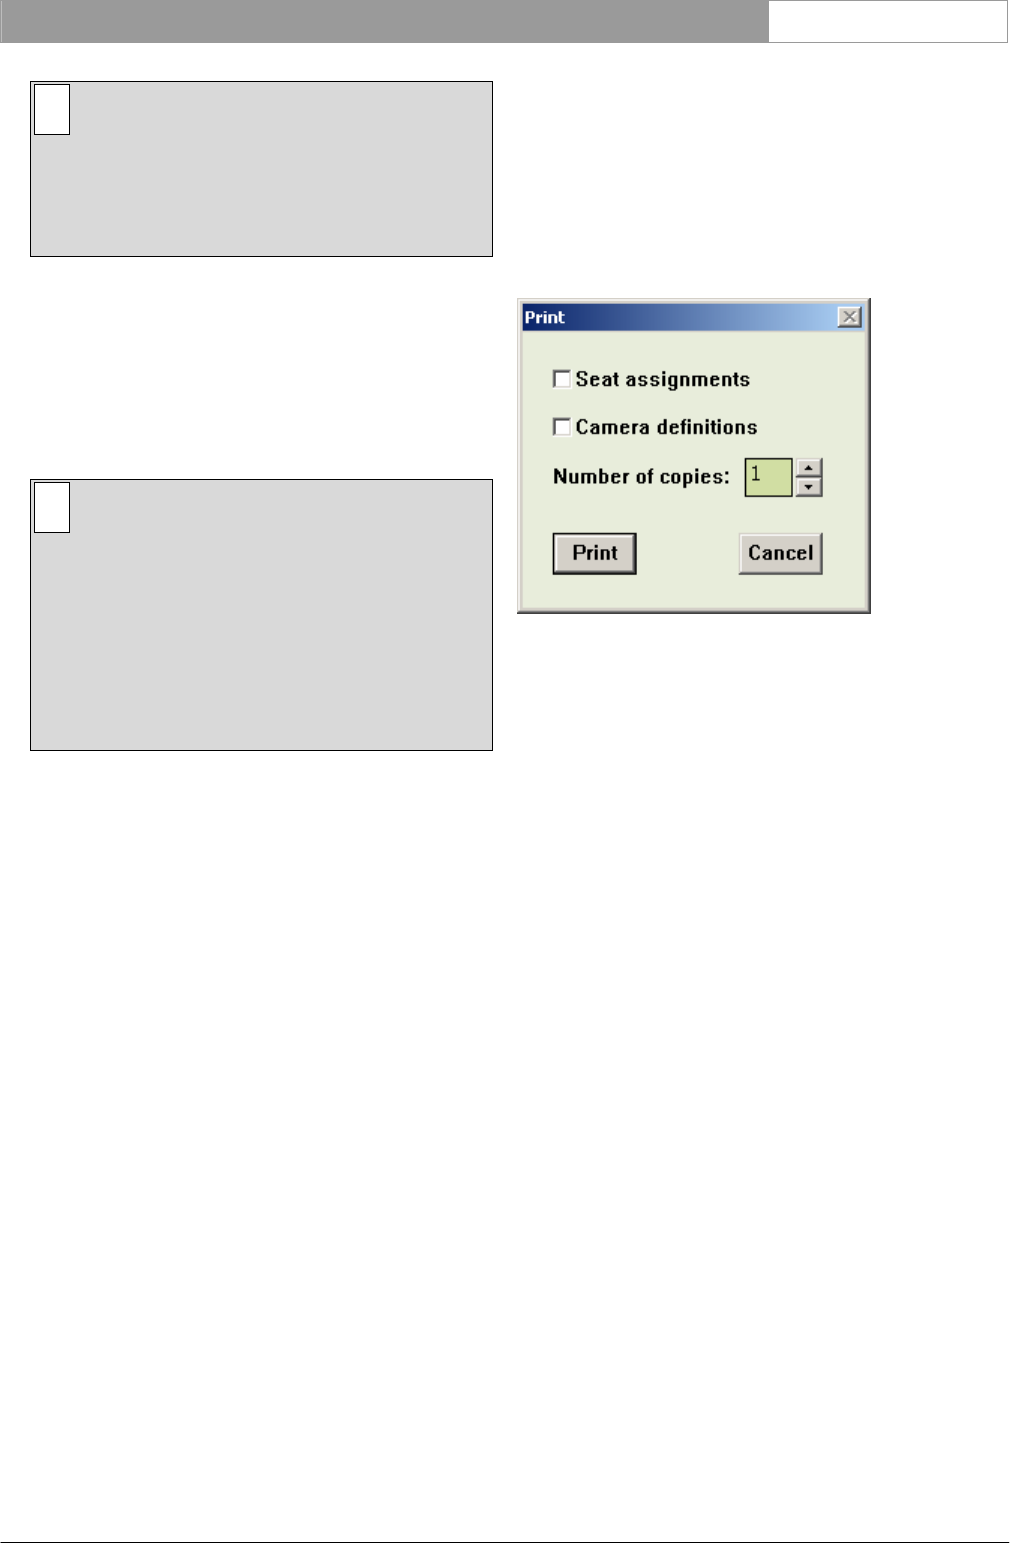
The following dialogue box appears:
Figure 18 The ‘Print’ dialogue box
It is possible to specify that seat assignments are
included in the printout. To do so:
• Click on the ‘Seat assignments’ check box.
A tick mark (√) appears to indicate that this option
has been enabled. You can also specify that camera
definitions are included in the printout. To do so:
• Click on the ‘Camera definitions’ check box.
A tick mark (√) appears to indicate that this option
has been enabled. Up to nine copies of the Camera
Installation file can be printed. To select the number
of copies:
• Use the up and down arrow keys to select the
required number.
After selecting the print settings:
• Click on the ‘OK’ push button.
To exit the dialogue box without printing anything:
• Click on the ‘Cancel’ push button.
You will return to the main window.
3.4.4 Importing and exporting Camera Installation
files
It is possible to import and export Camera
Installation files containing information about the
configuration and settings of the Automatic Camera
Control software. For systems where a DCN control
PC is used, this information is automatically stored in
the current installation file. However, importing and
exporting Camera Installation files may be useful in
Bosch Security Systems B.V. | 2005 January | 9922 141 70491
