


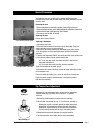
Before installing, ensure that the following are available:
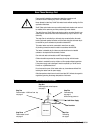
Installation Requirements
Before installing, ensure that the following are available:
a) sufficient space to position the heater so there is 270 mm clear access
under the heater (over-sink models) or 270mm above (under-sink).
b) standard 10 amp 240 volt power outlet within 1500 mm of the heater
c) cold water supply with a minimum working pressure of 50 kPa and a
maximum working pressure of 750 kPa.
If pressure may exceed 750 kPa, a pressure limiting valve must be installed.
Under-sink models must be installed beneath approved vented mixer taps
requiring a single mounting point on a sink, basin or tub.
Water pressure under 100 kPa may be sufficient for over-sink heaters but may
not operate under-sink mixer taps satisfactorily.
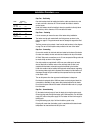
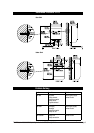
Step One - Tapware
Over-sink models must be installed with an inlet valve to control the flow from
the water supply to the heater. No valve is supplied with the heater. The water
supply and valve should be connected after the fastening the heater to the wall.
Over-sink models are supplied with a 300 mm swivel spout. An 300 mm to
600 mm telescopic swivel spout (99032) is available as an optional extra.
Under-sink models must be installed with approved vented tapware. It is
advisable to fit the tap to the sink before mounting the heater to the wall
beneath the sink.
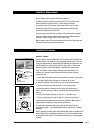
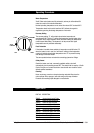
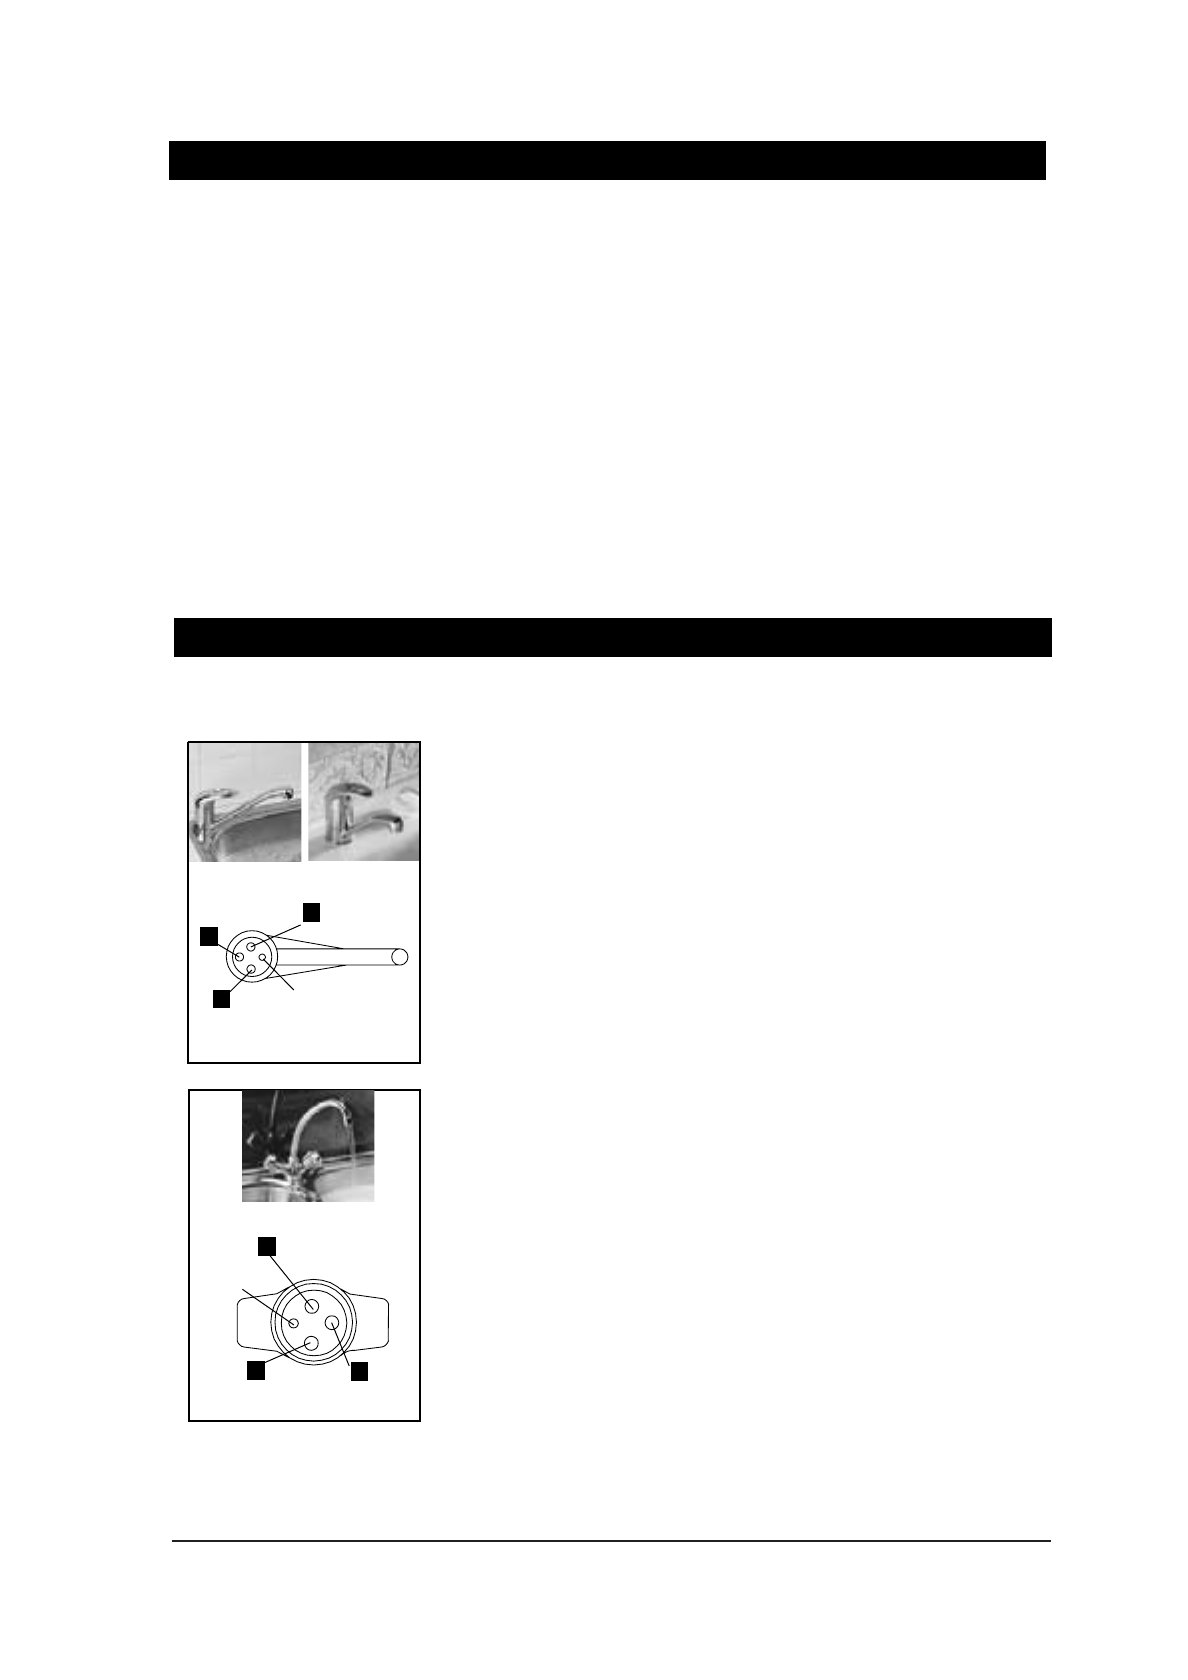
1. Ensure that the flexible tubes are firmly attached to the base of the tap body.
2. Flush water supply pipes thoroughly to remove any silt or fines.
3. Fasten the tap body to the sink using the bolt & plate system provided.
4. Connect red flexible tube (from tap base "C") to the heater outlet.
5. Insert flow restrictor provided to the free end of blue flexible tube "A"
ONLY IF the water pressure is likely to exceed 250 kPa. Otherwise discard
restrictor.
6. Connect blue flexible tube (from tap base "B" ) to the heater inlet.
7. Connect blue flexible tube (from tap base "A") to the cold water supply.
Do not dismantle the assembled ta
Note: If replacing an existing open outlet (vented) water heater an isolation valve
must be fitted to the incoming water supply and a 7L/min flow restrictor fitted
at the isolation valve outlet. It is essential to establish that any existing tapware
is vented.
p body during installation. Mixer taps are
factory tested and sealed to provide optimum performance.
To adjust water temperature delivered by Solo and Hero mixer taps, see
instructions on page 7. Such adjustments should be made only by a qualified
technician.
Cold Water
Supply to Heater
Fixing Bolt
HERO MIXER
Cold Water
Supply from Tap
SOLO MIXER
Fixing Bolt
MONO MIXER
Cold Water Supply to
Heater
Cold Water
Supply from Tap
Hot Water
Supply from Heater
A
B
C
C
A
B
Zenithp Tudor - Installation & Operating Instructions - 81333 - May 2003 Page 3
Before installing, ensure that the following are available:
Installation Procedure
Hot Water
Supply from Heater
Zenith Tudor - Installation & Operating Instructions - 81333 - July - 2004 Page 3