


14 15
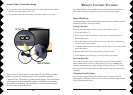
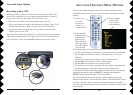
REMOTE CONTROL FEATURES
Your SentinelPro Camera includes many versatile and powerful features.
This section will show you how to get the most from your camera.
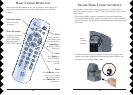
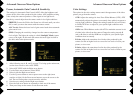
Stored Positions
Your SentinelPro Camera can remember nine locations, including vertical/
horizontal positions, and zoom settings.
Storing a Position
You can store up to nine positions in your camera. Here’s how:
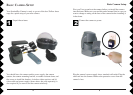
1. Press and release C1.
2. Press and hold the Setup button on your remote control until the C1
button lights green.
3. Move the camera to the position you want to store. Press Autofocus to
set the focus for that position.
4. Press the number button (1 through 9) on the remote to store the position
under that button.
5. Repeat steps 2 and 3 for each position you want to store.
6. When fi nished, press Setup to save the positions you entered.
Selecting Positions
Once you’ve stored positions in the camera, press the desired number
button on the remote to move to that position. If you press Sweep, the
camera will automatically switch through all the positions you’ve stored.
Press any of the movement buttons on the remote to stop the camera from
sweeping.
Changing Stored Positions
You can store new positions over positions you’ve already stored, by
following the instructions above. Just store the new position using a button
that you programmed before.
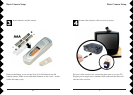
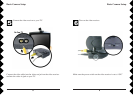
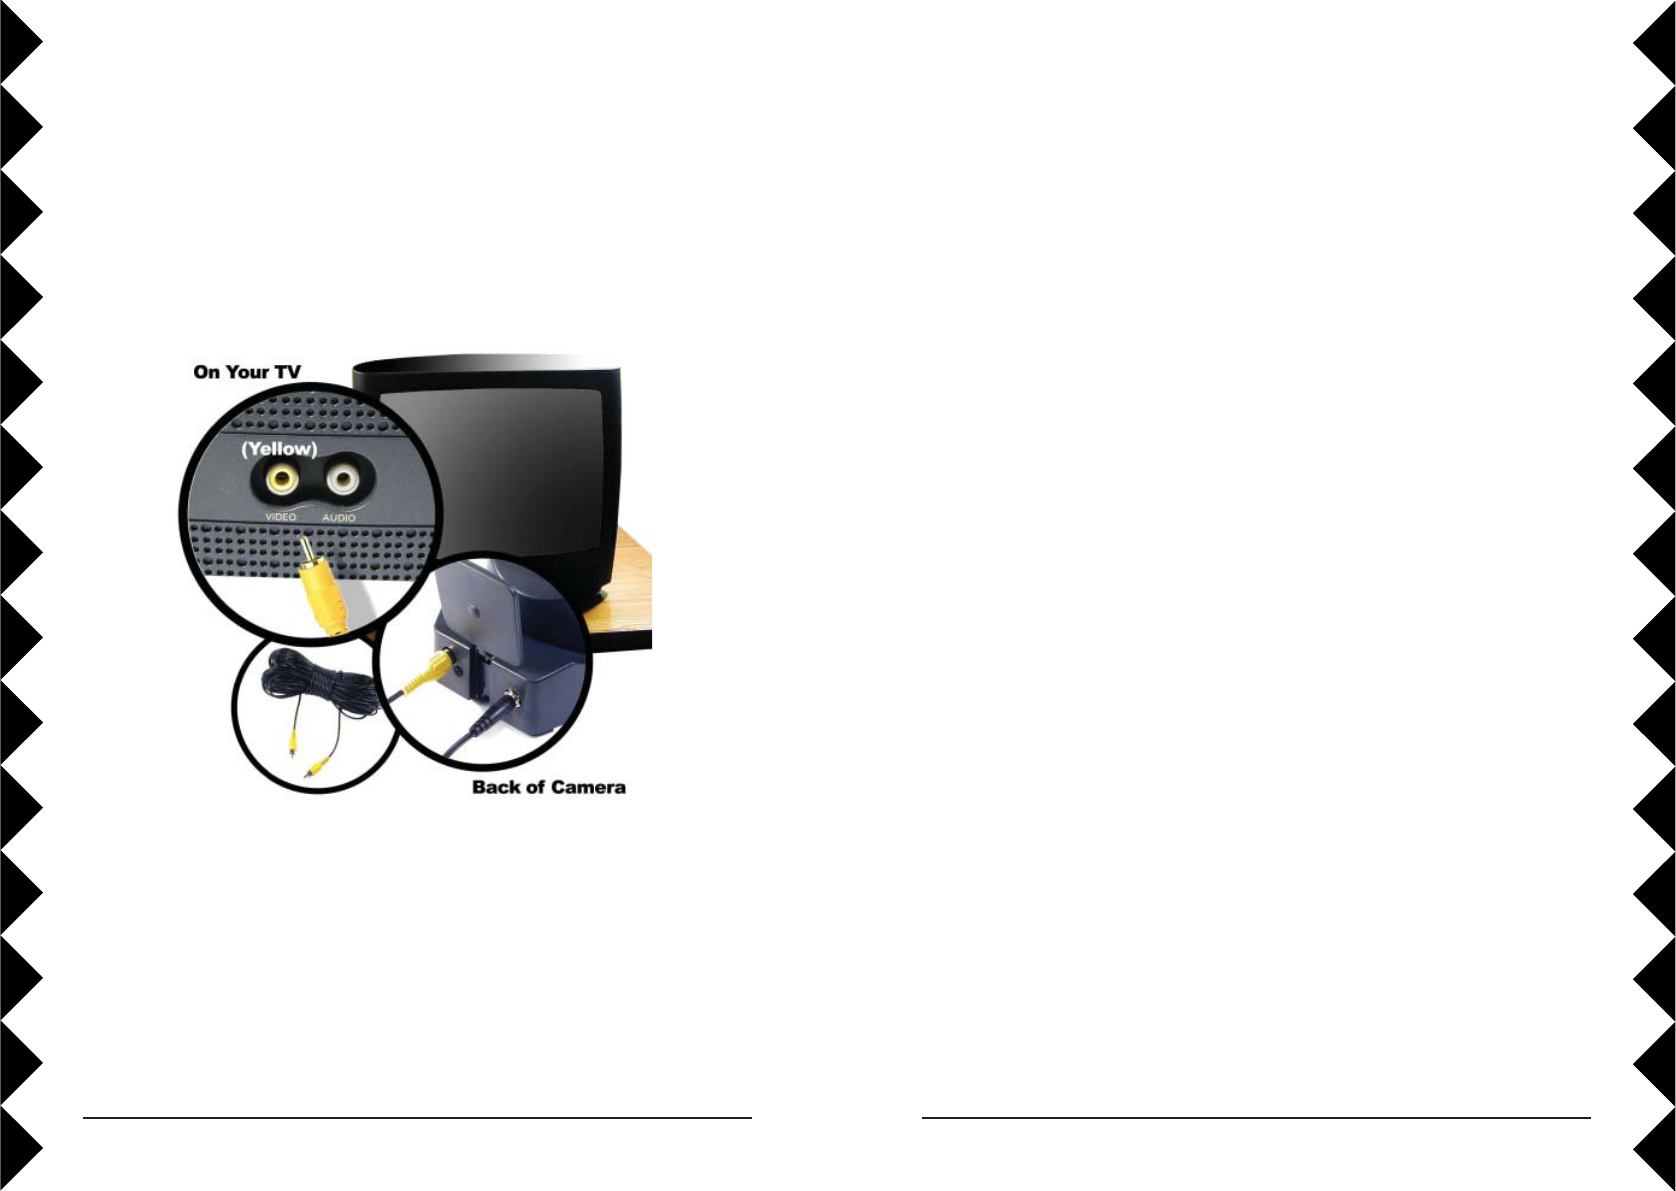
3. Connect the video cable: Plug one end of a video cable into the camera.
Run the rest of the cable to your TV.
4. Connect the other end of the cable to the video-in jack on your TV.
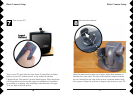
Secure Video Connection Setup
Turn on your TV and select its video input. Use the Video or Select
buttons on your TV remote control, or try channel 0 and then
Channel Down. The camera’s picture should appear. Note, the picture
will be upside down because the camera is intended to be mounted
on a ceiling or overhang, after installing it into the dome. See page
22 if you want to fl ip the picture.