


11
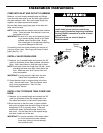
Excessive Weight Hazard
Use two or more people to move and lift salt
bags.
Failure to do so can result in back or other
injury.
ADD WATER AND SALT TO THE SALT
STOR AGE TANK
Installation Instructions
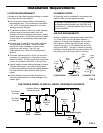
TEST FOR LEAKS
To prevent air pressure in the water softener and
plumbing system, complete the following steps in
order:
1. Fully open two or more softened cold water faucets
close to the water softener, located downstream
from the water softener.
2. Place the bypass valve (single or 3 valve) into the
"bypass" position. See Figures 7 & 8 on Page 7.
3. Slowly open the main water supply valve. Run
water until there is a steady flow from the opened
faucets, with no air bubbles.
4. Place bypass valve(s) in "service" or soft water posi-
tion as follows:
= Single bypass valve: Slowly move the valve stem
toward "service," pausing several times to allow
the water softener to fill with water.
= 3 valve bypass: Fully close the bypass valve and
open the outlet valve. Slowly open the inlet
valve, pausing several times to allow the water
softener to fill with water.
5. After about three minutes, open a hot water faucet
until there is a steady flow and there are no air bub-
bles, then close this faucet.
6. Close all cold water faucets and check for leaks at
the plumbing connections that you made.
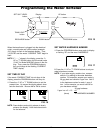
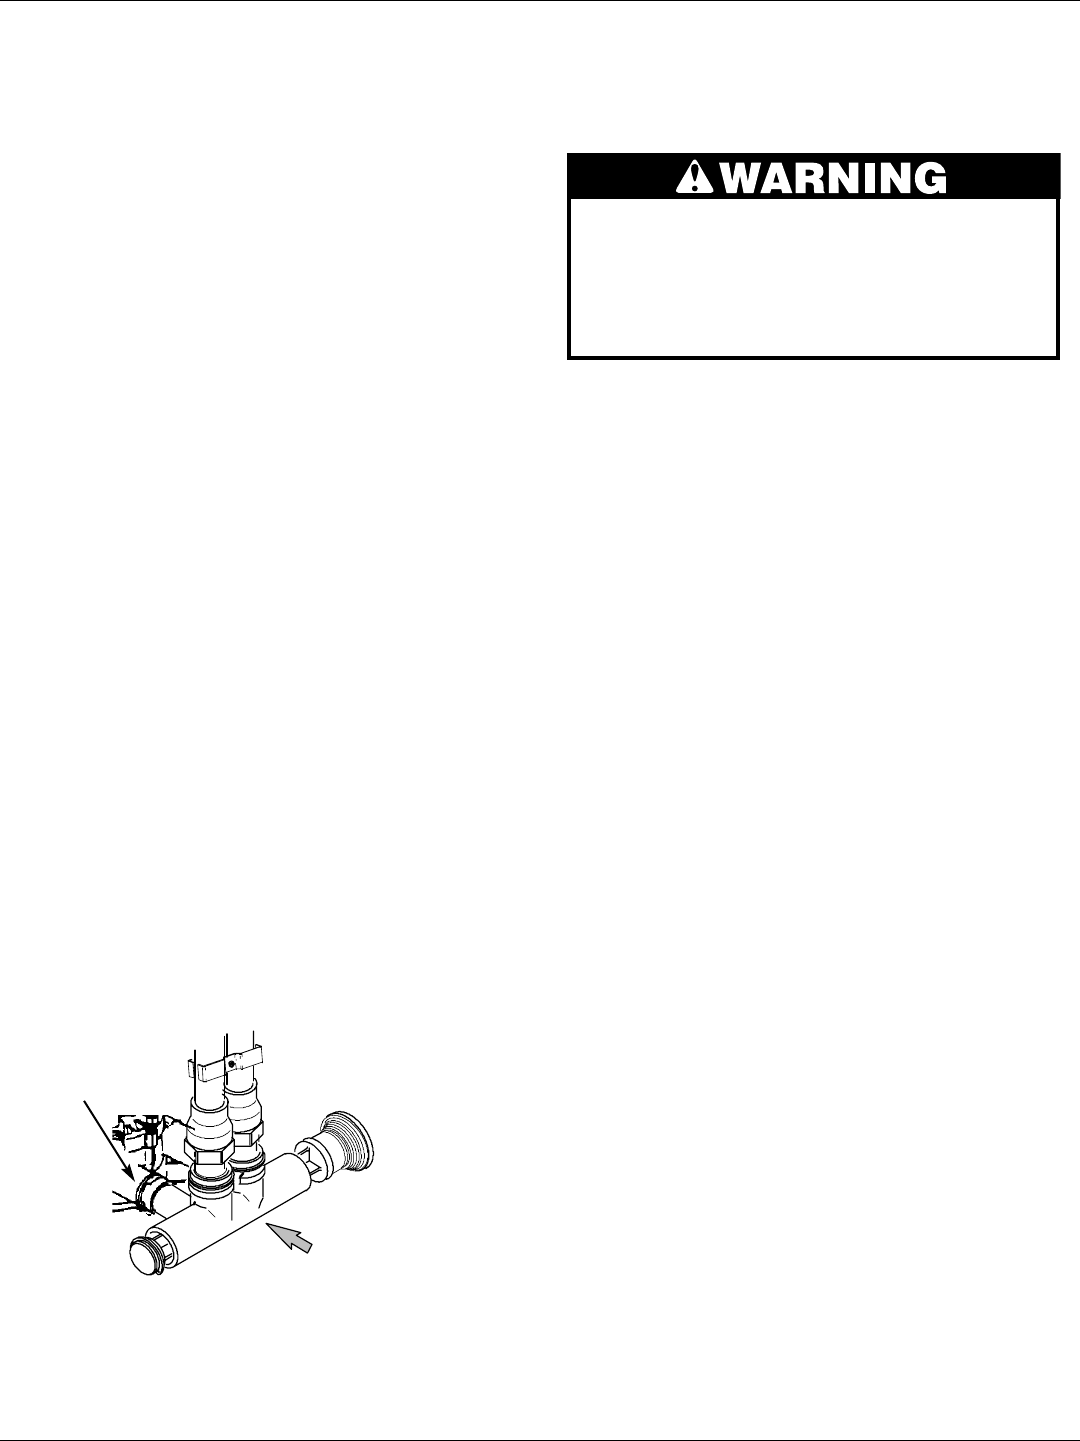
7. Check for leaks around clips at softener’s inlet and
outlet. If a leak occurs at a clip, depressurize the
plumbing (turn off the water supply and open
faucets) before removing clip. When removing clips
at the softener’s inlet or outlet, push the single
bypass valve body toward the softener (See Figure
14). Improper removal may damage clips. Do not
reinstall damaged clips.
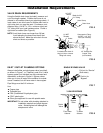
FIG. 14
...depressurize the
plumbing, then push
Bypass Valve body
toward softener
If removing
clips...
1. Using a container, add about three gallons of clean
water into the salt storage tank.
2. Add salt to the storage tank. Use nugget, pellet or
coarse solar salts with less than 1% impurities.
PLUG IN THE WATER SOFTENER
During installation, the water softener wiring may be
moved or jostled from place. Be sure all leadwire con-
nectors are secure on the back of the electronic board
and be sure all wiring is away from the valve gear and
motor area, which rotates during regenerations.
1. Plug the water softener into an electrical outlet that
is not controlled by a switch.
NOTE: The water heater is filled with hard water and,
as hot water is used, it will refill with condi-
tioned water. In a few days, the hot water will
be fully conditioned. To have fully conditioned
hot water immediately, wait until the initial
recharge is over. Then, drain the water heater
(following instructions for water heater) until
water runs cold.
SANITIZE THE WATER SOFTENER /
SANITIZE AFTER SERVICE
1. Open salt hole cover, remove the brinewell cover
and pour about 3 oz. (6 tablespoons) of household
bleach into the softener brinewell. Replace the
brinewell cover.
2 Make sure the bypass valve(s) is in the “service”
(open) position.
3 Start a recharge (regeneration).
See “Start a Recharge” on Page 13.
4. After the recharge has completed, fully open a cold
water faucet, downstream from the softener, and
allow 50 gallons of water to pass through the sys-
tem. This should take at least 20 minutes. Close
the faucet.