


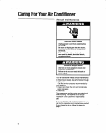


NOTE: Do not lift, push, or pull any white beaded
foam (expanded polystyrene) parts.
5.
6.
7.
8.
9.
10.
11.
12.
13.
14.
Unplug power cord.
Remove the front panel. (See “Cleaning front
panel and filter” on page 5.)
Remove unit from window. Watch out for the
sharp metal fins on the front and rear coils.
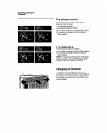
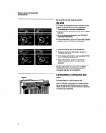
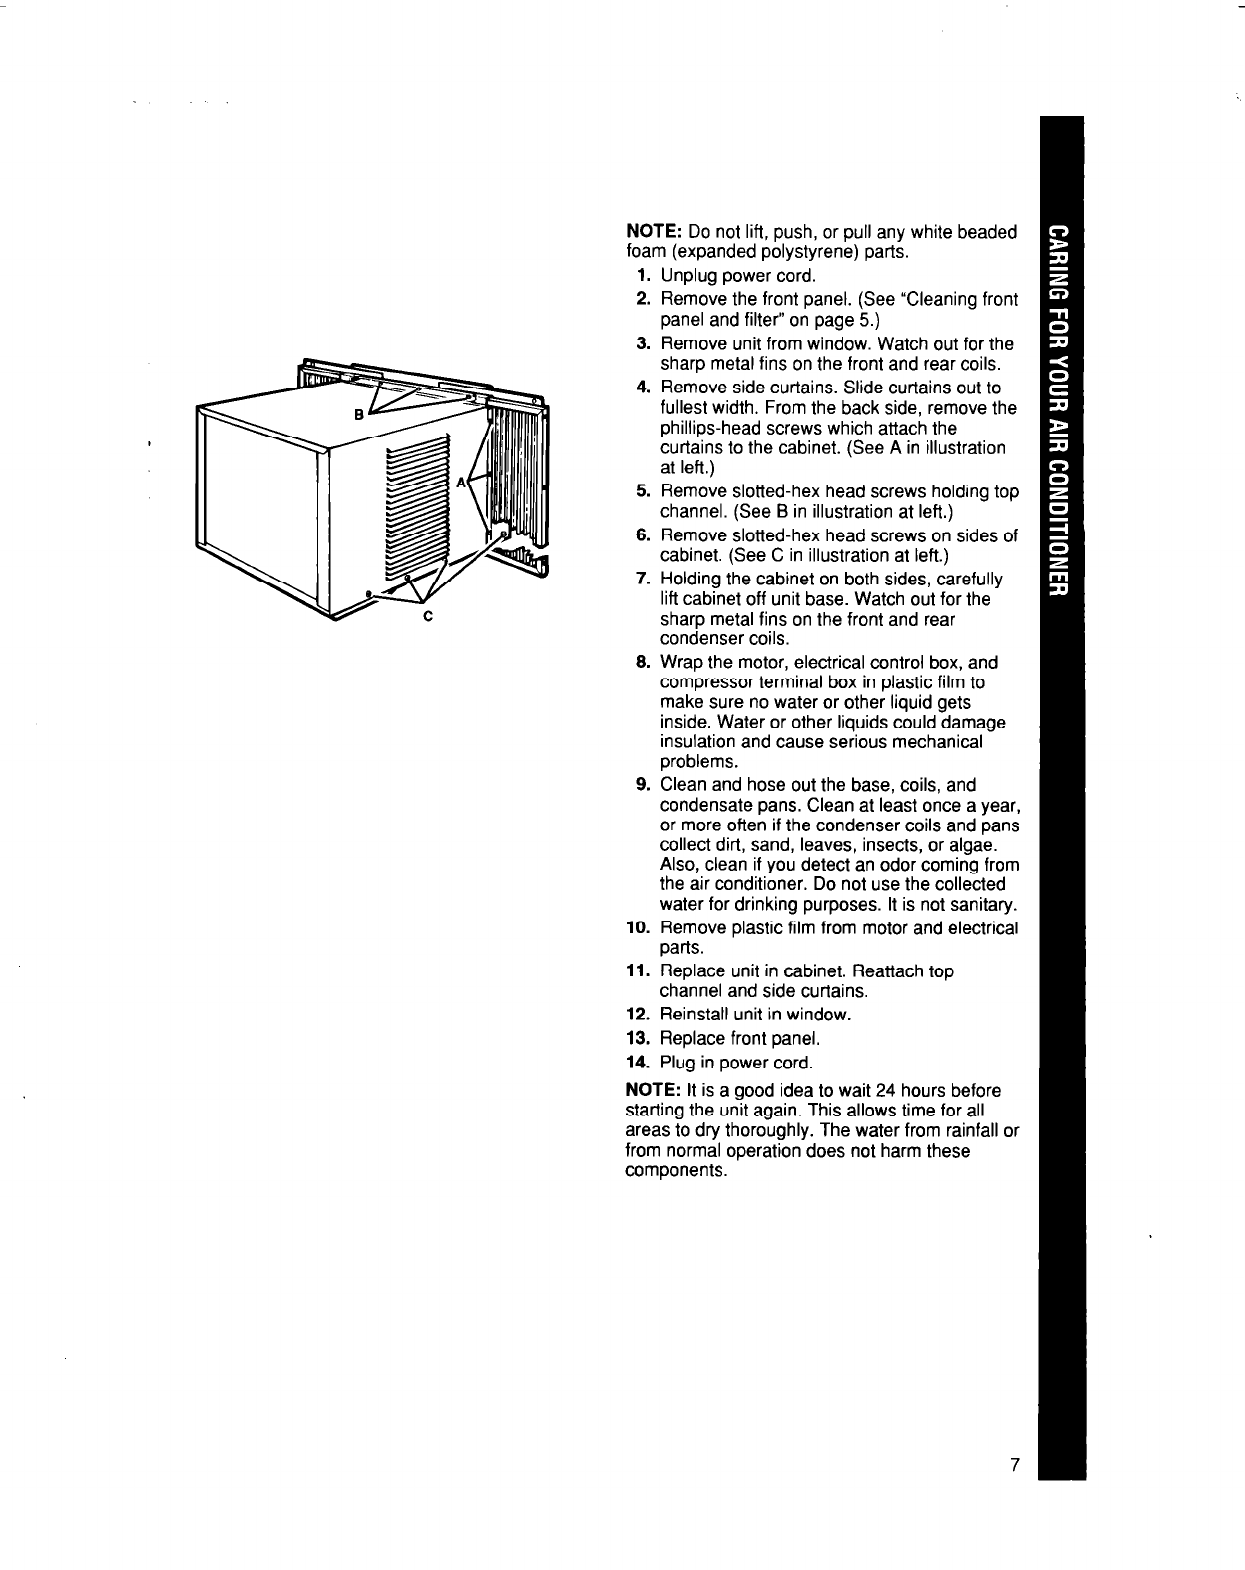
Remove side curtains. Slide curtains out to
fullest width. From the back side, remove the
Phillips-head screws which attach the
curtains to the cabinet. (See A in illustration
at left.)
Remove slotted-hex head screws holding top
channel. (See B in illustration at left.)
Remove slotted-hex head screws on sides of
cabinet. (See C in illustration at left.)
Holding the cabinet on both sides, carefully
lift cabinet off unit base. Watch out for the
sharp metal fins on the front and rear
condenser coils.
Wrap the motor, electrical control box, and
compressor terminal box in plastic film to
make sure no water or other liquid gets
inside. Water or other liquids could damage
insulation and cause serious mechanical
problems.
Clean and hose out the base, coils, and
condensate pans. Clean at least once a year,
or more often if the condenser coils and pans
collect dirt, sand, leaves, insects, or algae.
Also, clean if you detect an odor coming from
the air conditioner. Do not use the collected
water for drinking purposes. It is not sanitary.
Remove plastic film from motor and electrical
parts.
Replace unit in cabinet. Reattach top
channel and side curtains.
Reinstall unit in window.
Replace front panel.
Plug in power cord.
NOTE: It is a good idea to wait 24 hours before
starting the unit again. This allows time for all
areas to dry thoroughly. The water from rainfall or
from normal operation does not harm these
components.