


Before using your dehumidifier
-w
This booklet tells you how to install your dehu-
midifier, use it, and clean it. Treat your new
dehumidifier with care. Use it only to do what
home dehumidifiers are designed to do.
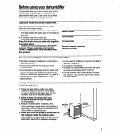
Copy your model and serial number here . . .
If you need service or call with a question,
have this information readv:
1.
Complete model and serial numbers (from
the label under the water pan on the base of
Model Number
the unit).
2. Purchase date from sales slip.
Serial Number
Copy this information in these spaces.
Keep this book and your sales slip together
Purchase Date
in a handy place.
Thank you for purchasing an ESTATE@
product. Please complete and mail the
Owner’s Registration Card furnished with
this product.
Service company name and
telephone number
It is your responsibility to make sure your dehumidifier:
l Has been properly installed on a floor that is
l Is not used by children or anyone not able to
reasonably level. operate it properly.
l Is the correct size for the area you want
l Is properly maintained.
to dehumidify.
l Is used in an area where the room tempera-
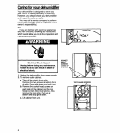
@ Is connected to the proper kind of outlet with
ture will not fall below 65°F (18.3%).
the correct electrical supply and grounding.
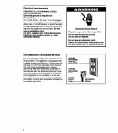
l Do not remove Tech Sheet which is inside
(Refer to “Electrical requirements” on page 4.)
the cabinet. Your service technician needs
l Is used only for jobs expected of home this information.
dehumidifiers.
r
I
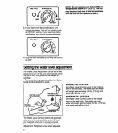
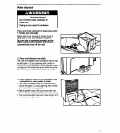
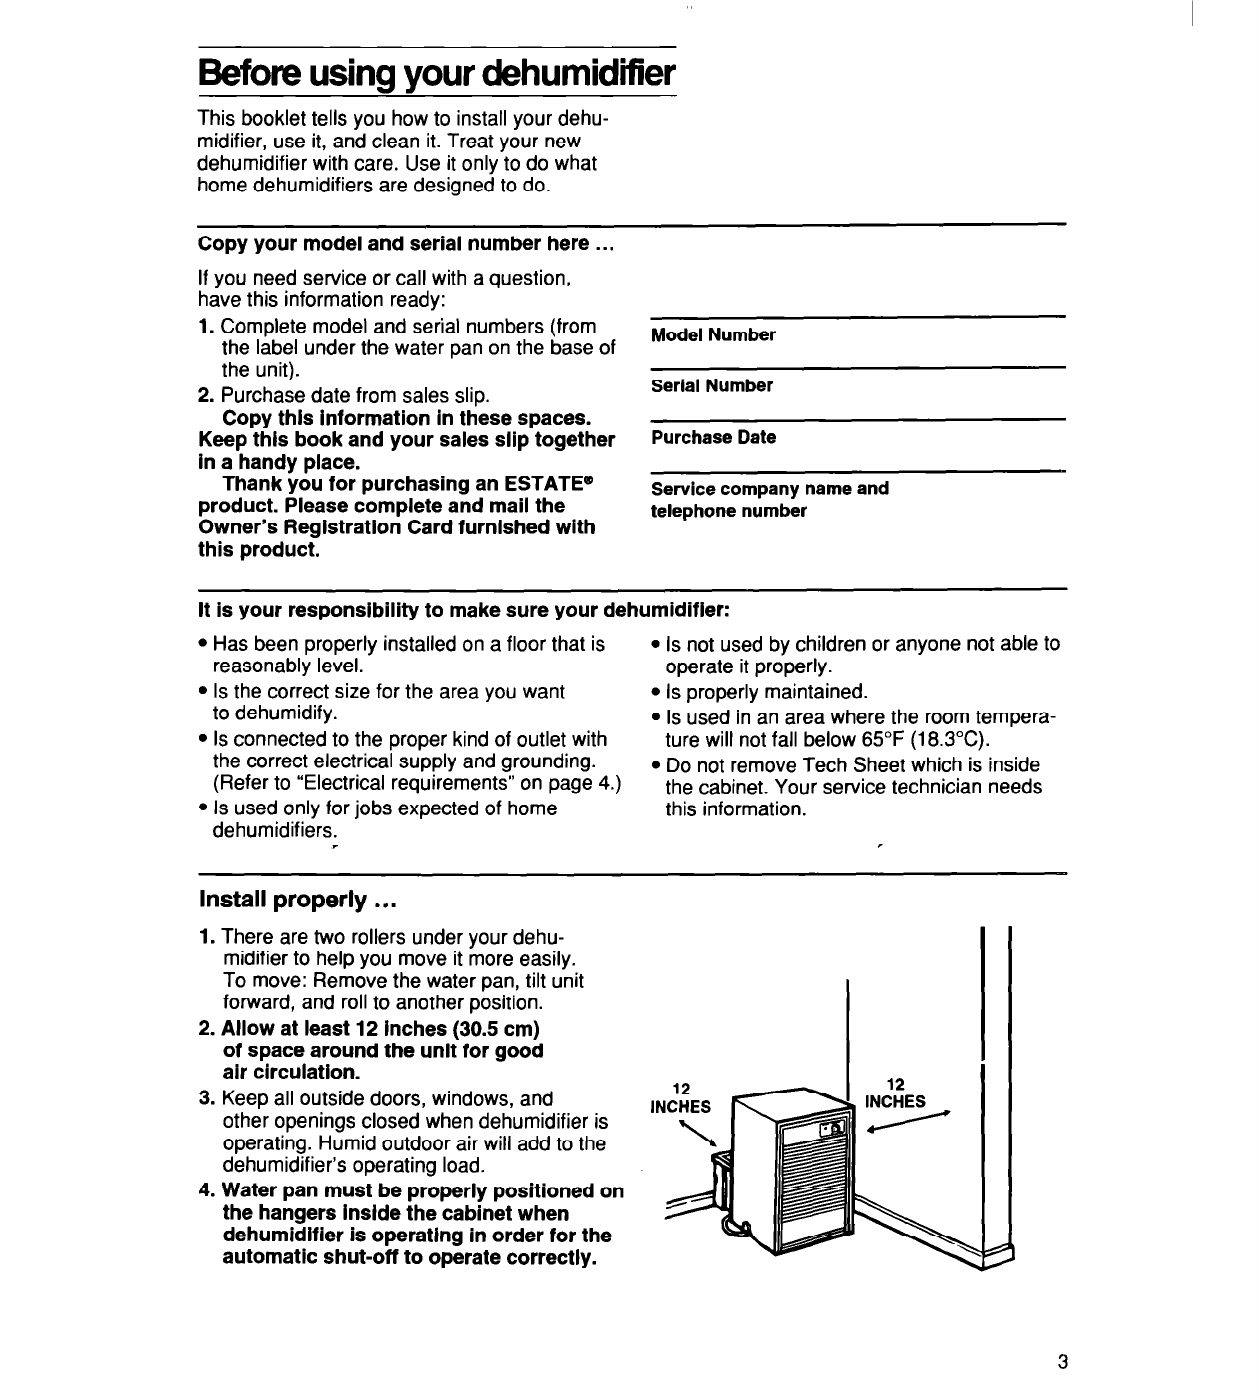
Install properly . . .
1. There are two rollers under your dehu-
midifier to help you move it more easily.
To move: Remove the water pan, tilt unit
forward, and roll to another position.
2. Allow at least 12 inches (30.5 cm)
of space around the unft for good
air circulation.
3. Keep all outside doors, windows, and
other openings closed when dehumidifier is
operating. Humid outdoor air will add to the
dehumidifier’s operating load.
4. Water pan must be properly positioned on
the hangers insfde the cabinet when
dehumidifier is operating in order for the
automatic shut-off to operate correctly.
3