


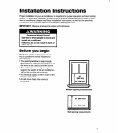
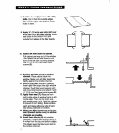
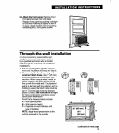

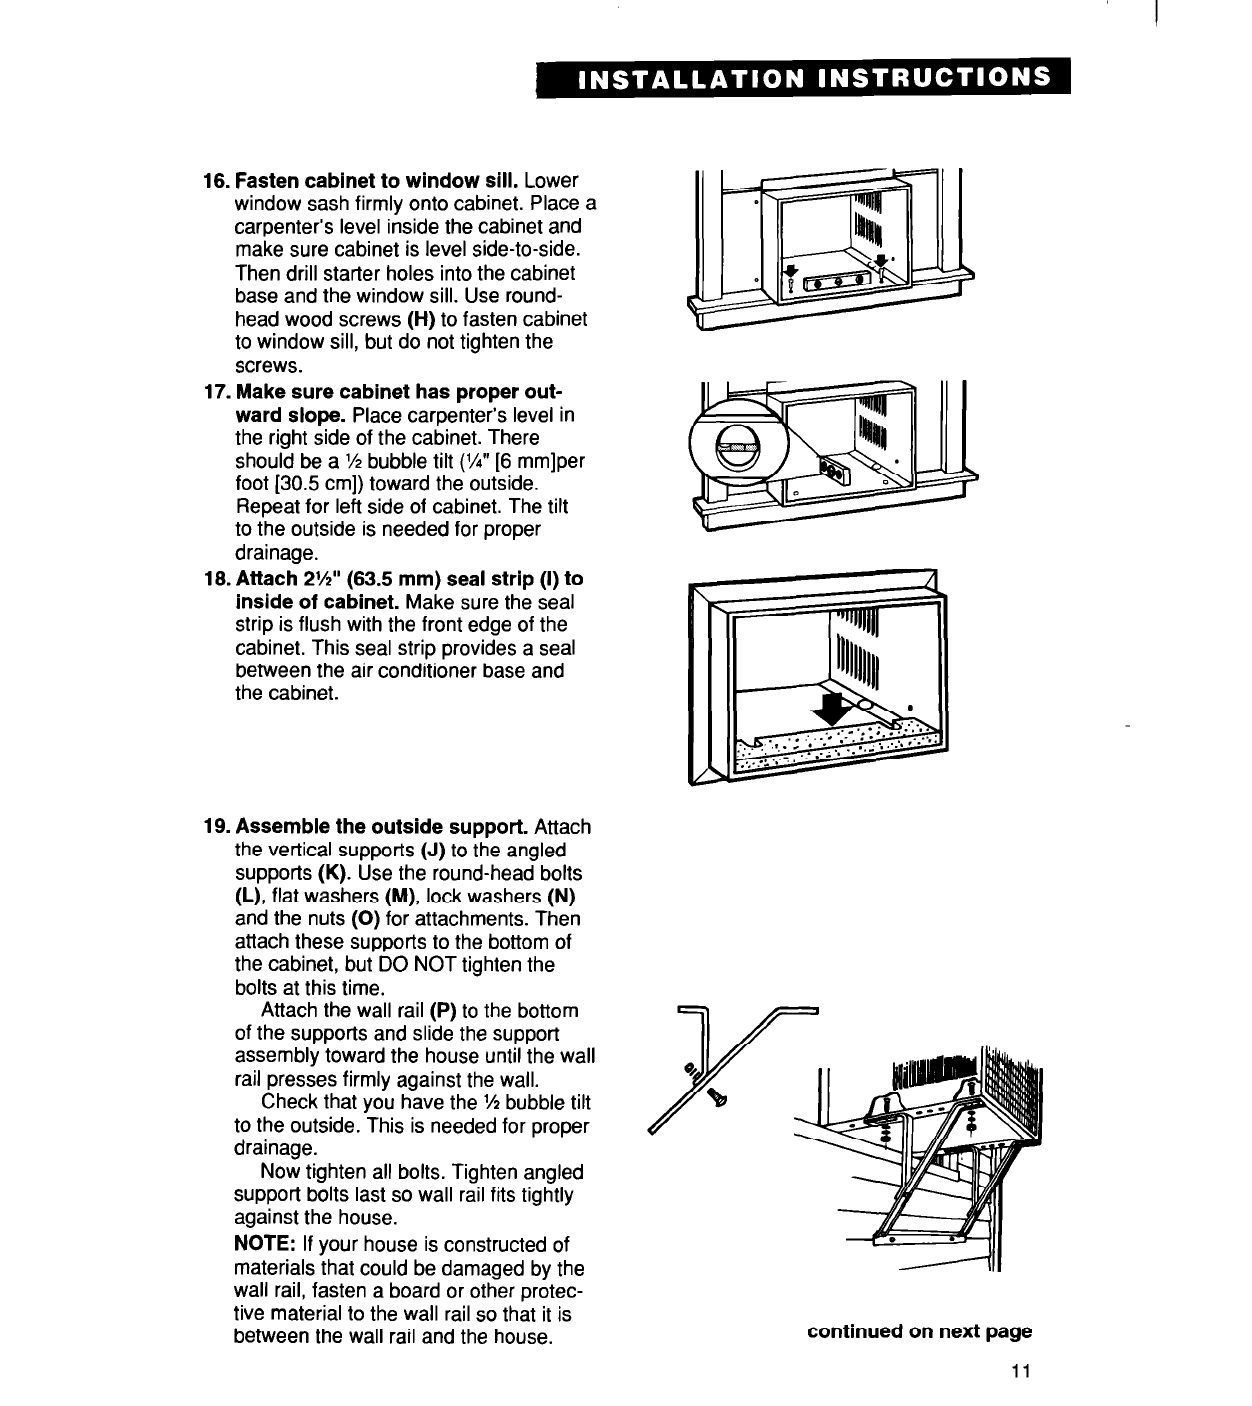
16. Fasten cabinet to window sill. Lower
window sash firmly onto cabinet. Place a
carpenter’s level inside the cabinet and
make sure cabinet is level side-to-side.
Then drill starter holes into the cabinet
base and the window sill. Use round-
head wood screws (H) to fasten cabinet
to window sill, but do not tighten the
screws.
17. Make sure cabinet has proper out-
ward slope. Place carpenter’s level in
the right side of the cabinet. There
should be a l/2 bubble tilt (W [6 mm]per
foot [30.5 cm]) toward the outside.
Repeat for left side of cabinet. The tilt
to the outside is needed for proper
drainage.
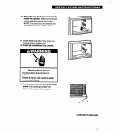
18. Attach 2%” (63.5 mm) seal strip (I) to
inside of cabinet. Make sure the seal
strip is flush with the front edge of the
cabinet. This seal strip provides a seal
between the air conditioner base and
the cabinet.
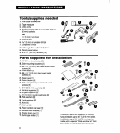
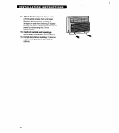
19. Assemble the outside support. Attach
the vertical supports (J) to the angled
supports (K). Use the round-head bolts
(L), flat washers (M), lock washers (N)
and the nuts (0) for attachments. Then
attach these supports to the bottom of
the cabinet, but DO NOT tighten the
bolts at this time.
Attach the wall rail (P) to the bottom
of the supports and slide the support
assembly toward the house until the wall
rail presses firmly against the wall.
Check that you have the % bubble tilt
to the outside. This is needed for proper
drainage.
Now tighten all bolts. Tighten angled
support bolts last so wall rail fits tightly
against the house.
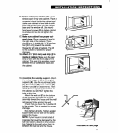
NOTE: If your house is constructed of
materials that could be damaged by the
wall rail, fasten a board or other protec-
tive material to the wall rail so that it is
between the wall rail and the house.
continued on next page
11