Genesis
™
Side Burner
Accessory Installation
Step 1
ṇWARNING: All gas controls and supply valves
should be in the OFF position.
You will need: Side burner assembly (includes burner
grate), side burner lock, pipe sealant (suitable for natural
or LP gas), 1/4, 7/16, 5/8, 3/4 and 11/16 inch open-end or
two adjustable wrenches.
Step 2
Genesis 2 and 2000 Models:
Remove the right side work table, burner control knobs
and control panel.
Genesis 4 Models:
Remove the right side work table, serving tray, burner
control knobs, FlameCheck Safety button and control panel.
For use with Genesis Gas Barbecues Only
27-4736910 3/98
Step 3
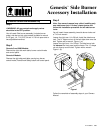
Note: Your owner’s manual may reflect installing only
one side burner lock. If it does, please ignore and
follow this installation procedure for two side burner
locks.
You will need: frame assembly, two side burner locks and
a 7/16 inch wrench.
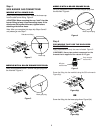
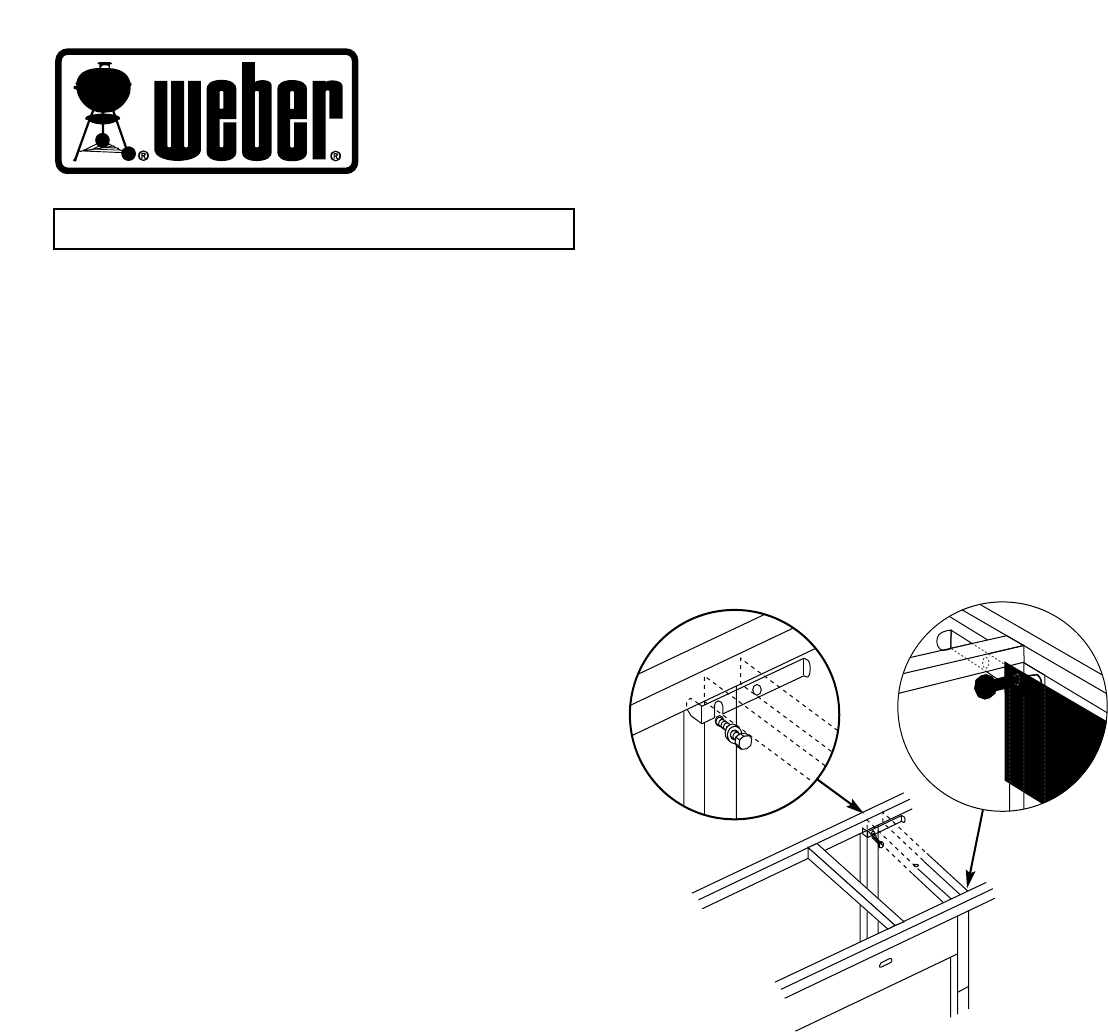
Loosen the right rear 1/4 x 20 bolt. Install the side burner
lock. The “U” shape cut out of the lock slips down over the
bolt. Tighten with a wrench. Figure 1 (a).
Loosen the right front 1/4 x 20 bolt. The side burner lock
fits between the front panel and the frame. The “U” shape
cut out slips up over the bolt. Tighten with a wrench.
Figure 1 (b).
Figure 1
(a)
(b)
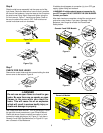
Follow the remainder of assembly steps in your Owners
Manual.


