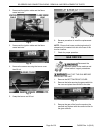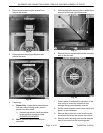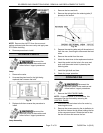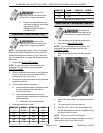
Fig. 38
NOTE: Remove the old RTV from the cover and
mating surfaces inside the oven cavity and apply new
RTV before installing.
4. Reverse procedure to install.
INTERIOR LIGHTS
Disconnect the
electrical power to the machine and
follow lockout / tagout procedures.
Lamp
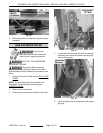
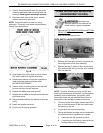
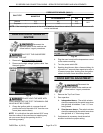
1. Remove the racks.
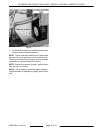
2. Unscrew the glass lens for the light being
replaced then unscrew the bulb.
Fig. 39
3. Replace bulb then reverse the procedure to
install.
Disconnect the
electrical power to the machine and
follow lockout / tagout procedures.
Lamp Assembly
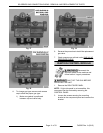
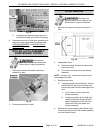
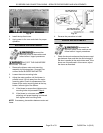
1. Remove the lens and bulb.
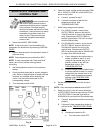
2. Remove the springs from the retaining tabs (2
places) on the socket.
Fig. 40
3. Depress the retaining tabs and pull the socket out
from the oven, far enough to disconnect the lead
wires.
4. Remove the socket from the oven.
5. Attach the lead wires to the replacement socket.
6. Insert the socket into the hole in the oven and
push until the socket is held in place by the
retaining tabs.
7. Install the light bulb and lens.
8. Check for proper operation.
COOLING FAN
Disconnect the
electrical power to the machine and
follow lockout / tagout procedures.
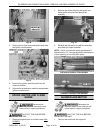
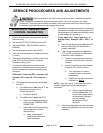
1. Remove the RIGHT SIDE PANEL.
NOTE: If right side panel is not accessible, this
component can be serviced by removing the
CONTROL PANEL.
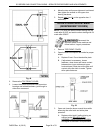
2. Disconnect the lead wires to the fan motor by
removing wire nuts.
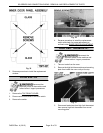
3. Remove the screws securing the air deflector to
the fan then loosen the tab screw holding the fan
to the component panel. Rotate the tab so that
the fan will clear and remove the fan.
SG SERIES GAS CONVECTION OVENS - REMOVAL AND REPLACEMENT OF PARTS
Page 17 of 33 F45525 Rev. A (0315)


