VIVOTEK
84 - User's Manual
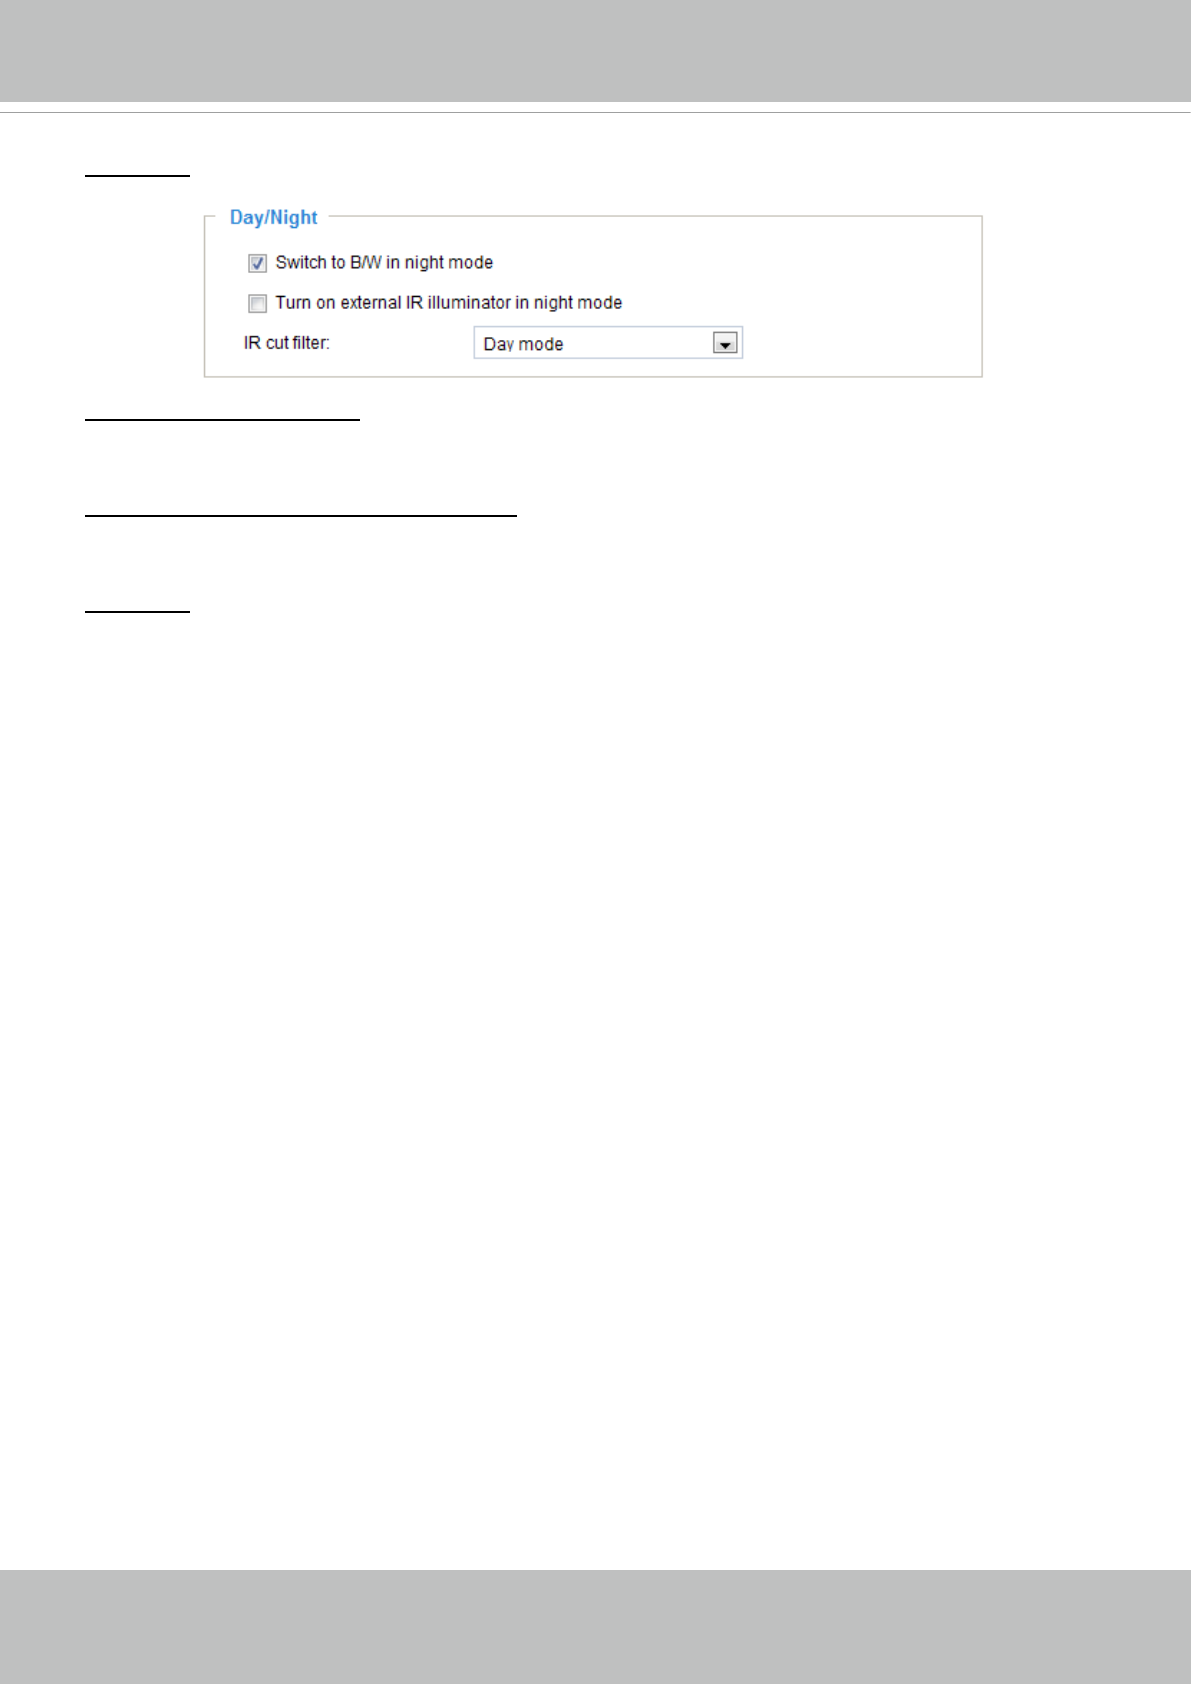
Day/Night
Switch to B/W in night mode
Select this checkbox to enable the Network Camera to automatically switch to Black & White display
during the night mode.
Turn on external IR illuminator in night mode
If your camera is installed with an IR illuminator and the digital output signals are connected to it, you can
turn on the supplementary illuminator during low-light conditions.
IR cut lter
With a removable IR-cut lter, this Network Camera can automatically remove the lter to let Infrared light
pass into the sensor during low light conditions.
■ Auto mode (The Day/Night Exposure Prole will not be available if Auto mode is selected)
The Network Camera automatically removes the lter by judging the level of ambient light.
■ Day mode
In day mode, the Network Camera switches on the IR cut lter at all times to block infrared light from
reaching the sensor so that the colors will not be distorted.
■ Night mode
In night mode, the Network Camera switches off the IR cut lter at all times for the sensor to accept
infrared light, thus helping to improve low light sensitivity.
■ Synchronize with digital input
The Network Camera automatically removes the IR cut lter when DI triggers.
■ Schedule mode
The Network Camera switches between day mode and night mode based on a specied schedule.
Enter the start and end time for day mode. Note that the time format is [hh:mm] and is expressed in
24-hour clock time. By default, the start and end time of day mode are set to 07:00 and 18:00.
When completed with the settings on this page, click Save to enable the settings.
If you want to congure another sensor setting for day/night/schedule mode, please click Prole to open
the Prole settings page as shown below.
Please follow the steps below to setup a prole:
1. Check Enable and apply this prole.
2. Select the applied mode: Day mode, Night mode, or Schedule mode. Please manually enter a range
of time through which you want the Schedule mode to apply.
3. Congure Exposure control settings in the folowing columns. Please refer to the previous page for
detailed information.
4. Click Save to enable the setting and click Close to exit the page.


