


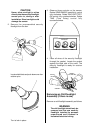
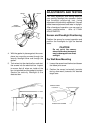
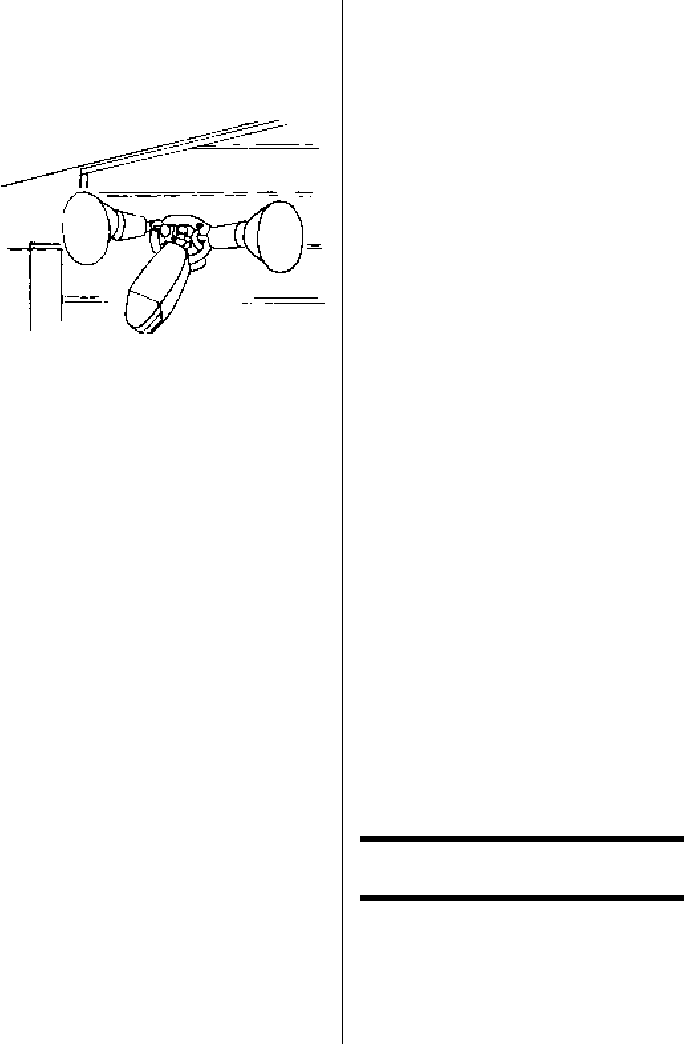
3. After the correct position has been
established, tighten the elbow joint screw
and the sensor head locknut at the end of
the elbow (near the cover).
Screw the lamps into the sockets.
Walk Test
Testing can be performed during daylight.
Testing includes applying electrical power,
walking into the sensing area to determine if
the sensor head is aimed properly and
readjustment of the sensor position, if
necessary. Be sure all controls are set as shown
on Page 3.
1. Turn the wall switch (if installed) to on.
2. Perform the following applicable
procedure(s). Place the circuit breaker to
ON or replace the removed fuse. Observe
that the circuit breaker remains ON (or that
the fuse does not "blow").
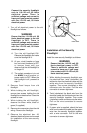
3. Walk into the sensing area. The security
floodlight should come on, then go off in
about 5 seconds. If the floodlight does not
come on, refer to TROUBLESHOOTING.
Otherwise, go to Step 4.
4. Walk around the outside of the sensing area
and observe the reaction of the floodlights
as you move into the sensing area.
Determine the protected area. If the
protected area is not satisfactory to you,
redirect the sensor toward the desired
target area.
5. When the sensing area is satisfactory,
tighten the screw and the locknut on the
sensor arm.
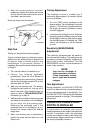
Timing Adjustment
The floodlight on-time is variable from 5
seconds to approximately 18 minutes. Set the
on-time as follows:
1. Turn the TIME control clockwise to the
desired setting. The mid-setting is 9 minutes
(approx.). The further it is turned clockwise,
the longer the security floodlight remains
on when triggered.
2. Let the security floodlight turn off. Walk into
the sensor area and observe the time when
the floodlight comes on. Note the time when
the floodlight goes off. Readjust the TIME
control, as necessary, to set the desired
on-time.
Sensitivity (SENS/RANGE)
Adjustment
The sensitivity adjustment was set earlier to
the most sensitive setting. This setting may be
changed to prevent accidental triggering by
family pets or other interference. Turn the
SENS/RANGE control counterclockwise to
make it less sensitive.
NOTE
Your security floodlight is
highly responsive; therefore,
it may occasionally activate
due to rapid environmental
changes.
Test Adjustment
During installation, the DAYLIGHT/TEST-ON
control has been set fully counterclockwise to
let you make adjustments in the daylight. Turn
the DAYLIGHT/TEST-ON control fully clockwise
to prevent operation in daylight. This completes
adjustment.
OPERATION WHERE A WALL
SWITCH IS INSTALLED
If a wall switch is installed, your security
floodlight operates in two modes: automatic and
manual. In automatic mode, the solid-state
circuits are enabled at dusk or dark. When the
infrared sensor detects something in the field,
the security floodlight comes on.