


ADJUSTMENTS AND TESTING
Four easy adjustment and testing steps put
your security floodlight into operation: sensor
and floodlight positioning, test, timing
adjustment and sensitivity adjustment. You can
make these adjustments and tests in daylight.
After a few days of operation, you may want to
make readjustments - refer to FINAL
ADJUSTMENTS.
Sensor and Floodlight Positioning
Position the sensor for correct operation and
position the floodlights to light the desired
areas.
CAUTION
Do not point the sensor
above the horizon because it
may be damaged from direct
sunlight.
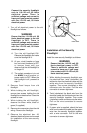
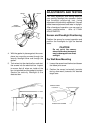
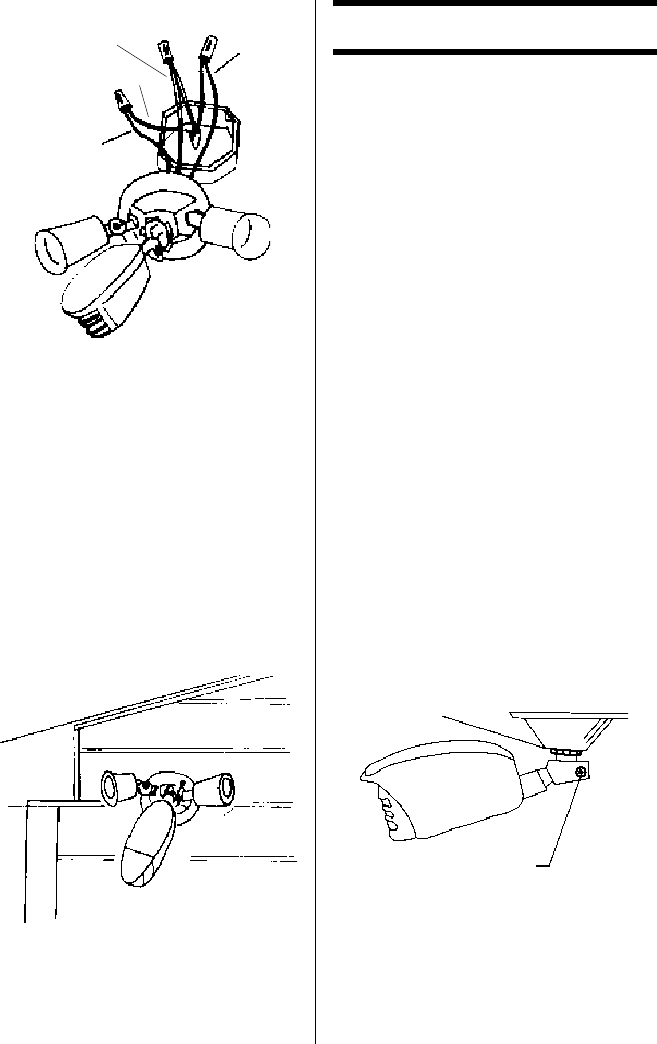
For Wall/Eave Mounting
1. Loosen the sensor head locknut and loosen
the elbow joint screw.
2. Position the sensor horizontally (controls
facing downward) towards the desired
target area.
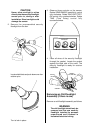
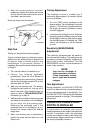
4. With the gasket in place against the cover,
place two mounting screws through the
security floodlight cover and through the
gasket.
5. Tuck wires into the electrical box and start
the screws into the electrical box. Inspect
to ensure that all wires are inside of the
box (not pinched) and the gasket is in place.
Secure the security floodlight to the
electrical box.
GREEN
(IF SUPPLIED)
BARE
WHITE
BLACK
SENSOR HEAD
LOCKNUT
ELBOW JOINT SCREW