UNT-SVX07A-EN 31
Water Piping Connections to Factory-
Installed Piping Package
Before installing water piping supply and
return lines to factory piping package,
note the following items.
• All piping connections are
5
/8-inch O.D.
(
1
/
2
-inch nominal) female copper
connections.
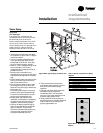
• The fan-coil supply and return piping
should not interfere with the auxiliary
drain pan or condensate line. See
“Connecting the Condensate Drain”
section for more information.
• The installer must provide adequate
piping system filtration and water
treatment.
• If the unit has a factory deluxe piping
package, the piping includes a strainer
with a 20-mesh size screen, which
allows minimal protection from debris.
Therefore, clean the strainer regularly.
Note: Maintain a minimum distance of
one foot between the reduction fitting for
the
1
/
2
-inch diameter line and the fan-coil
piping connections.
1. The factory piping package ships with
brackets to adequately support the
piping during shipment. Remove these
brackets before connecting water
piping to the unit.
2. Close the piping end valves to the fully
open position to prevent damage to the
valve seat during brazing.
3. Remove the auxiliary drain pan, if it is
in place, to prevent exposure to
dripping solder or excessive
temperatures.
4. Solder water piping connections to
supply and return end connections.
Avoid overheating factory soldered
joints to prevent the possibility of
leakage.
5. Insulate fan-coil piping to auxiliary
drain pan connections and any piping
that is not above the auxiliary drain pan.
Condensate Drain
1. De-burr the pipe end before making
the connection to the drain pan.
2. Connect a
7
/
8
-inch O.D. copper pipe or
tube, with a 0.20 inch wall thickness, to
the auxiliary drain pan. This should be a
mechanical connection that allows easy
removal of the auxiliary drain pan
when servicing the piping end pocket.
3. Slide the copper pipe over the drain
pan nipple and tighten the collar on the
pipe with a hose clamp (installer
supplied).
Maintain a continuous drain line pitch of
one inch per ten feet of drain line run to
provide adequate condensate drainage.
Extend the drain line straight from the
drain pan a minimum distance of six
inches before making any turns. The
installer must provide proper support for
the drain line to prevent undue stress on
the auxiliary drain pan.
Install a secondary overflow drain line if
necessary by punching out the overflow
drain nipple on the auxiliary drain pan.
Next, place a
3
/8-inch inside diameter
flexible plastic tube over the nipple and
secure
with a field supplied hose clamp.
Note: The installer is responsible for
adequately insulating field piping. See the
“External Insulating Requirements
section for more information.
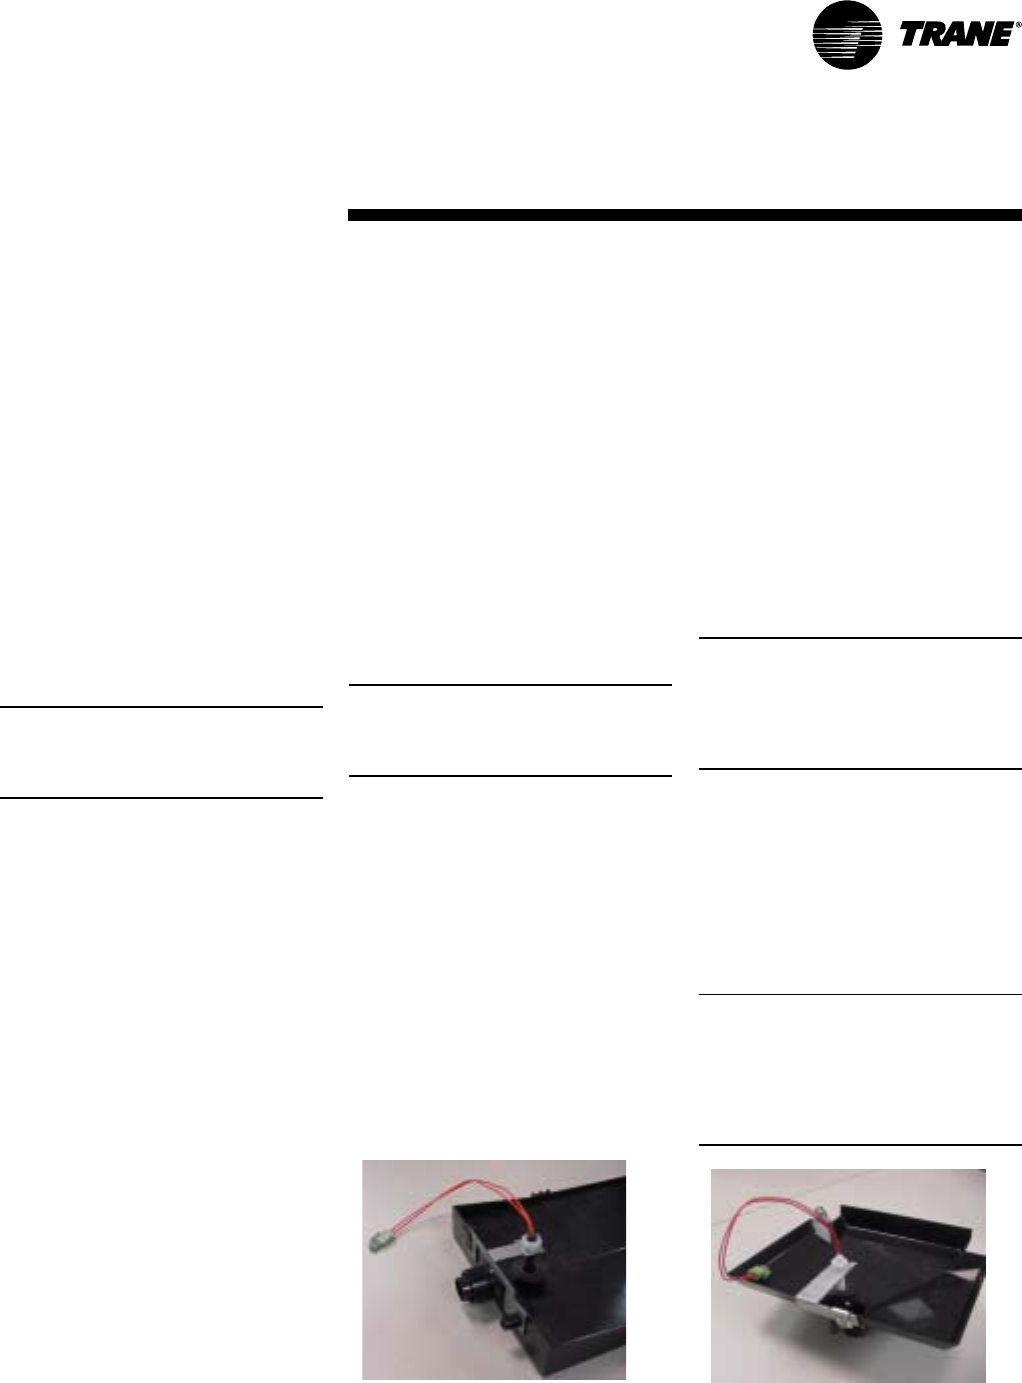
Condensate Overflow Detection Device
The condensate overflow detection
device is an option on fan-coil units with
either a Tracer ZN010, ZN510, ZN520 or
the customer-supplied control interface.
The float switch, mounting bracket, and
coiled leads ship attached inside the
piping end pocket of the unit. Install the
switch by placing the hole or slot in the
bracket over the condensate overflow
drain (of the auxiliary drain pan) with the
switch float extending over the pan.
Secure the drain pan by attaching the
pan’s bracket with the factory
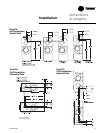
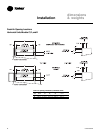
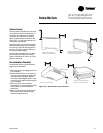
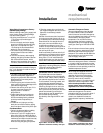
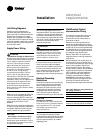
provided clip. See Figures I-MR-1 and I-
MR-2.
mechanical
requirementsInstallation
Figure I-MR-1. Condensate float switch
installed in horizontal auxilliary drain pan.
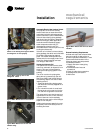
Figure I-MR-2. Condensate float switch
installed in vertical auxilliary drain pan.
Automatic Changeover Sensor
Two-pipe changeover units with either
the Tracer ZN010, ZN510, and ZN520
controls have an automatic changeover
sensor that determines heating or cooling
mode based on the supply water
temperature. On units with a factory
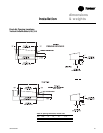
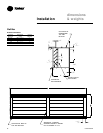
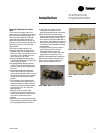
piping package, the factory straps the
changeover sensor to the piping supply
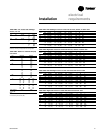
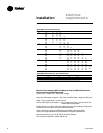
water pipe. See Figure I-MR-3 and I-MR-
4.
If the unit does not have a factory piping
package, the factory attaches the sensor
and coiled lead wires to the piping side
end panel. The installer should attach the
sensor parallel to and in direct contact
with the supply water pipe.
Note: The installer is responsible to
ensure the changeover sensor is installed
in a location that can sense active water
temperature. Otherwise, the unit may fail
to sense the correct operating mode and
disable temperature control.
When using field supplied three-way
valves, install the changeover sensor
upstream of the valve on the supply
water pipe. When using field supplied
two-way control valves, install the
changeover sensor in a location that will
detect active water temperature. The
unit must always be able to sense the
correct system water temperature,
regardless of the control valve position.
Note: The maximum length of the
automatic changeover wire cannot
exceed ten feet from the control panel. If
the sensor extends beyond the unit
chassis, use shielded conductors to
eliminate radio frequency interference
(RFI).


