


6
PG 6
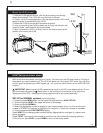
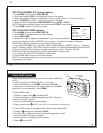
Mount the LS-90 to wall
1. Hold the LS-90 against the wall, with the wires coming over the top
above terminal block. The LS-90 will cover the hole in the wall.
2. Position LS-90 for best appearance. Use the optional stand- offs if more
space for wires is needed behind the LS-90.
3. Attach the LS-90 to the wall with the screws provided.
4. If you are mounting the LS-90 to sheet rock or if you are using the old
mounting holes, use the plastic anchors provided.
5. Mark � rst and drill a 3/16-in.(4.8mm) hole for the insert at each screw
location, then mount the LS-90.
Wall
Wires
Wall
anchor
LS-90
Screw to wall
G
Y
R
H
C
W
7
PG 7
HVAC Set-up on screen menu
With all the wires connected (including the C wire), it is time to turn the AC power back on. Do this at
the breaker you used to switch it off. The LS-90 will power-up in the control OFF mode. Your LS-90 is
not con� gured to operate your HVAC system yet. You must now use the menu driven HVAC SET-UP
function.
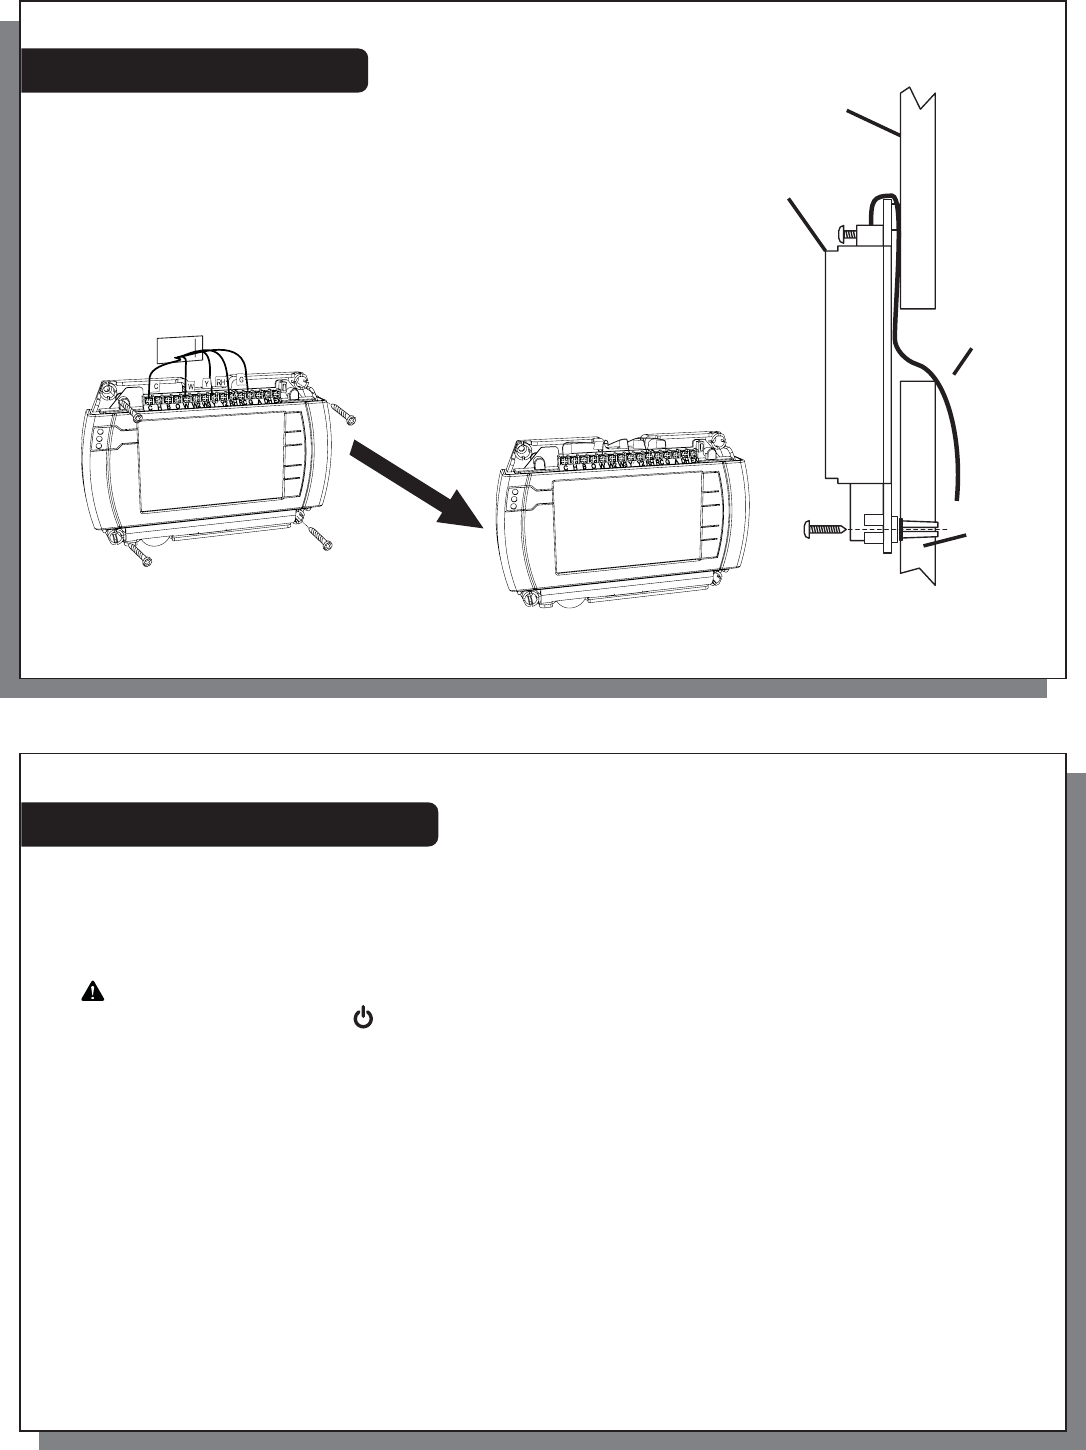
IMPORTANT: Make sure the LS-90 is powered up and is in the OFF mode before set-up. (To turn
your thermostat off, press the
Power button in the middle of the control bar to the right of the
display and touch OFF). Heating and cooling systems must be con� gured separately.
SET-UP for NORMAL systems (not a heat pump):
1. Press the purple MENU button on the control bar and then touch HVAC SET-UP.
2. Touch to highlight HEAT in the upper left corner of the display.
3. Touch to highlight NORMAL.
4. Select the appropriate number of stages for your heating system (from 1 to 3) by touching the
number of STAGES (in brackets) to highlight, and using the +/- buttons to increase or decrease.
5. Touch the appropriate FAN CONTROL setting.
Select HVAC if your heating system controls the fan (appropriate for most gas, oil, propane and
similar furnaces).
Select TSTAT if you want the thermostat to control the fan (for most electric heating systems).
6. Go on to con� gure COOL or press HOME to return to the Home screen.