– 122 –
No.
11
Part name
Compressor
(continued)
Procedure
2. Attachment
Remarks
1. Detachment
1) Carry out work of item 1. of
Q
and
T
above.
2) Rotate the coil while pulling upwardly and then
remove the coil from the pulse motor valve coil
main unit.
2. Attachment
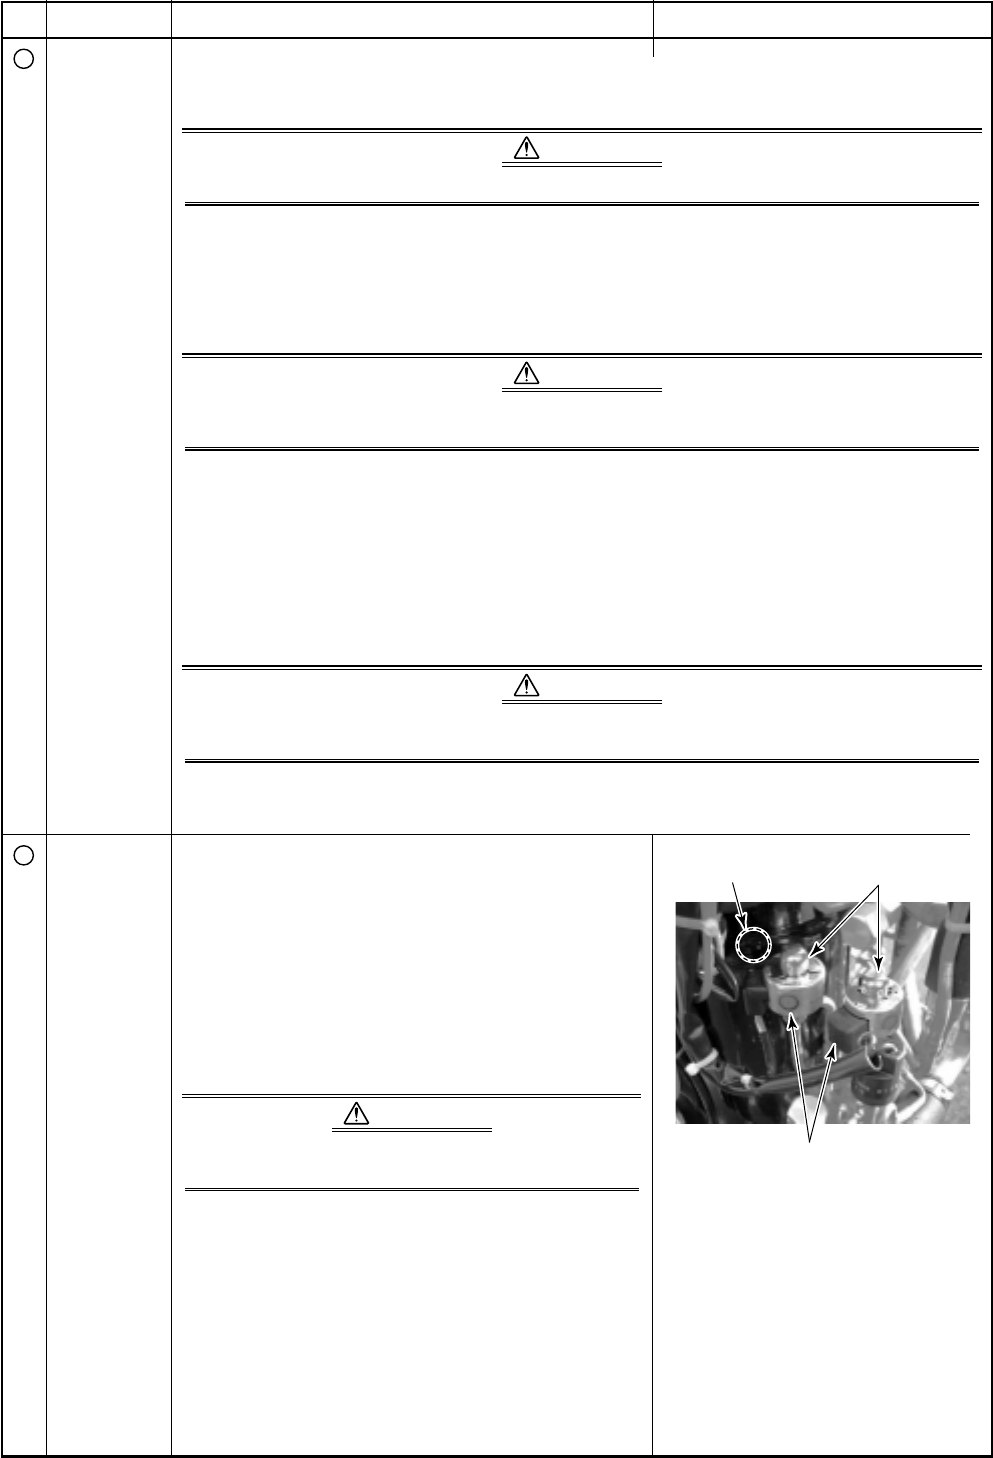
1) Surely match the positioning projection of the coil
with the concave part of PMV main unit and then
fix it.
CAUTION
Mount the coils or the coil carefully so that they do
not make contact with the accumulator.
1) Mount the compressor by reversing the procedure for removal.
CAUTION
The fixing torque for the hexagonal bolts fixing the compressor is 19.6N•m (200kgf•cm).
3. Vacuuming
1) Connect the vacuum pump to the charge port and the high-pressure check joint of the liquid
pipe and the gas pipe valve and then operate the vacuum pump.
2) Carry out vacuuming until the vacuum low pressure gauge indicates 1 (mmHg).
CAUTION
Before vacuuming, open the pulse motor valve fully. If the pulse motor valve is closed,
vacuuming may be impossible of the heat exchanger in the outdoor unit.
Forcible fully-opened method for the pulse motor valve
• Turn on the breaker switch.
• Short circuit CN300 on the interface board of the outdoor unit.
• Turn off the breaker switch.
4. Refrigerant charge
1) Add a refrigerant amount determined by the pipe length from the charge port of the valve.
CAUTION
The water-proof sheet (rubber sheet) should be mounted so that water drops from the
accumulator or the pipes do not come into contact with the terminal section of the compressor.
12
Pulse motor
valve (PMV)
coil
Accumulator PMV unit
PMV coil


