Model LLG & LLD Pool and Spa Heater
Page 17
Note: When using metal pipe as heat sink, join metal and PVC/CPVC, using metal male and PVC/CPVC female connection.
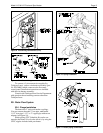
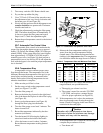
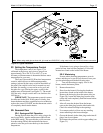
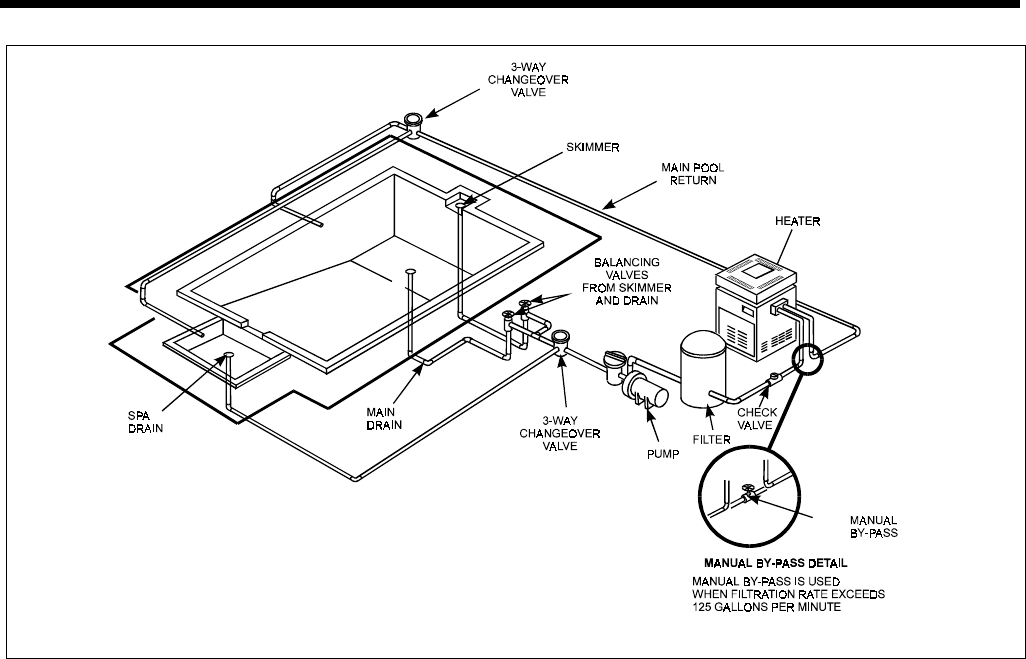
Figure 20. Typical installation.
3C. Setting the Temperature Control
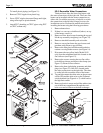
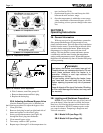
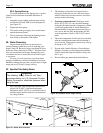
The temperature control (see Figure 17) is
calibrated at the factory and covers a range from
approximately 70 to 104°F (21 to 40°C). Use an
accurate pool thermometer to determine the best water
temperature for your uses.
The Laars Lite model LLD has dual temperature
controls, which allows two different temperature
settings, selected by the rotary switch in the middle of
the panel. One control can be set for normal use and
the other for standby; or one can be set for pool and
the other for a spa. Placing the rotary switch in the
middle turns off the heater (see Figure 17). The model
LLG has only a single control and is set similar to the
LLD above.
IMPORTANT: The temperature controls cannot
be calibrated in the field. If the control is faulty, shut
down the heater and have a qualified service technician
replace the control. DO NOT use the thermostat switch
to completely shut down the heater.
3D. Seasonal Care
3D-1. Spring and Fall Operation
During periods when the pool is only going to be
used occasionally, turn the temperature control down
to the MIN setting. This prevents the pool from water
from becoming chilled, and maximizes the time re-
quired to raise the pool water back up to the desired
temperature.
If the heater is not going to be used for a long
period of time, shut it down completely. Follow the
instructions found on the inside of the heater.
3D-2. Winterizing
In areas where freezing temperatures occur in
winter, and the pool or spa will not be used, have your
service technician perform the following steps:
1. Turn off the main gas supply valve to the
heater, outside the heater jacket.
2. Remove heater door.
3. Shut down the heater following the shutdown
instructions found on the inside of the heater.
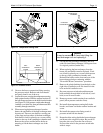
4. Remove the drain plug from the return side (see
Figure 20), loosen the drain plug from the inlet-
outlet side, and completely drain the heater before
the first frost.
5. After all water has drained from the heater,
remove the drain plug from the inlet/outlet side.
Check for mineral buildup in the openings.
6. Use compressed air to blow out any standing
water remaining in the heat exchanger.
7. Grease the threads in the drain plugs and reinstall
plugs, but do not tighten.
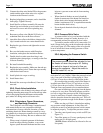
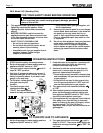
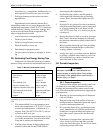
8. Disconnect the pressure switch copper tubing (see
Figure 21).


