


666
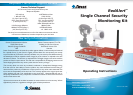
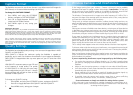
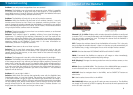
About the Wired PNP-50
Your RedAlert may have come with the wired PNP-
50TM. If so, read on to learn about your camera
and how best to install it!
The PNP-50TM captures color images during the
day, and switches to black & white at night. It can
see up to 16ft (5m) in the dark using its built-in
infrared LEDs.
Of course, if your RedAlert did not come with the
PNP-50TM, and you don’t have a wired camera
attached to the RedAlert already, there’s no reason
you can’t purchase one and add it to your security
system. The PNP-50TM makes a great partner to
the RedAlert - and it’s stylish!
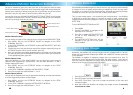
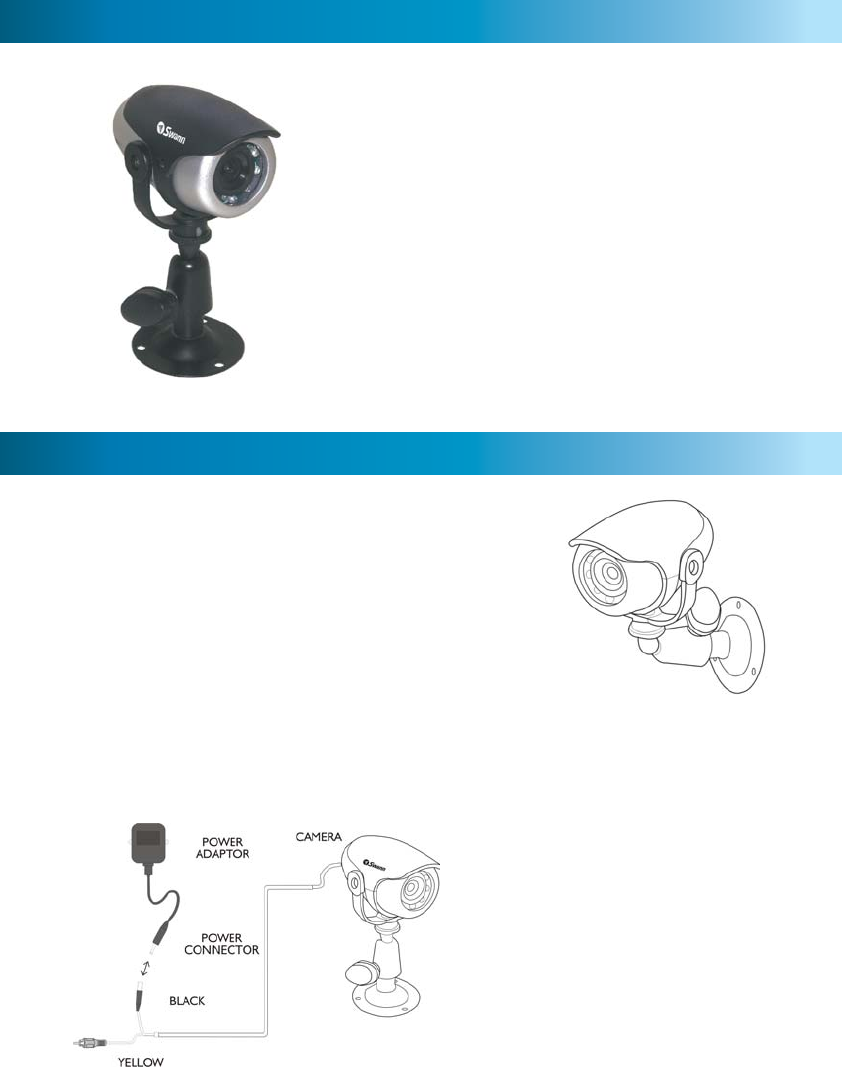
Installing the Wired PNP-50
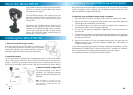
1. Select the position for your camera
It’s a great idea to plug the YELLOW RCA connector into
a TV and hook the BLACK connector up to the power
supply whilst deciding your cameras position, as you can
see exactly what the camera sees as you experiment.
2. Attach the camera
Use the screw holes on the base, and use appropriate type of screw for the surface
you’re mounting the camera on. Be sure to mount the camera so that the lens is
upright - otherwise your images will be upside down! If attaching the camera to
the ceiling or mounting it high on a wall, align the lens upright (as shown above).
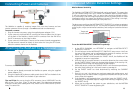
3. Attach the power supply (12V)
The power attaches to the BLACK
connector. The YELLOW connector
attaches to the VIDEO IN lead on the
RedAlert.
Note: The PNP-50 is for indoor use only,
and is not weather resistant. Moisture, dust
and fl uctuations in temperature will cause
undesirable results.
15
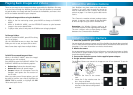
Accessing Images/Videos via a Computer
15
One of the most convenient aspects of recording to an SD card is that, if you have
an SD card r
eader for your computer, you can simply pop the SD card into it and
open the RedAlert’s images/videos directly.
To playback, copy and delete images using a computer:
Place the SD card into your computer via an internal or external card reader. 1.
Open the SD card in your computer’s fi le browser. You’ll see a folder dedicated 2.
to each day that the RedAlert was operating.
All recorded images and videos are stored as separate fi les numbered in 3.
chronological order of when they were captured.
You can cut and paste the 4. RedAlert’s images/videos in the same manner as
any other fi le.
To delete fi les, drag them to the Trash/Recycle Bin (depending on your operating 5.
system) or highlight them and press your computers delete key. A popup box
will ask you to confi rm.
Most current systems will have no problem opening the fi le types that the 6.
RedAlert creates. If you encounter problems, update your video player or
image viewing software.
If you’re having trouble playing back the videos created by the RedAlert, consider
downloading VLC Media Player. There are versions of VLC available for Windows,
Mac OS and just about every other operating system you can imagine.
It is available free online, at http://www.videolan.org/vlc/