


17
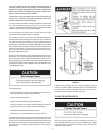
The water passing out of the drain valve may be extremely hot. To
avoid scalding, make sure all connections are tight and that the water
flow is directed away from any person.
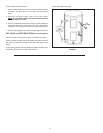
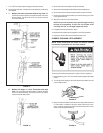
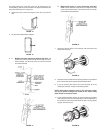
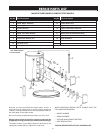
4. Remove the two screws securing the outer door, and remove
door.
FIGURE 15.
5. Remove the insulation block and pad.
FIGURE 16.
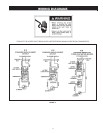
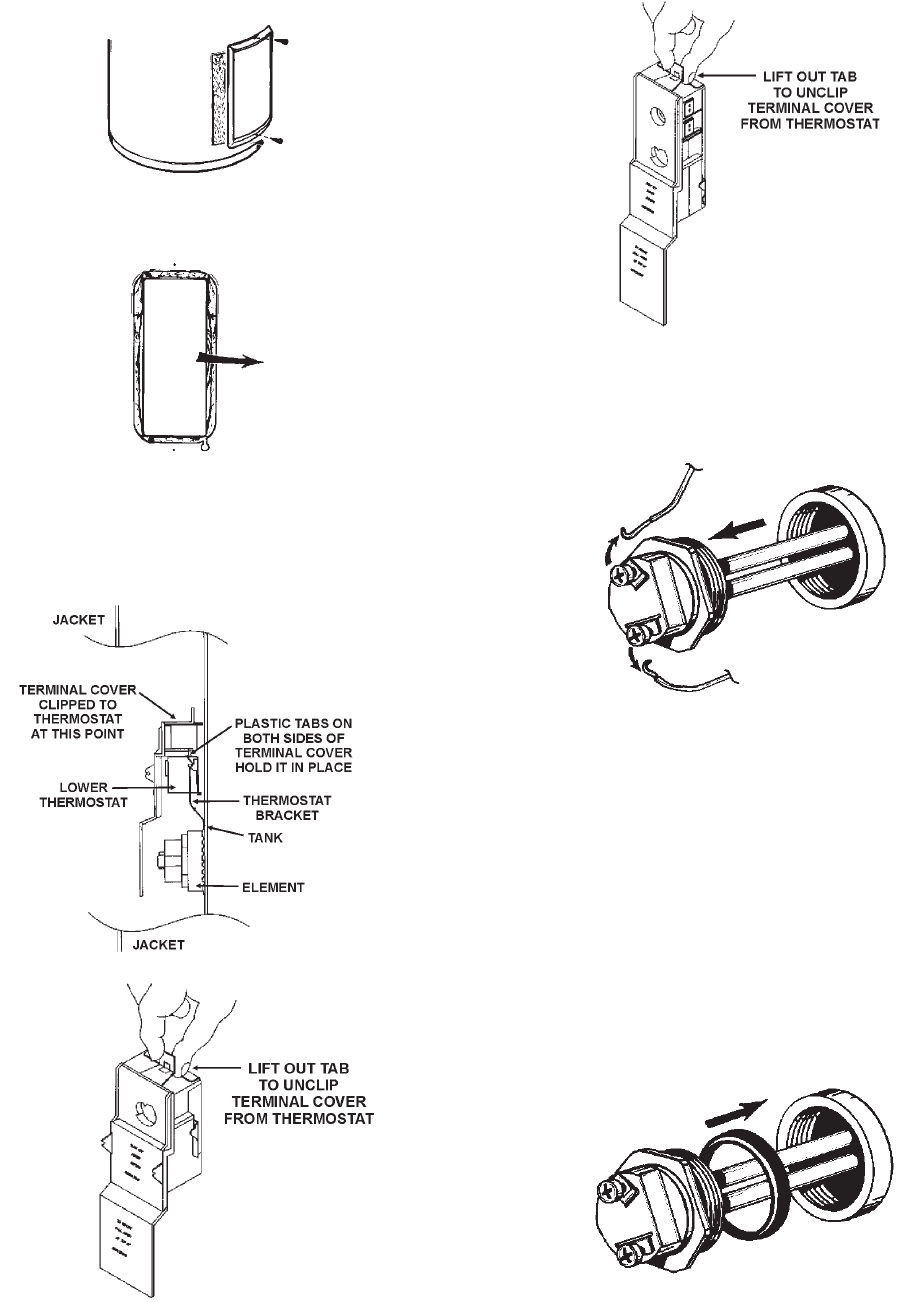
6. A. Models with lower thermostat without high limit: Lift
out the tab as shown below to unclip the terminal cover from
the thermostat. The terminal cover can now be removed
from the thermostat.
FIGURE 17.
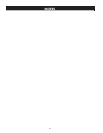
B. Models with Upper or Lower Thermostat with High
Limit: Lift out the tab as shown below to unclip the terminal
cover from the thermostat. The terminal cover can now be
removed from the thermostat.
FIGURE 18.
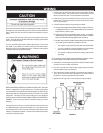
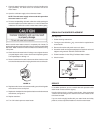
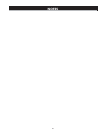
7. Disconnect the two wires on the element and unscrew the old
element from the tank.
FIGURE 19.
8. Clean the area around the element opening. Remove any sediment
from or around the element opening and inside the tank.
9. If you are cleaning the element you have removed, do so by
scraping or soaking in vinegar or a deliming solution.
NOTE: Replacement elements must (1) be the same voltage
and (2) no greater wattage than listed on the model rating
plate affixed to the water heater.
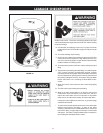
10. A new gasket should be used in all cases to prevent a possible
water leak. Place the new element gasket on the threaded side of
the cleaned or new element and screw into tank, securing tightly
using an element wrench.
FIGURE 20.