


3
3
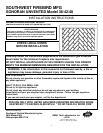
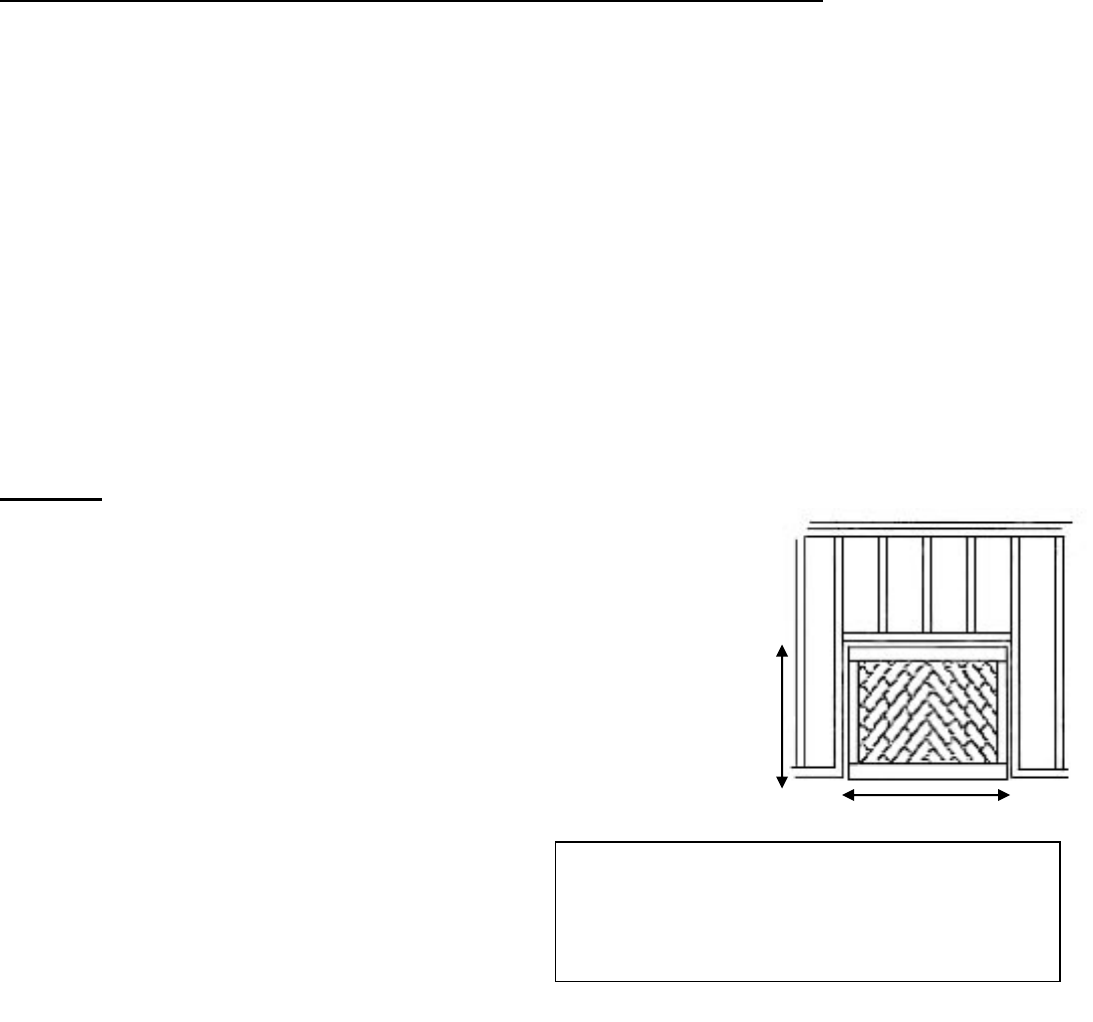
FRAMING DIMENSIONS
Widths A
Height B
Depth
Sonoran 36
44”
39”
27”
Sonoran 42
Sonoran 48
50”
56”
39’
39”
27”
27”
IN SELECTING A LOCATION, THE FOLLOWING PRECAUTIONS MUST BE OBSERVED;
1. Install in an area providing ventilation and adequate combustion air.
2. Due to high temperatures, the Unvented Fireplace should be located out of traffic and away from furniture
and draperies.
3. NEVER obstruct the front opening of the Unvented Fireplace or the flow of combustion and ventilation air. Keep
control compartments accessible.
4. Do not locate in the vicinity where gasoline or other flammable liquids may be stored. The Unvented Fireplace area
must be kept clear and free from these combustible materials.
5. DO NOT INSTALL THIS UNVENTED ASSEMBLY IN SLEEPING QUARTERS.
Preparation for Firebox Assembly
Tools Needed: 4” plastic putty knife or metal drywall knife.
Metal scraper or painter’s tool.
4” disposable coarse paint brush.
Carpenters square.
4’ level.
Optional Tool: SWF assembly jig system. (Frame & Straps.)
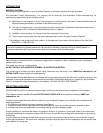
FRAMING
Construct framing using dimensions applicable to your particular installation.
If the fireplace is installed on a combustible material, the bottom heat shield is required
with 4” clearance to combustible with 1 ¼” airspace. Framing height is a minimum of
55”. Construct framing using dimensions shown depending on your particular
installation.
A 36" long 1/2” NPT SCHD 40 flexible gas line complying with the National Fuel Gas
Code ANSI Z223.1-1988/NFPA 54, may be run from the regulator to the exterior of the
Unvented Fireplace for access to your incoming 1/2" NPT black iron gas line or you
may route incoming gas line directly to the regulator.
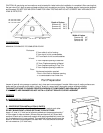
The incoming gas line may be routed towards the Unvented
Fireplace either from the left hand or right hand sides of the
Unvented Fireplace's outer surround. Remove the gas line
cover plate from the Unvented Fireplace's outer
surround at
the location to be used. Remove insulation from inside the
gas line conduit sleeve. Run gas line through until regulator
can be reached.
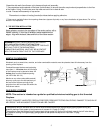
A sediment trap should be included between incoming gas line and regulator connection.
The sediment trap must extend a minimum of 3" down below the center of the incoming pipe.
Prepare incoming black iron gas line with Teflon tape or pipe joint compound (check with local codes as to the use of
Teflon tape).
Compounds used on threaded joints of gas piping shall be resistant to the action of Liquefied Petroleum (LP or Propane),
and should be applied lightly to ensure excess sealant does not enter the gas line.
Complete your gas installation by connecting incoming gas line to regulator. Secure all joints tightly with wrench but do not
over-tighten. If a flexible gas line is used, take care not to kink connector.
Repack insulation in and around the conduit sleeve and flexible gas line.
B
A