12 (US)
Step 5:
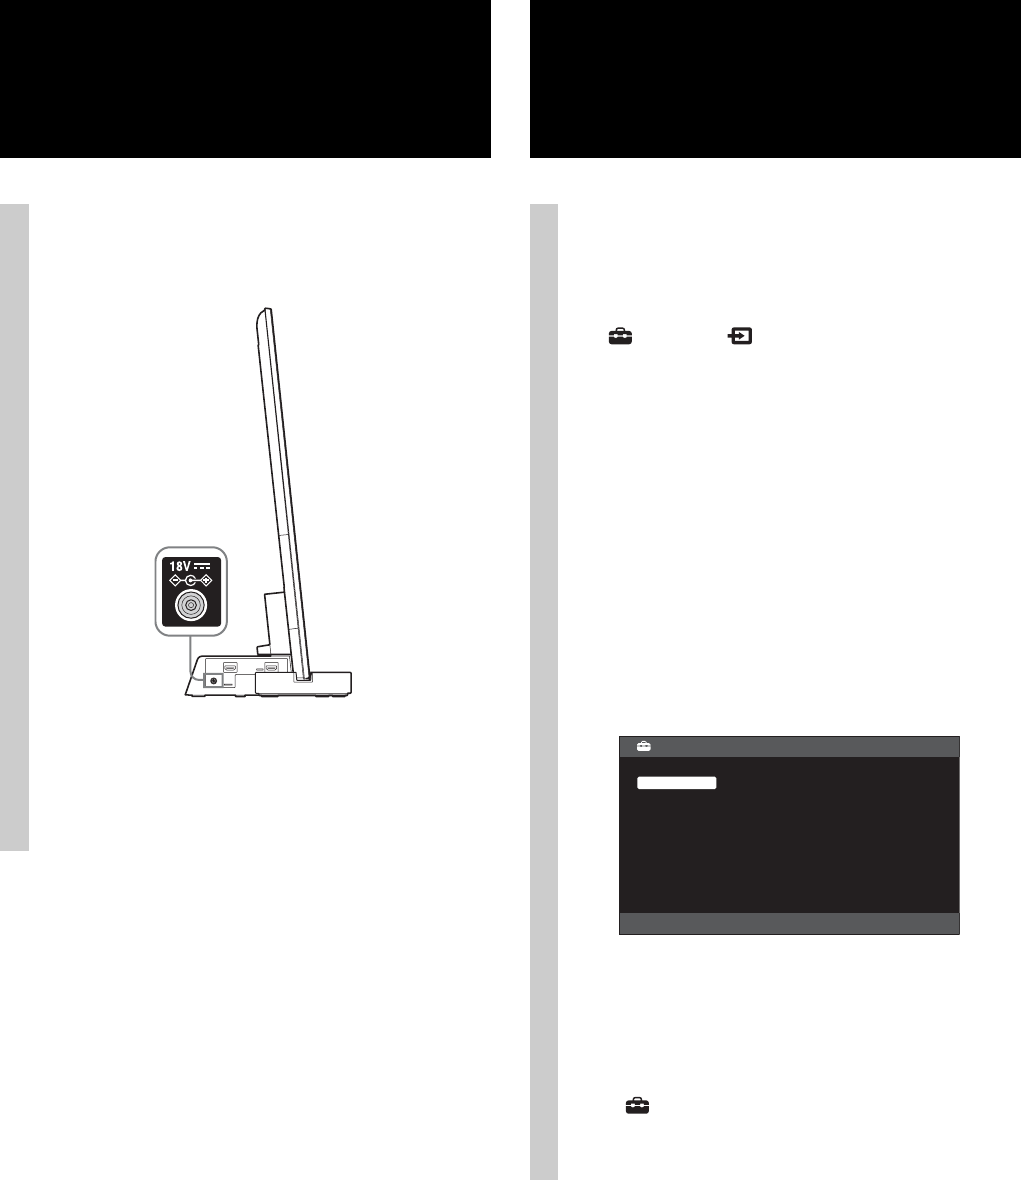
Connecting the AC
power cord
Connect all components and TV to the TV Stand
before connecting the AC power cord of the TV
Stand’s AC Adapter to a wall outlet.
~
• Connect the TV Stand to an easily accessible AC outlet.
Should you notice an abnormality in the TV Stand,
disconnect the main plug from the AC outlet immediately.
Step 6:
Performing the TV
settings
1 Set to “On” in the “Control for HDMI”
function.
Press the HOME button of the remote control of the
TV and select the menu as follows;
Settings > External Inputs > HDMI Set-up
> Control for HDMI > On
2 Set to “Audio System” in “Speakers” menu.
Press the SYNC MENU button of the remote
control of the TV and select the menu as follows;
Speakers > Audio System
~
After completing the settings for procedure 1 and 2, the :
(power) indicator lights up in green.
z
• Scene Select mode
This TV Stand is synchronized with the TV sound settings
automatically, and works together with the Scene Select
function, for you to choose your preferred sound for the
selected scene.
To change the sound, change the TV sound settings.
• Position Control
If you set “External Device Control” to “On” of the TV, this
TV Stand adjusts the volume balance between the left and
right speakers according to viewing position. (Setting of the
TV)
To set “Position Control”, press the HOME button, then
select > Preferences > Position Control > the desired
option.
HDMI1
Auto
General
Cinema
Sports
Music
Animation
Photo
Game
Graphics
Scene Select
