11
OPERATING THE REMOTE CONTROL
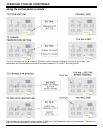
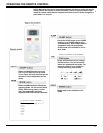
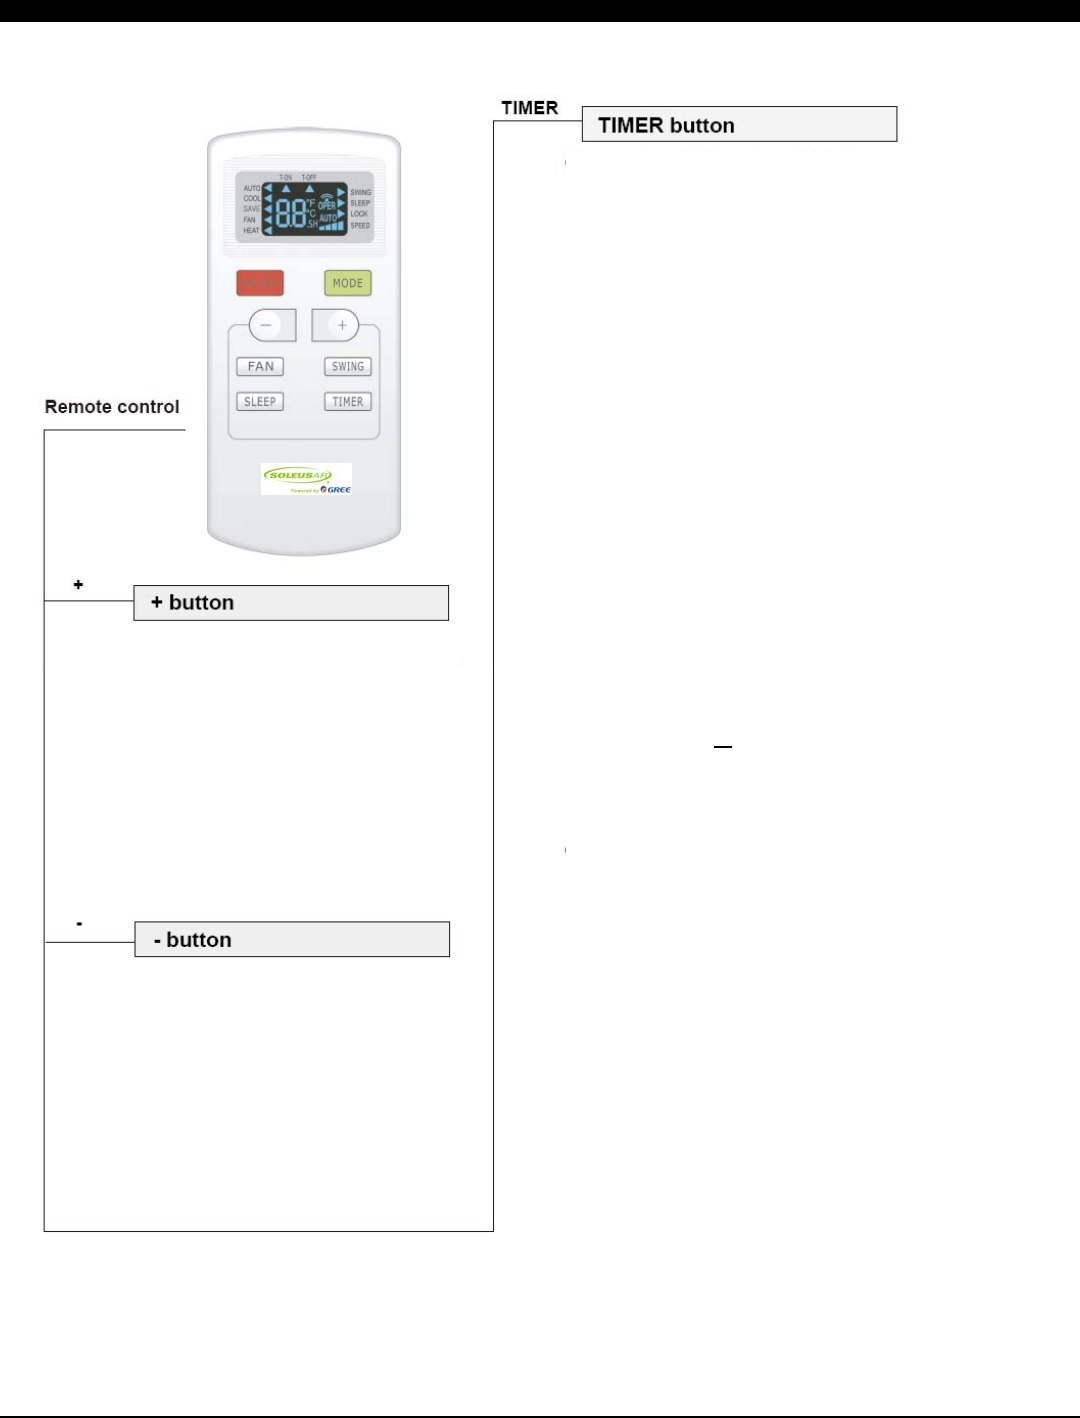
• Press the “+” button to increase
the temperature when the unit is on.
Press and hold the “+” button for
more than 2 seconds to quickly
cycle through the temperature
options. Stop pressing the button
when the desired temperature is
displayed. The temperature cannot
be set in auto mode. Temperature
range: 61°F - 86°F.
• Press the “-” button to decrease
the temperature when the unit is on.
Press and hold the “-” button for
more than 2 seconds to quickly
cycle through the temperature
options. Stop pressing the button
when the desired temperature is
displayed. The temperature cannot
be set in auto mode. Temperature
range: 61°F - 86°F.
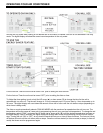
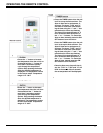
• Press the TIMER button when the unit
is off to set up the Auto-on timer. The
Auto-on time can be set between .5 -
24 hours. The icons “T-ON” and “H”
will flash for 5 seconds. Start select-
ing the time using the “+” and “-” but-
tons before the icons stop flashing.
The time will increase/decrease in .5
hour increments with each press of
the “+” or “-” buttons. To cancel the
Auto-on time, manually press the ON/
OFF button to turn the unit on.
• Press the TIMER button when the unit
is on to set up the Auto-off timer. The
Auto-off time can be set between .5 -
24 hours. The icons “T-OFF” and “H”
will flash for 5 seconds. Start select-
ing the time using the “+” and “-” but-
tons before the icons stop flashing.
The time will increase/decrease in .5
hour increments with each press of
the “+” or “-” buttons. To cancel the
Auto-off time, manual press the ON/
OFF button to turn the unit off.
• Once the Auto-on or Auto-off time is
set, the “T-On” or
“T-Off” and “H” will
blink for 2 seconds. After 2 seconds
the set temperature will be displayed.


