


29
Free-motion monogramming and embroidering
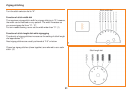
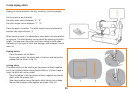
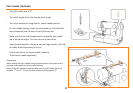
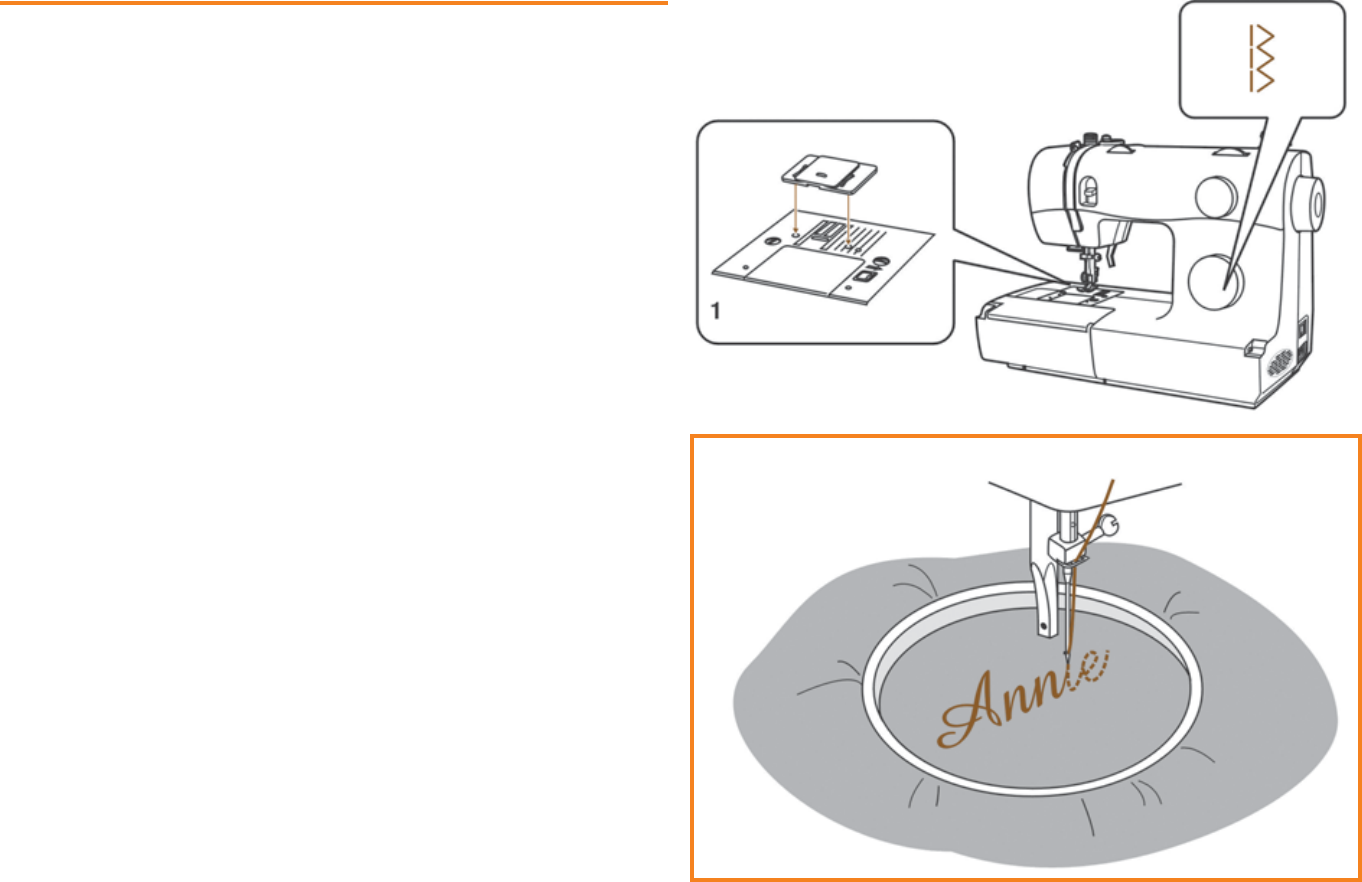
- Set the machine as illustrated.
- Turn stitch width dial to "0".
- Remove the presser foot and the presser foot holder.
- Attach the feed dog cover. (1)
- Lower presser foot lever before starting to sew.
- Adjust the stitch width according to the size of lettering or design.
Preparation for Monogramming and Embroidering*
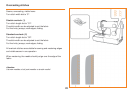
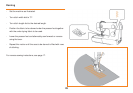
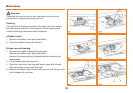
- Draw the desired lettering or design on the right side of the fabric.
- Stretch the fabric between embroidery hoop as fi rmly as possible.
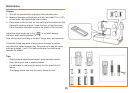
- Place the fabric under the needle. Make sure the presser foot
bar is down in its lowest position.
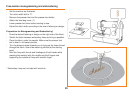
- Turn the balance wheel towards you to bring up the lower thread
through the fabric. Sew a few securing stitches at the starting
point.
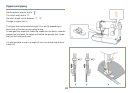
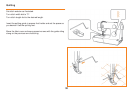
- Hold the hoop with thumb and forefi ngers of both hands while
pressing the material with the middle and third fi ngers and
supporting the outside of hoop with smaller fi nger.
* Embroidery hoop not included with machine.