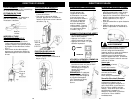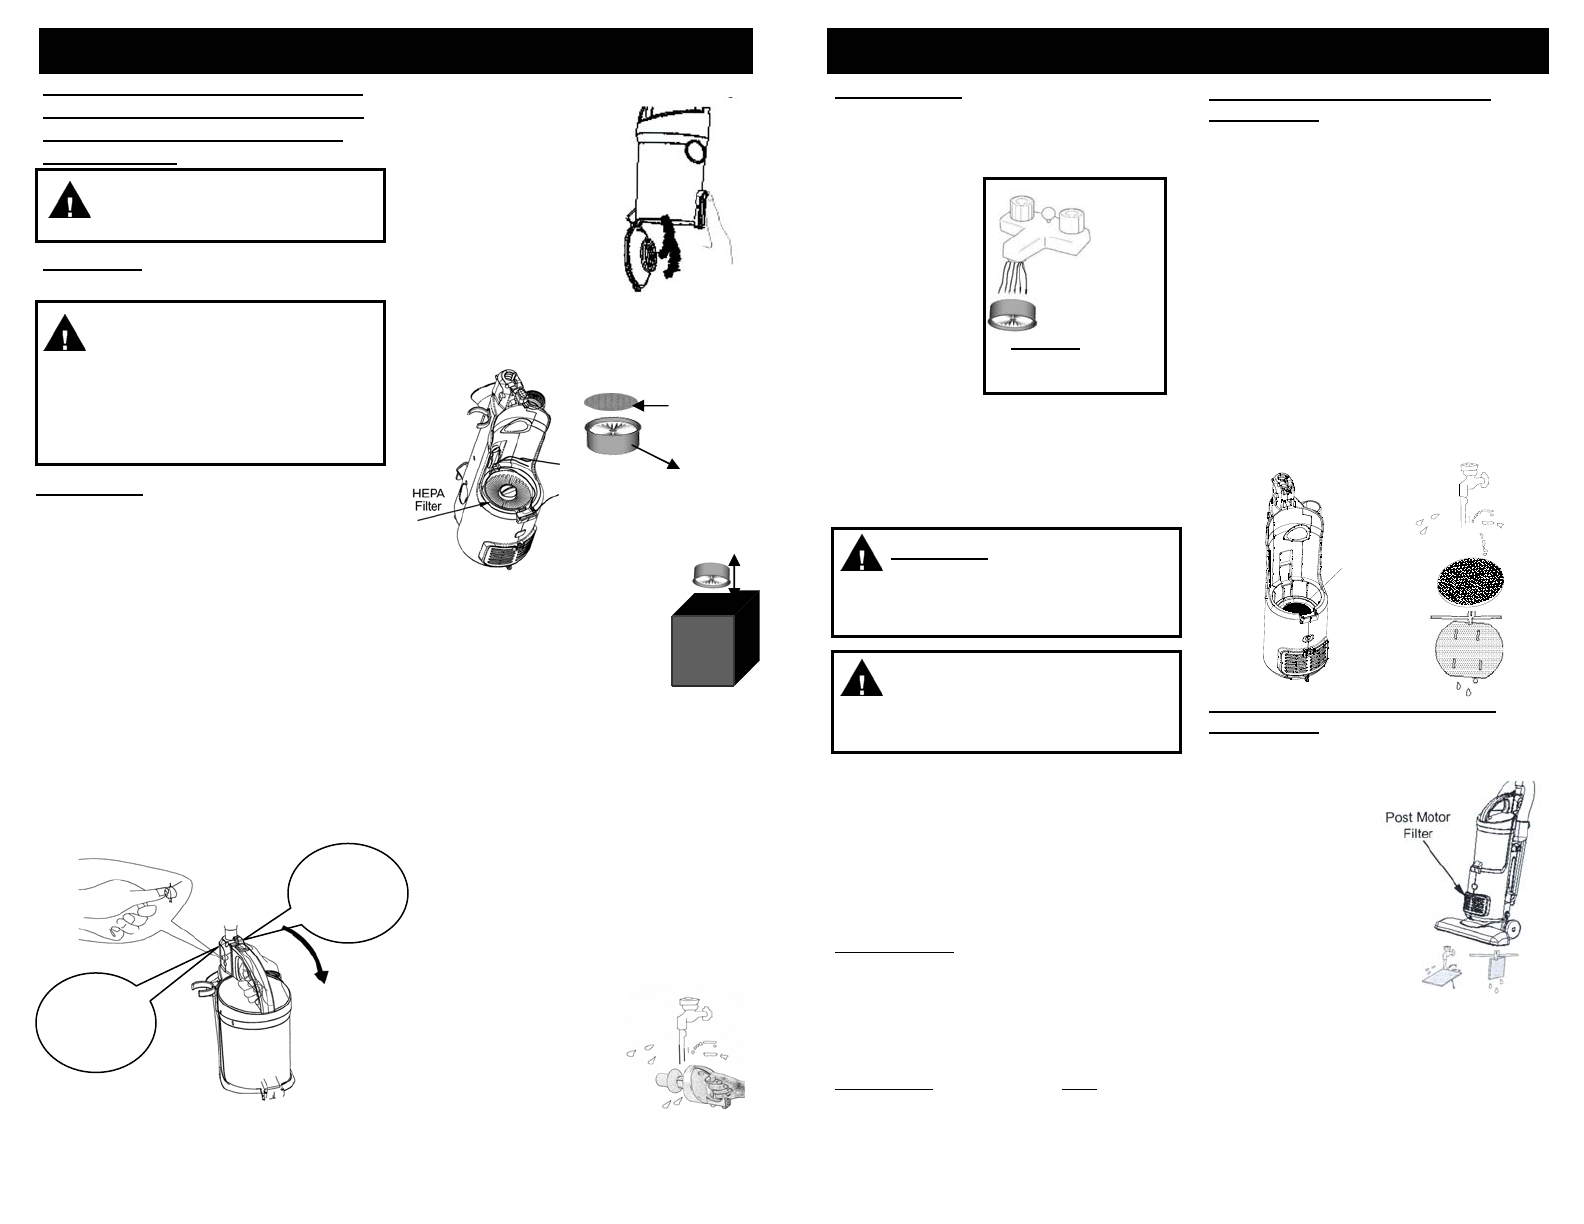
HEPA
Filter
Non-Woven
Pre-Filter
Fig. 10
Fig. 11
7
OPERATING INSTRUCTIONS
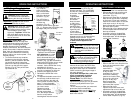
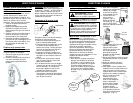
1. To remove the dust cup container,
first press on the dust cup release
button (1) that is located on the dust
cup handle and at the same time
press on the dust cup release button
(2) that is on the side of the upper
housing. (Fig. 8) Then pull the dust
cup container out.
Emptying the Dust Cup Container
and Cleaning / Changing the Non-
Woven Pre-Filter, HEPA Filter &
Debris Screen
Warning: Always unplug the
unit from electrical outlet before
opening the dust cup (container).
Important: Do NOT use the vacuum
without the HEPA filter in place.
Warning: After each Use - Always
remove the non-woven pre-filter,
HEPA filter and the dust cup cover
with the debris screen, then
vigorously “TapClean” HEPA filter
and clean debris screen and non-
woven pre-filter until no more dust
can be removed.
IMPORTANT
, Please Note : The
“TapClean” HEPA filter will stop most
microscopic dust particles and airborne
allergens from re-entering the air you
breathe. Because of this incredible
filtration performance, the HEPA filter will
quickly accumulate, inside the white filter
folds, many fine dust particles that are
difficult to see but which will eventually
block or reduce your suction power - if not
cleaned properly.
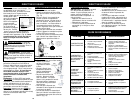
4. Hold the HEPA filter
by the edges and vigorously
“TapClean” the HEPA filter
dirty side down on a hard,
flat surface until no more
dust is observed falling out
from between the pleats of
the filter. (Fig. 12) We recommend
washing the HEPA filter once a month
or when suction appears to be
reduced. Let the HEPA filter air dry
completely for 24 hours.
5. Rinse the non-woven pre-filter and
let air dry completely for 24 hours.
6. Insert the non-woven pre-filter.
7. Reinstall the HEPA filter in the
vacuum.
8. To separate the debris screen from
the dust cup, hold the dust cup in
one hand and turn the dust cup
cover counter clockwise and pull
apart. To clean the debris
screen, we recommend that
you rinse it under
lukewarm running
water to remove the
dirt that accumulates
on it, but always allow 24
hours to air dry before
inserting back into the vacuum.
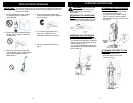
3. The HEPA filter is
located underneath
the dust cup
container. (Fig. 10)
Remove the non-woven pre-filter.
(Fig. 11) Remove the HEPA filter, hold
the edges and pull it out slowly.
2. To empty the dust
cup container,
press on the trap
door release button
that is on the back
side of the dust cup
container. (Fig. 9)
Dust
Cup
Release
Button 2
Dust
Cup
Release
Button 1
Fig. 8
Fig. 9
Fig. 12
Fig. 13
PLEASE NOTE: The white pleated
filter material in the HEPA filter will
discolor over time -This is NORMAL
and will NOT affect the performance
of the filter. If the HEPA filter
is properly
"TapCleaned”
after each use
and suction
does not return
to 100%, then
we suggest that
the HEPA filter
be “TapCleaned”
vigorously until
no more dust
can be removed,
then rinsed under the faucet and
allowed to air dry for 24 hours before
refitting into the vacuum. (Fig. A)
This should be done once a month
or when suction appears to be
reduced .
Wash
once a
month or
when
suction
appears
reduced
Fig. A
OPERATING INSTRUCTIONS
CAUTION: The suction hole must
be open, free of any obstructions at
all times. Otherwise, the motor will
overheat and could become
damaged.
Warning: Allow 24
hours for drying before
replacing in unit.
Warning: Always empty the dust
cup container and clean the HEPA
filter, non-woven pre-filter and
debris screen before each use
and during prolonged usage.
Changing & Cleaning the Pre-
Motor Filter
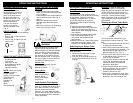
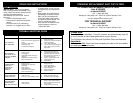
The pre-motor filter is a washable filter.
• Remove the dust cup container and
the HEPA filter to remove the pre-
motor filter. (Fig. 14)
• Rinse the pre-motor filter in lukewarm
water and air dry the filter completely
for 24 hours. Do not use a washing
machine to rinse the filter. Do not use
a hair dryer to dry it. Air dry only.
Never operate the vacuum without the
pre-motor filter in place.
• When the filter is dry, replace into the
unit and replace the HEPA filter and
dust cup container.
• A severely soiled or clogged filter
should be thoroughly washed with
fresh tepid water. A mild detergent
can be used if required.
8
Pre-Motor
Filter
Never over fill the dust cup container -
remove dirt and clean the HEPA filter,
non-woven pre-filter and debris screen
when dirt in dust cup is at or below the
"MAX" level during prolonged usage or
risk motor damage.
If you wash the Hepa filter, make sure
that it is completely dry before
inserting back in the vacuum.
Please Note: The HEPA filter is
washable. It should, however, be
replaced every three (3) to six (6) months
to ensure peak performance of your
vacuum.
The non-woven pre-filter, pre-motor and
post motor filters are washable.
Important: Make sure that ALL filters
are completely dry before re-installing
back in the vacuum.
Fig. 14
Fig. 15
Changing & Cleaning the Post
Motor Filter
The post motor filter is a washable filter.
• Remove the filter cover from the front
of the unit and remove the filter.
• Rinse the post
motor filter in
lukewarm water and
air dry the filter
completely for 24 hours.
Do not use a washing
machine to rinse the filter.
Do not use a hair dryer
to dry it. Air dry only.
Never operate the
vacuum without the
post motor filter in place.
• When the filter is dry,
replace into the filter cover and
replace the filter cover to the unit.
• A severely soiled or clogged filter
should be thoroughly washed with
fresh tepid water. A mild detergent
can be used if required. (Fig. 15)


