4. Service procedures
1
2
3
4
Section
– 96 –
SM830076
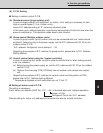
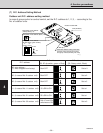
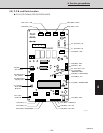
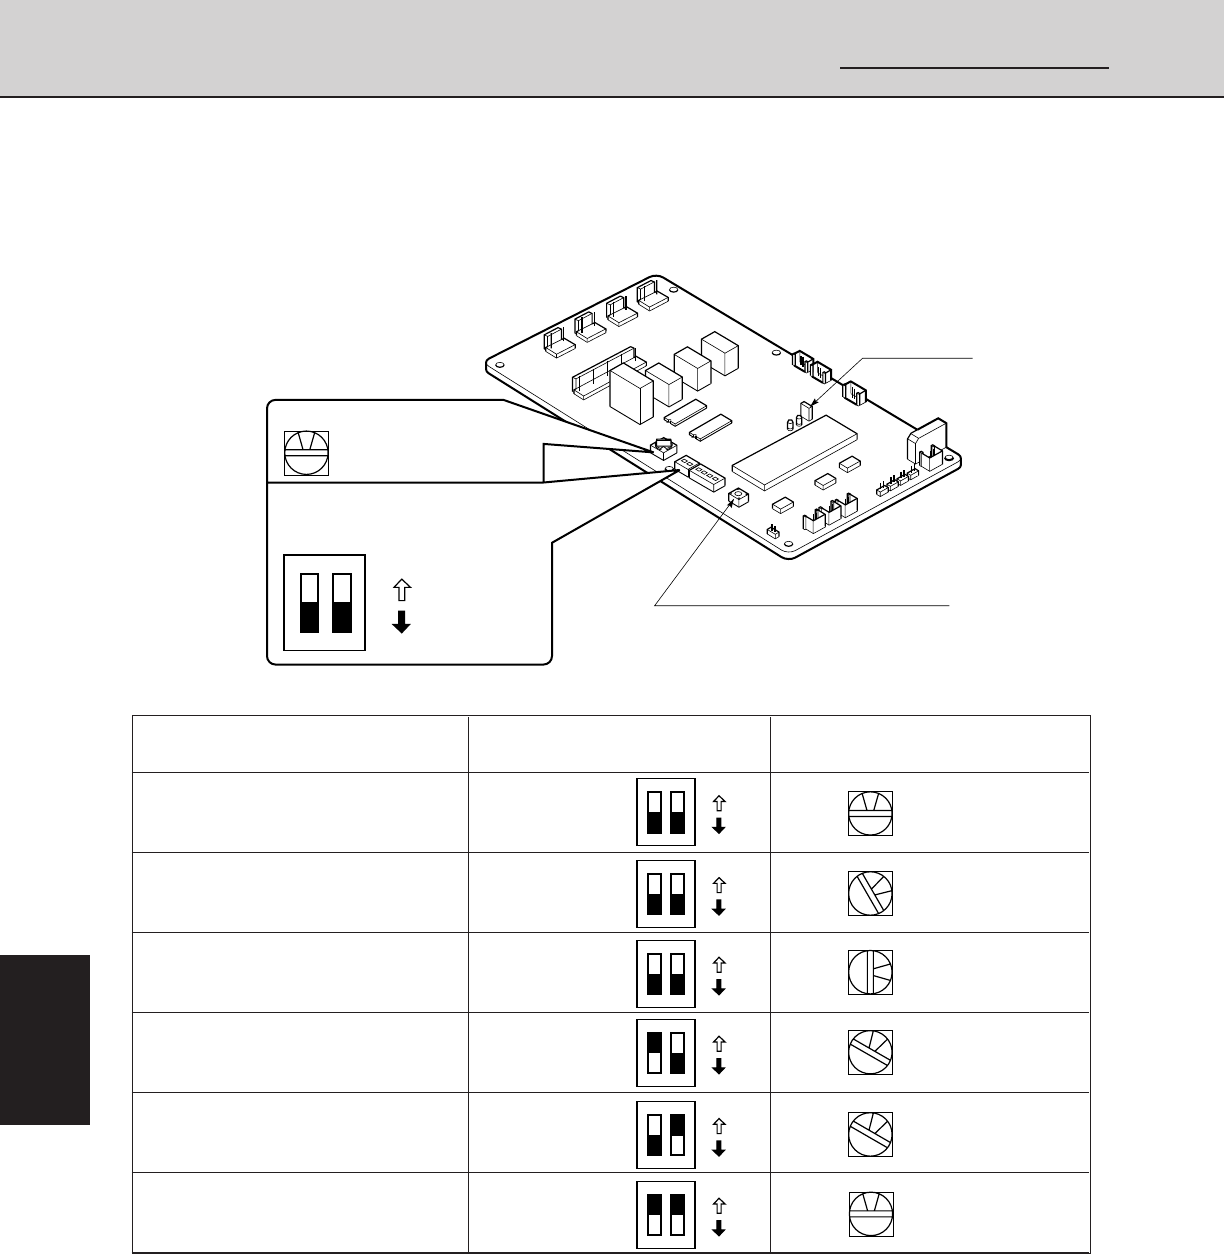
(7) R.C. Address Setting Method
Outdoor unit R.C. address setting method
In case of group control or central control, set the R.C. address to 1, 2, 3, ... according to the
No. of outdoor units.
(“0” when shipped from factory)
1
ON
ON side
OFF side
2
1
ON
ON side
OFF side
2
1
ON
ON side
OFF side
2
1
ON
ON side
OFF side
2
1
ON
ON side
OFF side
2
1
ON
ON side
OFF side
2
0
0
1
1
3
2
Both 10’s and 20’s
R.C. address
R.C. address R.C. address
(S3: 2P dip switch, green or Blue) (S2: Rotary switch, Black)
00 auto address
Both OFF Set to 0
02 (In case of No. 2 outdoor unit) Both OFF Set to 2
03 (In case of No. 3 outdoor unit) Both OFF Set to 3
11 (In case of No. 11 outdoor unit) 10’s SW is ON Set to 1
21 (In case of No. 21 outdoor unit) 20’s SW is ON Set to 1
30 (In case of No. 30 outdoor unit)
switches are ON
Set to 0
1
ON
10
position
20
position
ON side
: S2
: S3
OFF side
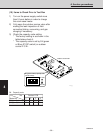
Refrigerant circuit address
(2P DIP switch, green or Blue)
Refrigerant circuit address (black)
Refrigerant circuit address
(factory setting = 0)
Outdoor control PCB
1126_C_I
2
0
A. ADD (S1):
Automatic address setting start button
Used for central control (link system)
and group control (Normally, not used)
CN4 (2P Black)


