


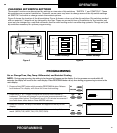


To replace thermostat onto wiring subbase (cont.):
3. Press SYSTEM button to put the thermostat into HEAT,
COOL, or AUTO mode. The thermostat will return to normal
operating mode.
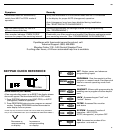
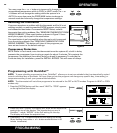
You may reset the thermostat at any time. Reset is located on the
back side of thermostat in the lower, right corner. See diagram.
Pressing reset will erase ALL programmed information as well as
time clock and day of week.
10
RESET
SYSTEM
31
OPERATION
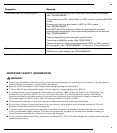
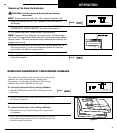
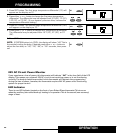
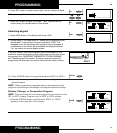
Changing dip switch settings:
1. Use a small screwdriver or pencil to move the switch to the desired setting.
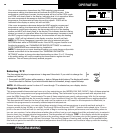
2. Press RESET button. See Figure 5. Pressing RESET will erase any previously entered
programming information.
NOTE: When changing the settings on “Switch 1”, the Reset button does not have to be
pressed for the new configuration to register or operate.
IMPORTANT: New dip switch settings for “Switch 2” will not register or operate options
until the RESET button is pressed.
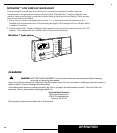
REPLACING THE BACK-UP BATTERIES
This thermostat is 24V AC powered and requires connection to both sides of transformer
for proper operation. It also requires four charged “AA” ENERGIZER
®
brand batteries or
equivalent alkaline batteries as a back-up source of power should the 24V AC circuit be
interrupted temporarily due to a power outage. The battery back-up will maintain all
program information during power outages.
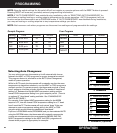
This thermostat has two levels of low battery indication. As the back-up batteries weaken,
the thermostat will go to the next stage of low battery indication.
Low Battery—Stage 1
“LO BATT” stays constant on the display. Replace batteries soon. Display and
thermostat functions normal.
Low Battery—Stage 2
“LO BATT” stays constant on the display and thermostat “beeps” about once a
minute. Replace batteries immediately. Display and thermostat functions normal.
RESET
- + - +
- + - +
T
CH 1
Figure 5
OPERATION
MON
MANUAL
HEAT
PM
LO
BATT
F