


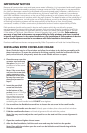

C. Continue placing shims at each pre-drilled hole as needed to plumb and square the
window.Checkthewindowforsquarebymakingsurethediagonalmeasurementfrom
cornertocornerofthereplacementwindowiswithin1/8"inbothdirections.Inserta
3-1/4"nishwoodscrewintoeachpre-drilledholeintheframe.Finishinsertingthetop
screw in each jamb.
Note: DO NOT shim above the window. DO NOT over shim.
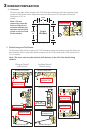
4 SETTING AND FASTENING THE WINDOW
TWO OR MORE PEOPLE ARE REQUIRED FOR THE FOLLOWING STEPS.
Note: Because there are no stops in the opening to place the window against, be sure to hold
the window in place when performing Steps 4A thru 4C.
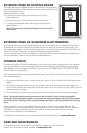
A. Insert the replacement window in the opening byrst
placing the bottom of the window on top of the shims on
the sill of the opening. Tip the window upright into the
opening.
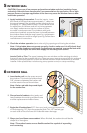
Note: Use of a suction cup
on the glass will assist in
handling the window.
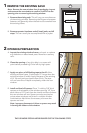
Note: Each existing window frame and wall depth will
vary in different applications; therefore there is not a
standard measurement for the overhang of the window
frame to the exterior or for the distance from the interior
face of the window to interior trim. When performing
Steps 4B thru 4C, installing the frame screws, be sure to
keep the distance consistent all around the window.
Note: On the exterior, there must be enough room for
backer rod and 3/8" sealant bead.
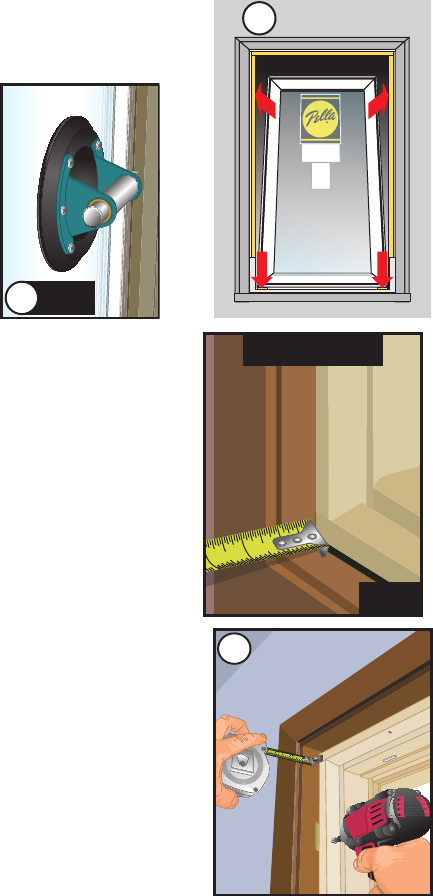
B. Place shims aligned with the top pre-drilled hole in
onejambofthewindowframe.Keepshimsback1/2"
frominteriorfaceofwindow.Partiallyinsertone3-1/4"
nishwoodscrew.Repeatontheotherjamb.
Note: Position the shims to ensure they allow at least
1/2" from the exterior surface of the window to allow
for placement of backer rod and sealant.
EXTERIOR
4A
NOTE4A
3
2
1
in
NOTE
INTERIOR VIEW
4B