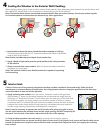
1
Prepare the Opening:
A. Prepare the rough opening.,WPXVWEHWKHFRUUHFWVL]HZLQGRZIUDPHSOXVLQERWKZLGWKDQGKHLJKWVTXDUHSOXPE
and the sill must be level. If needed, block in the rough opening on both sides, the top and the bottom.
Note: If installing new blocking, install the blocking so it’s flush with the exterior sheathing of the house. DO NOT attempt
to install a window in an undersize opening.
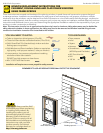
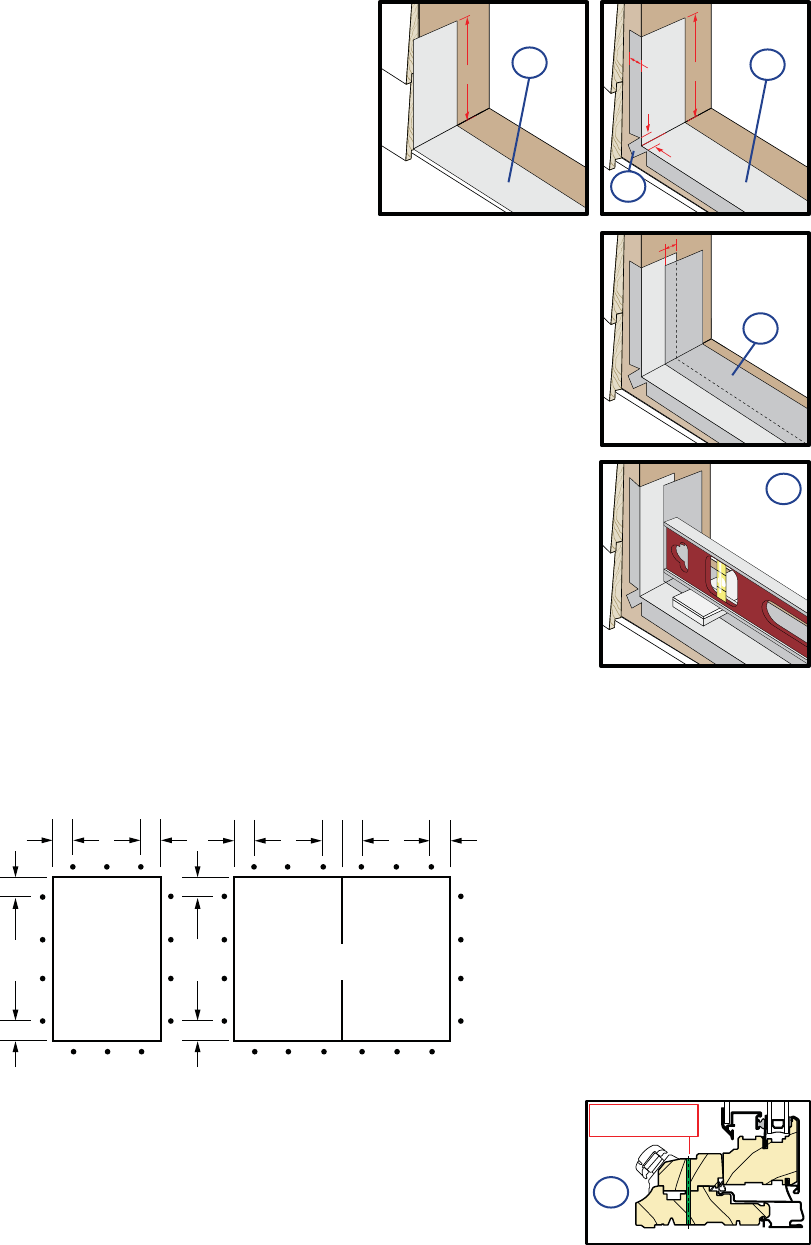
B. Apply sill flashing tape #1.&XWDSLHFHRIŶDVKLQJWDSHORQJHU
than the opening width. Apply at the bottom of the opening as shown
%)RURSHQLQJVZKHUHH[WHULRUWULPZDVUHPRYHGDSSO\WKHWDSHVR
LWRYHUKDQJVRQWRWKHH[WHULRUVKHDWKLQJRUZDWHUUHVLVWLYHEDUULHU
Note: The tape is cut 12" longer than the width so it will extend 6" up
each side of the opening.
C. Tab the sill flashing tape and fold. &XWZLGHWDEVDWHDFKFRUQHU
IURPHDFKVLGHRIFRUQHU&)ROGWDSHWRWKHH[WHULRUDQG
press firmly to adhere it to the water resistive barrier.
Note: This step is not required if the exterior trim has not been removed.
1E
6"
1"
1/2"
1/2"
6"
1B
1B
1C
1"
1D
2
Window Preparation:
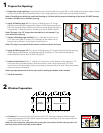
A. Casement:2QWKHURRPVLGHRIWKHZLQGRZGULOOGLDPHWHUFOHDUDQFHKROHVWKURXJK
WKHKHDGMDPEVDQGVLOORIWKHIUDPH6SDFHWKHKROHVDPD[LPXPRIIURPHDFKHQGDQG
DPD[LPXPRIRQFHQWHU
Note: On vent casements, place the holes so they do not interfere with the roto operator and
the latch points on the lock side of the window.
Casement Sill
Drill 1/8"
clearance hole
2A
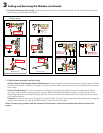
D. Apply sill flashing tape #2. &XWDSLHFHRIŶDVKLQJWDSHORQJHUWKDQWKHH[LVWLQJRSHQLQJ
ZLGWK$SSO\DWWKHERWWRPRYHUODSSLQJWDSHE\DWOHDVW'RQRWDOORZWKHWDSHWR
H[WHQGSDVWWKHLQWHULRUIDFHRIWKHIUDPLQJ'
E. Install and level shims. 3ODFHŔZLGHE\~ŔWKLFNVKLPVRQWKHERWWRPRIWKHRSHQLQJŔ
IURPHDFKVLGHEHQHDWKWUDQVLWLRQEDUVDQGPXOOLRQMRLQWV.HHSVKLPVEDFNIURP
interior face of window. Adjust shims as necessary to ensure the sill is level. Once level, attach
shims to prevent movement.
Note: Improper placement of shims may result in bowing the bottom of the window.
F. Test fit the window.
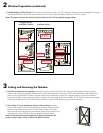
Single
Window
6"
6"
6"
EVERY
16"
6"
6"
EVERY
16"
6"16"
EVERY
6" 6"16"
EVERY
6" 6"16"
EVERY
Multiple Windows


