6 PELCO Manual C430M-E (1/95)
8. Replace the two (2) Phillips head screws.
IMPORTANT: When reinstalling the front
or rear of the enclosure, make sure the end caps
are firmly seated against the enclosure to in-
sure proper sealing.
9. Attach the enclosure to the appropriate mount or
pan/tilt using the instructions provided.
10. If the housing is mounted such that the two mount-
ing holes are facing up, and only one mounting
hole is used, the other hole shall be plugged by a
1/4"-20 bolt to prevent the entrance of water.
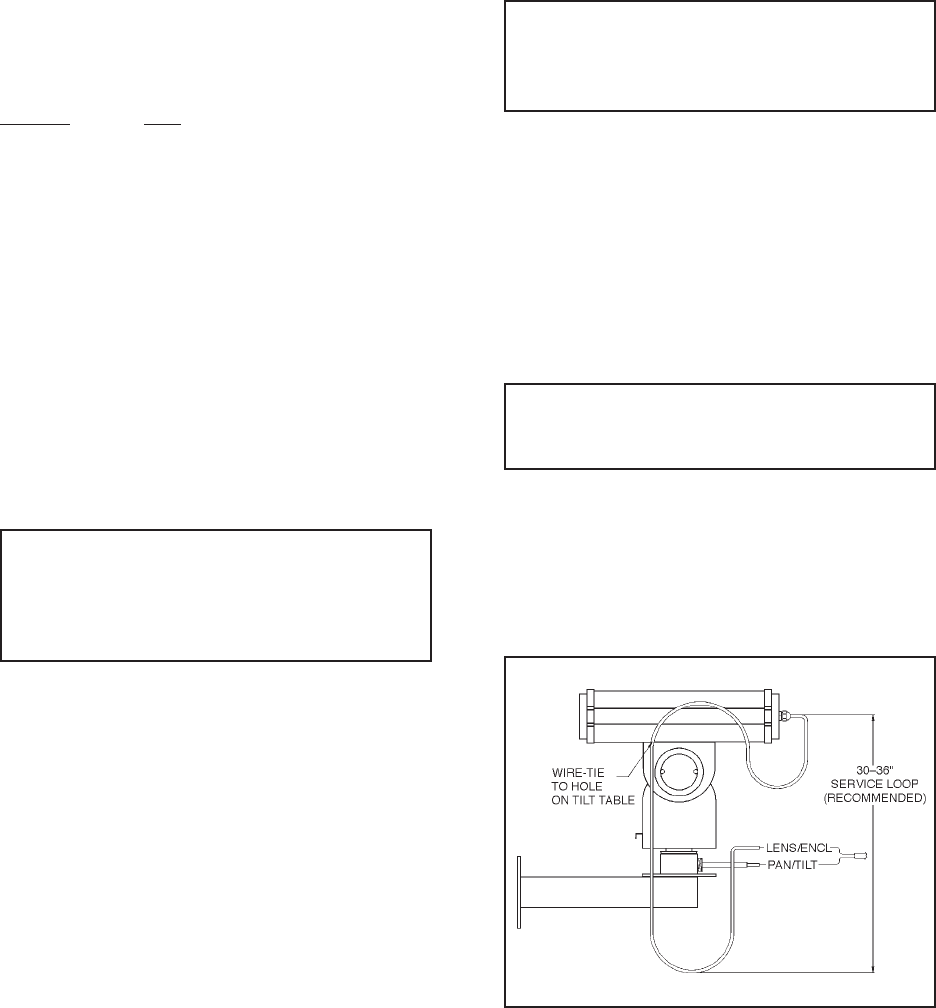
11. All cables entering the enclosure shall employ a
service loop to prevent the entrance of water.
NOTE: If the lens needs to be adjusted after
installation, it is easier to remove the front cap
to make final lens adjustments.
4.0 INSTALLATION
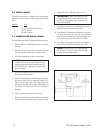
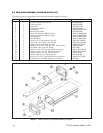
The following hardware is supplied with the enclosure
and can be used to mount the enclosure or the camera/
lens.
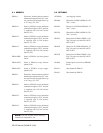
Quantity Item
3 1/4-20 x .500 Hex head screws
3 1/4 Flat washers
3 1/4 Split washers
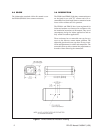
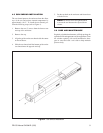
4.1 CAMERA/LENS INSTALLATION
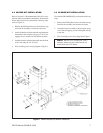
To install the camera/lens, perform the following steps:
1. Remove the two (2) Phillips head screws from the
rear cap.
2. Remove the rear cap from the enclosure, pull out
the sled assembly and remove it from the rail.
3. Place the camera/lens on the sled assembly.
NOTE: Position the camera/lens at the for-
ward-most point on the sled, while allowing
clearance between the lens and enclosure win-
dow when the lens is adjusted to its maximum
physical length.
4. Secure the camera/lens to the sled with the 1/4-20
hex head screws provided.
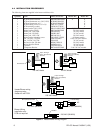
5. Pull the video and power cables through the glands
and attach to the camera. Adjust the glands for a
tight fit around the cables. The cable glands are
designed to be used with a single cable ranging in
size from 0.187" (0.475 cm) to 0.312" (792 cm) in
diameter.
6. Adjust camera focus and iris if necessary.
7. Replace the sled on the rail and slide the assembly
into the enclosure until the cap is securely closed.


