


WINDOW REQUIREMENTS
• Hot sun rays hitting the outside surface
of the cabinet will create considerable
heat load. If the outside of the cabinet is
exposed to direct sunlight, consider
building an awning to shade the cabinet
while providing ample area for the heated
air to be exhausted from the condenser
(both sides) and the top.
This unit is designed for installation in
standard double hung windows.
NOTE
The unit may also be installed “through the wall”. You should,
however, observe standard carpentry practices and frame the
opening without violating local ordinances.
INSTALLATION PROCEDURES
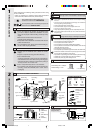
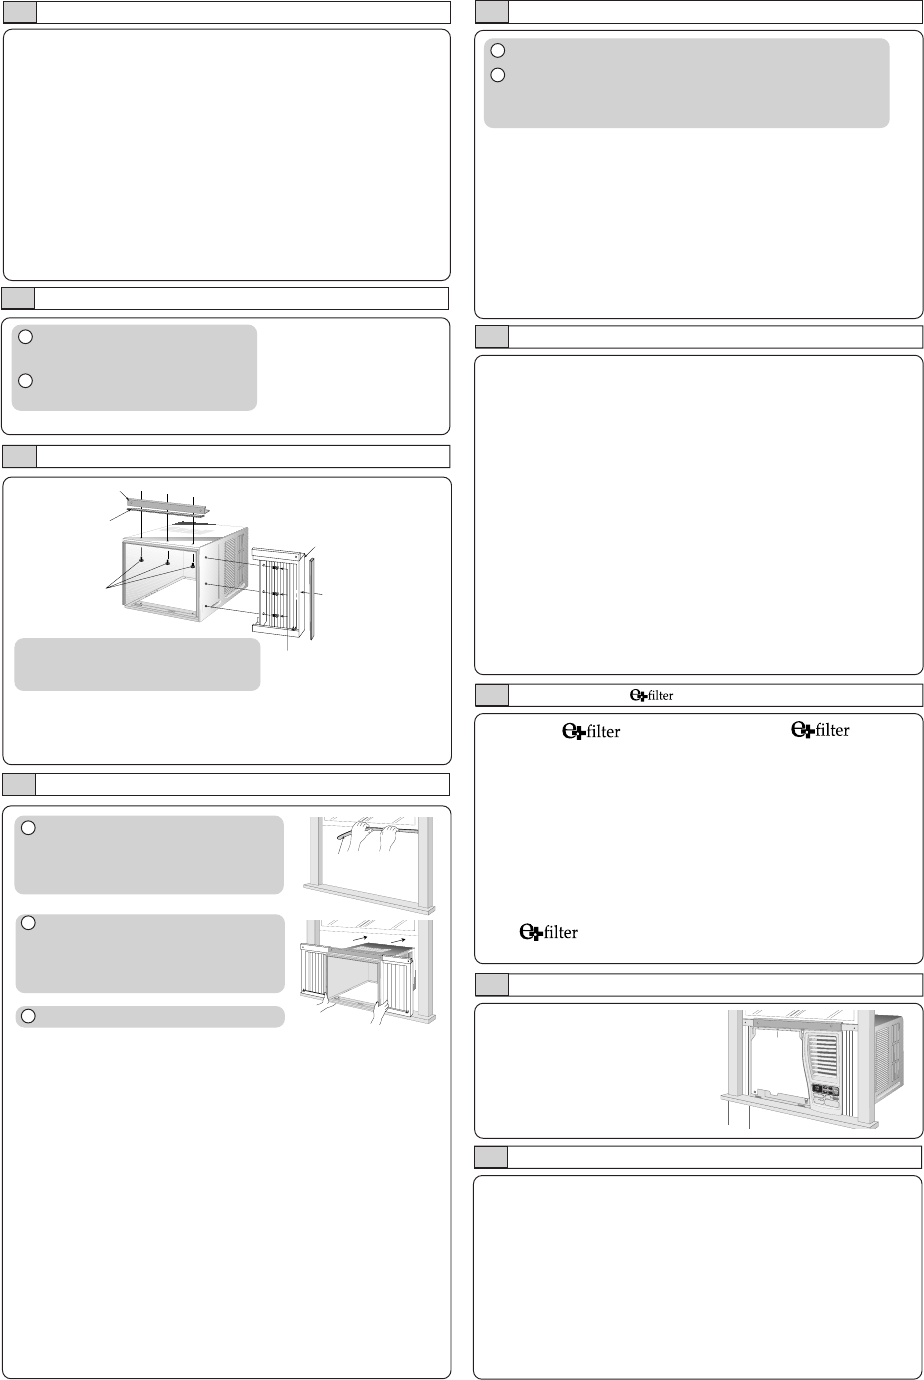
HOW TO ASSEMBLE THE EXPANDABLE PANELS
Top angle
Type B screws
Type C screws
• Attach the top angle to the cabinet using screw type B (3 pcs).
• Insert expandable panels to cabinet sides as shown.
• Secure the first fold of expansion panel to cabinet using screw
type C (3 each).
Expandable panel
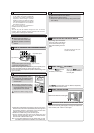
CHASSIS INSTALLATION INTO THE CABINET
1 Remove the rear cabinet
screws and save for later use.
2 Slide the chassis out from the
cabinet.
CABINET INSTALLATION
1 Cut the “Sealing Ribbon” to the
proper length, and attach it along
the bottom edge of the bottom
window sash.
2 To prevent condensation water
from dripping inside, the cabinet
should be installed level or very
slightly tilted to the outside.
3 Secure the cabinet using screws.
• Expand the expandable panel fully into the grooves of the
window frame, secure the expandable panel, left, right and
top mounting frames to the bottom of the window sash
using 6 screws type A and 2 screws type B.
• Secure the cabinet using wood screws type A.
• Cut the window sash foam seal to the proper size and
seal the opening between the top of the inside window
sash and the outside window sash.
Note :If a gap exists between the unit and window sash, you may
use “Sealer” supplied with the installation kit for a better seal.
Window sash
sealing ribbon
1 Slide the chassis into the cabinet.
2 Reinstall the cabinet screws.
Secure the cabinet to chassis by using screws (from
rear cabinet).
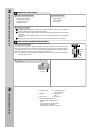
INSTALLATION OF THE FRONT GRILLE
Depending upon the location
of the AC outlet, route the AC
cord to either the left or right
side while installing the front
grille.
This figure shows the AC cord
routed to the left side.
INSERT THE (OPTIONAL)
Attach the (part no.
CZ-SF6P) to the frame.
Slot in the and the
frame (part no. CZ-SFW6P) to
the front grille.
The and the frame can be obtained separately
from your nearest service center.
INSERT THE AIR FILTER
Attach the air filter to the intake grille
PLACE FRONT INTAKE GRILLE OVER THE FRONT GRILLE
Slide the front intake grille slightly to the right to reattach the
tabs and then push it down to close tight.
NOTE
This procedure applies to left and right
of assembling expandable panel.
O
F
F
/O
N
O
P
E
R
ATIO
N
T
E
M
P
/
T
I
M
E
R
C
O
O
L
F
A
N
H
I
G
H
M
E
D
L
O
W
M
O
D
E
F
A
N
S
P
E
E
D
S
E
T
TIM
ER
S
E
T
/
C
A
N
C
E
L
A
I
R
S
W
I
N
G
E
C
O
N
O
M
Y
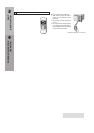
hr
°F
W
ire
less
R
e
m
o
t
e
C
o
n
t
r
o
l