


7
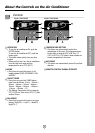
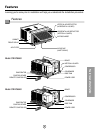
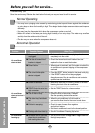
About the Controls on the Air Conditioner
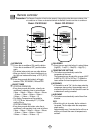
VENTCLOSE
OPEN
Part
A
Part
B
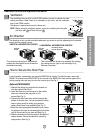
Drain pipe
Drain cap
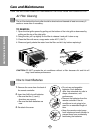
Fig. 4
Fig. 3
Fig. 2
DRAIN
PA N
DRAIN HOSE
Inside diameter 17mm (5/8")
Fig. 1
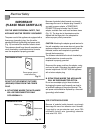
CABINET
SCREW
Controlled
manually
Controlled
manually
Controlled by Remote
Controller
(Model: CW-XC85HU)
O
F
F
/
O
N
O
P
E
R
A
T
I
O
N
T
E
M
P
/
T
I
M
E
R
C
O
O
L
F
A
N
H
I
G
H
M
E
D
L
O
W
M
O
D
E
F
A
N
S
P
E
E
D
S
E
T
T
I
M
E
R
S
E
T
/
C
A
N
C
E
L
A
I
R
S
W
I
N
G
E
C
O
N
O
M
Y
h
r
F
W
i
r
e
l
e
s
s
R
e
m
o
t
e
C
o
n
t
r
o
l
Remove the
rubber plug
O
F
F
/
O
N
O
P
E
R
A
T
I
O
N
T
E
P
/T
I
C
O
O
L
F
A
N
H
I
G
H
M
E
D
L
O
W
M
O
E
F
A
N
S
P
E
E
D
S
E
T
T
I
M
E
R
S
E
T
/
C
N
E
A
I
R
E
C
O
N
O
M
Y
F
W
i
r
e
l
e
s
s
R
e
m
o
t
e
C
o
n
t
r
o
l
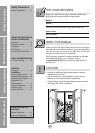
Additional controls and important information.
Ventilation
The ventilation lever must be in the CLOSE position in order to maintain the best
cooling conditions. When fresh air is necessary in the room, set the ventilation
lever to the OPEN position.
The damper is opened and room air is drawn out.
NOTE: Before using the ventilation feature, and prior to installing the front grille,
pull down part until level with part .
Air Direction
The vertical air direction is adjusted by
rotating the horizontal louver forward or
backward manually.
The horizontal air direction is adjusted by rotating
the vertical louver right or left manually or by
Remote Controller.
The direction of air can be controlled wherever you want to cool by adjusting the horizontal
louver and the vertical louver.
• VERTICAL AIR-DIRECTION CONTROL
•
HORIZONTAL AIR-DIRECTION CONTROL
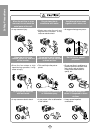
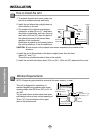
How to Secure the Drain Pipe
In humid weather, excess water may cause the BASE PAN to overflow. To drain the water, remove the
DRAIN CAP and secure the DRAIN PIPE to the rear hole of the BASE PAN. Press the drain pipe into the
hole by pushing down and away from the fins to avoid injury.(See Fig.1)
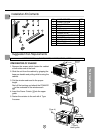
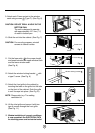
Optional(CW3H02502C)
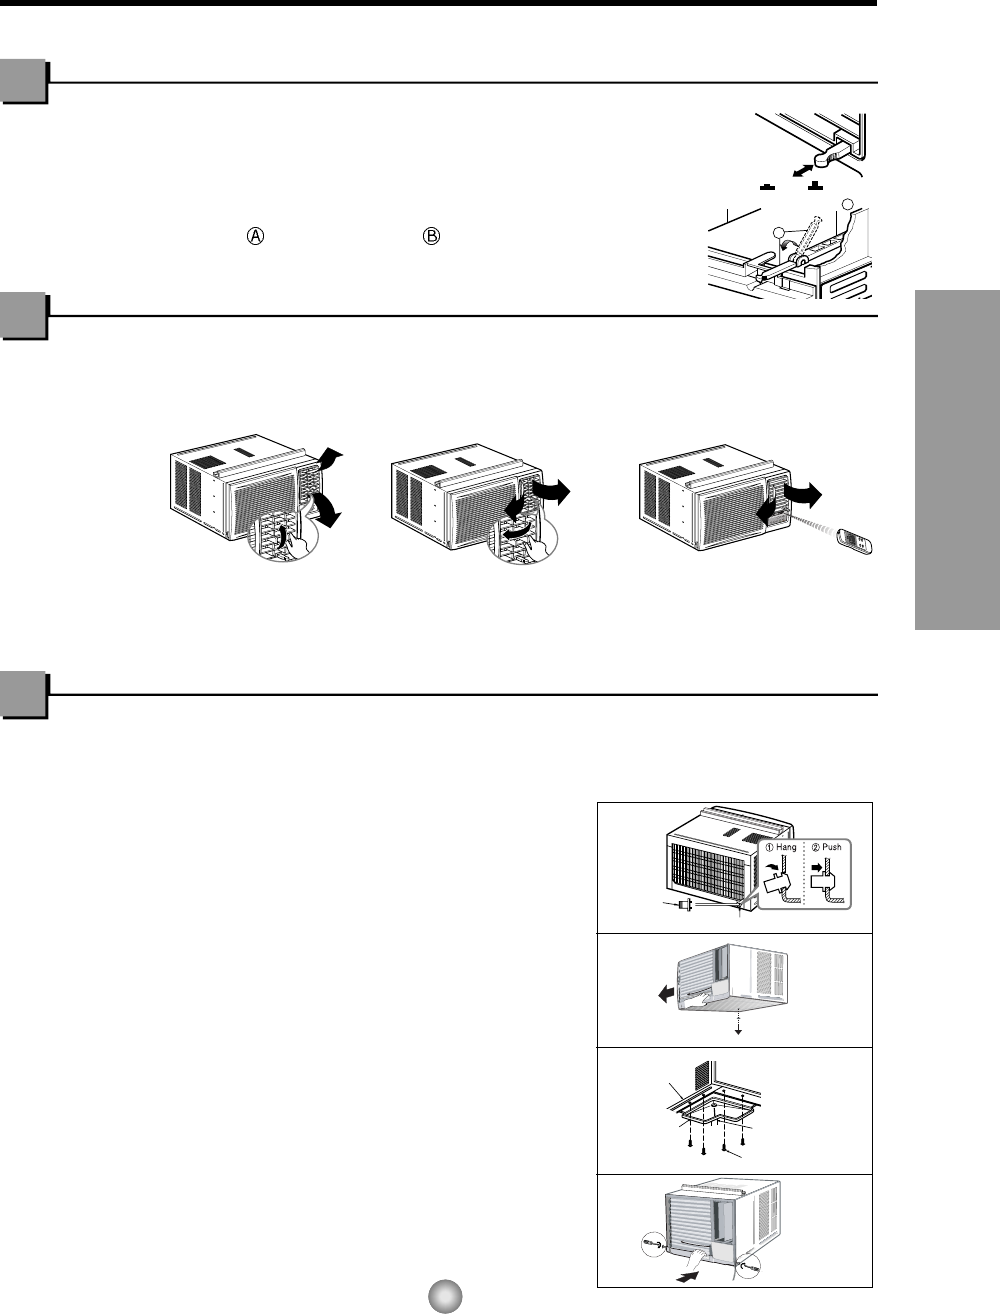
1. Remove the rubber plug and slide the chassis out
from the cabinet.(See Fig. 2)
2. Install the drain pan over the corner of the cabinet
where you removed the plug with 4 (or 2)
screws.(See Fig. 3)
3. Connect the drain hose to the outlet located at the
bottom of the drain pan. You can purchase the drain
hose or tubing locally to satisfy your particular
needs. (Drain hose is not supplied).(See Fig. 3)
4. Select the most appropriate connection from among
the figures to the right (by considering the hole of the
unit) to fit drain pan to your own unit.(See Fig. 3)
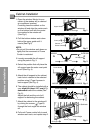
5. Slide the chassis back into the cabinet. Reinstall the
cabinet screws. Secure the cabinet to chassis by
using screws. (See Fig. 4)