


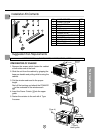

13
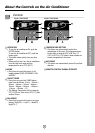
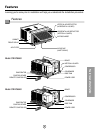
Features and Installation
Type C
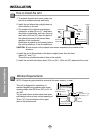
7
Screw
Screw
Power cord
Foam-Strip
8
Window locking bracket
9
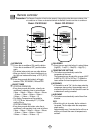
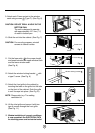
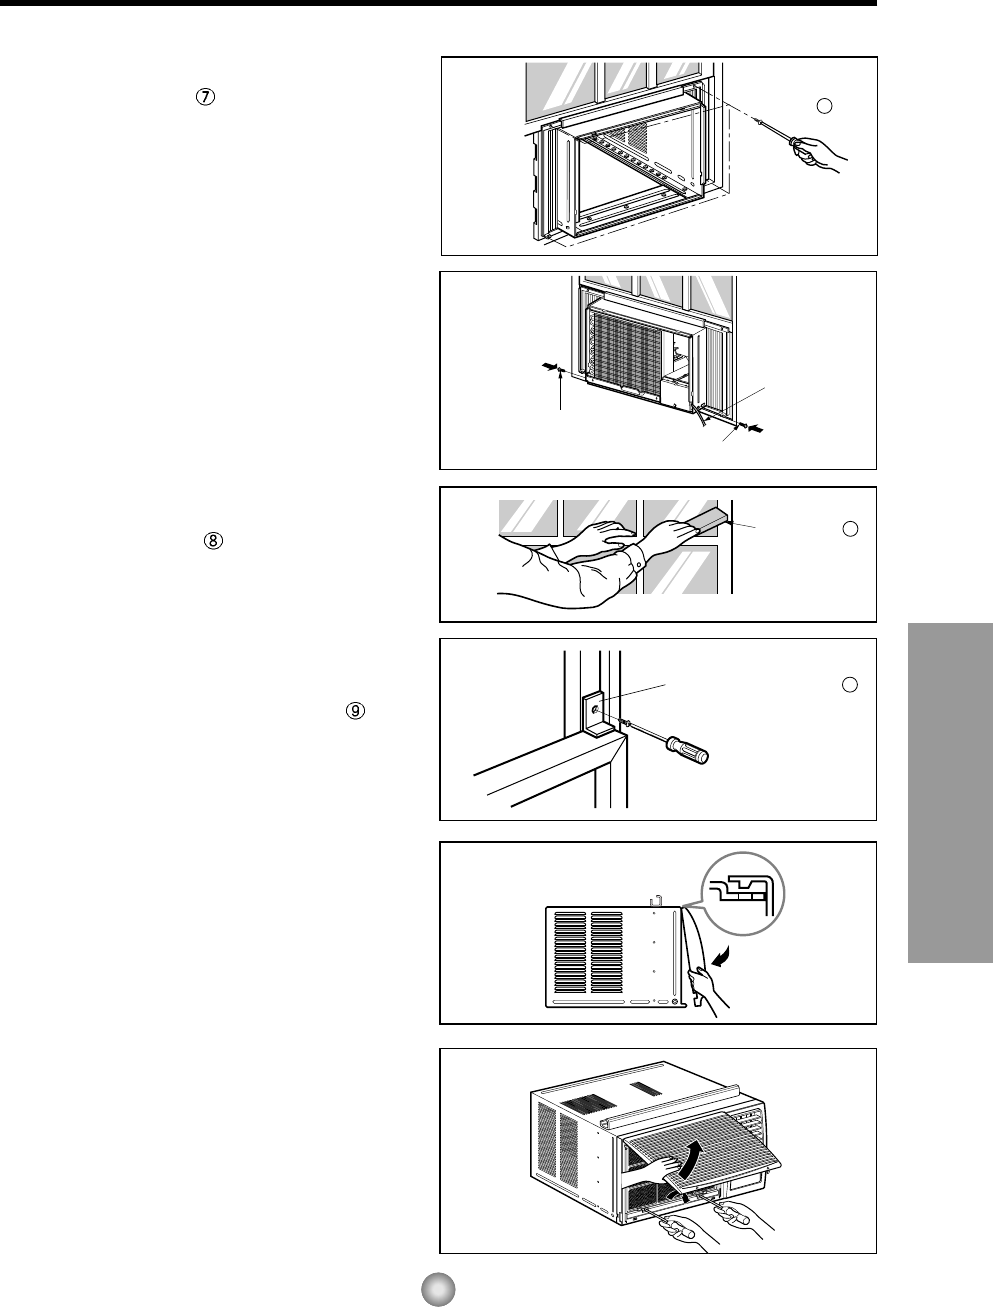
9. Attach each Frame curtain to the window
sash using screws
(Type C). (See Fig. 6)
CAUTION: DO NOT DRILL A HOLE IN THE
BOTTOM PAN.
The unit is designed to operate
with approximately 12.7 mm (
1
/
2")
of water in bottom pan.
10. Slide the unit into the cabinet. (See Fig. 7)
CAUTION: For security purposes, reinstall
screws at cabinet's sides.
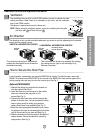
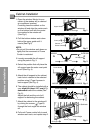
11. Cut the foam-strip
to the proper length
and insert between the upper window sash
and the lower window sash.
(See Fig. 8)
12. Attach the window locking bracket with
a type C screw. (See Fig. 9)
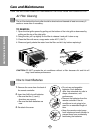
13. Attach the front grille to the cabinet by
inserting the tabs on the grille into the tabs
on the front of the cabinet. Push the grille
in until it snaps into place. (See Fig.10)
NOTE: Please refer to p.7 for setting
ventilation kit.
14. Lift the inlet grille and secure it with two
type A screws through the front grille.
(See Fig. 11)
15. Window installation of room air conditioner
is now completed. See ELECTRICAL DATA
for attaching power cord to electrical outlet.
Fig. 6
Fig. 7
Fig. 8
Fig. 9
Fig. 10
Fig. 11