


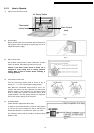
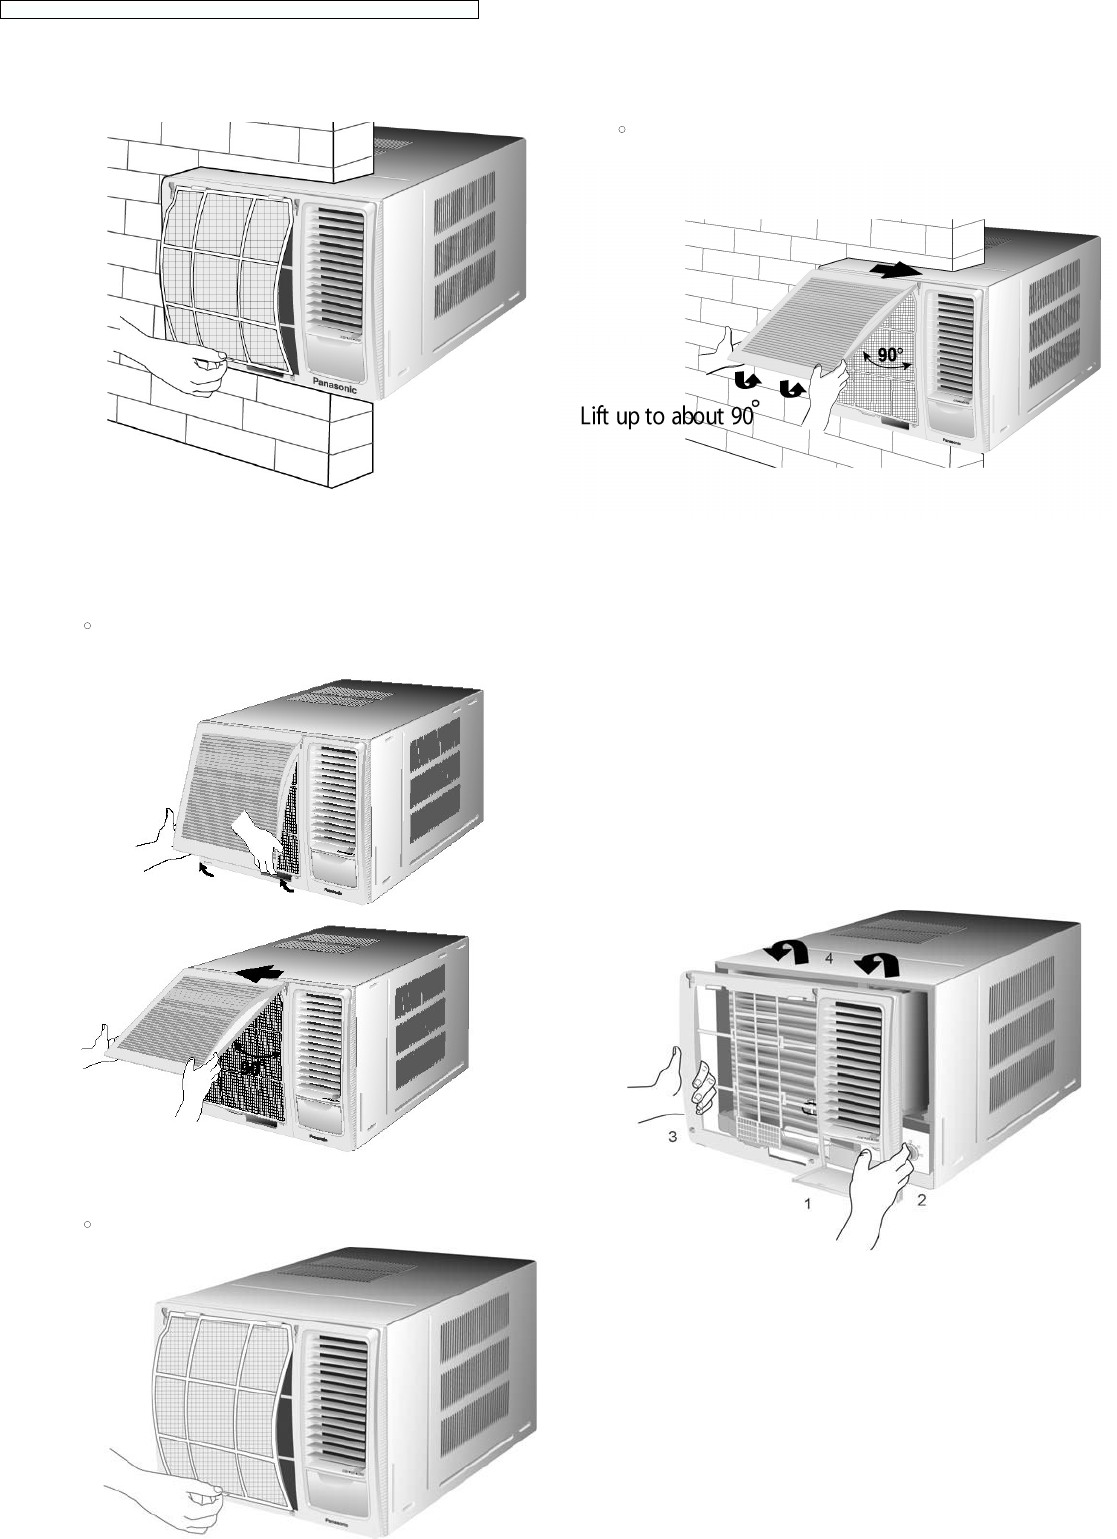
10.3.7. Insert the Air Filter.
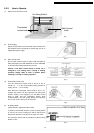
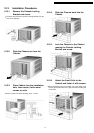
10.4.1. Remove the Front Intake Grille.
•
Raise the Front Intake Grille by approximately 90°. Slide it
to the left to unhinge then pull outwards.
10.4.2. Remove the Air Filter.
•
Lift the air filter by the holder and pull outwards.
10.3.8. Attach the Front Intake Grille.
•
Slide the Front Intake Grille slightly to the right to attach it,
then push down to secure it.
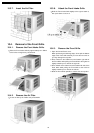
10.4.3. Remove the Front Grille.
1. Open the Control Panel cover.
When performing the following steps, do not pull the bottom
edge of the Front Grille towards you more than 3 inches or
you may damage the top tabs.
2. Press inward on the Cabinet near the bottom right side of
the Front Grille while pulling the Front Grille to the right then
slightly towards you to release the right tab.
3. Press inward on the Cabinet near the bottom left side of the
Front Grille while pulling the Front Grille to the left then
slightly towards you to release the left tab.
4. Slide the Front Grille upwards to release the two top tabs.
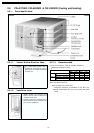
10.4. Removal of the Front Grille.
18
CW-C170KR / CW-C200KR / CW-C240KR / CW-A170KR / CW-A200KR / CW-A240KR