


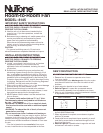
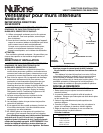
EXISTING CONSTRUCTION
LOCATING FAN
The fan must be installed next to a wall stud. Locate wall
stud and make a cutout to size of fan – 11
3
⁄
4
" high x 9
3
⁄
8
" wide.
One side of cutout should be right next to wall stud.
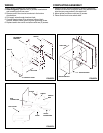
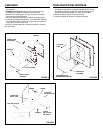
MOUNTING AND WIRING
1. Remove four (4) screws to separate outer sleeve from
inner sleeve.
2. Refer to Figure 1. Loosen two (2) screws and remove
fan and motor assembly from adjustable inner sleeve.
3. The outer sleeve is the discharge side of the fan: make
sure the on/off switch is in the room into which air will
be blown.
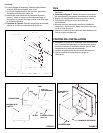
4. Refer to Figure 3. Using the procedure described under
“Wiring”, complete wiring connections between house
supply wires and outer sleeve.
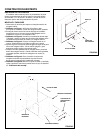
5. Refer to Figure 4. Place outer sleeve into cutout. Make
sure flange is flush with wall.
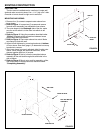
6. Adjust to wall thickness by removing knockouts in bottom
of inner sleeve. See chart (page 1) to determine how many
knockouts to remove.
7. After inner sleeve is properly adjusted, slide it inside outer
sleeve. When flanges are flush with both walls, screw
sleeves together with four (4) screws.
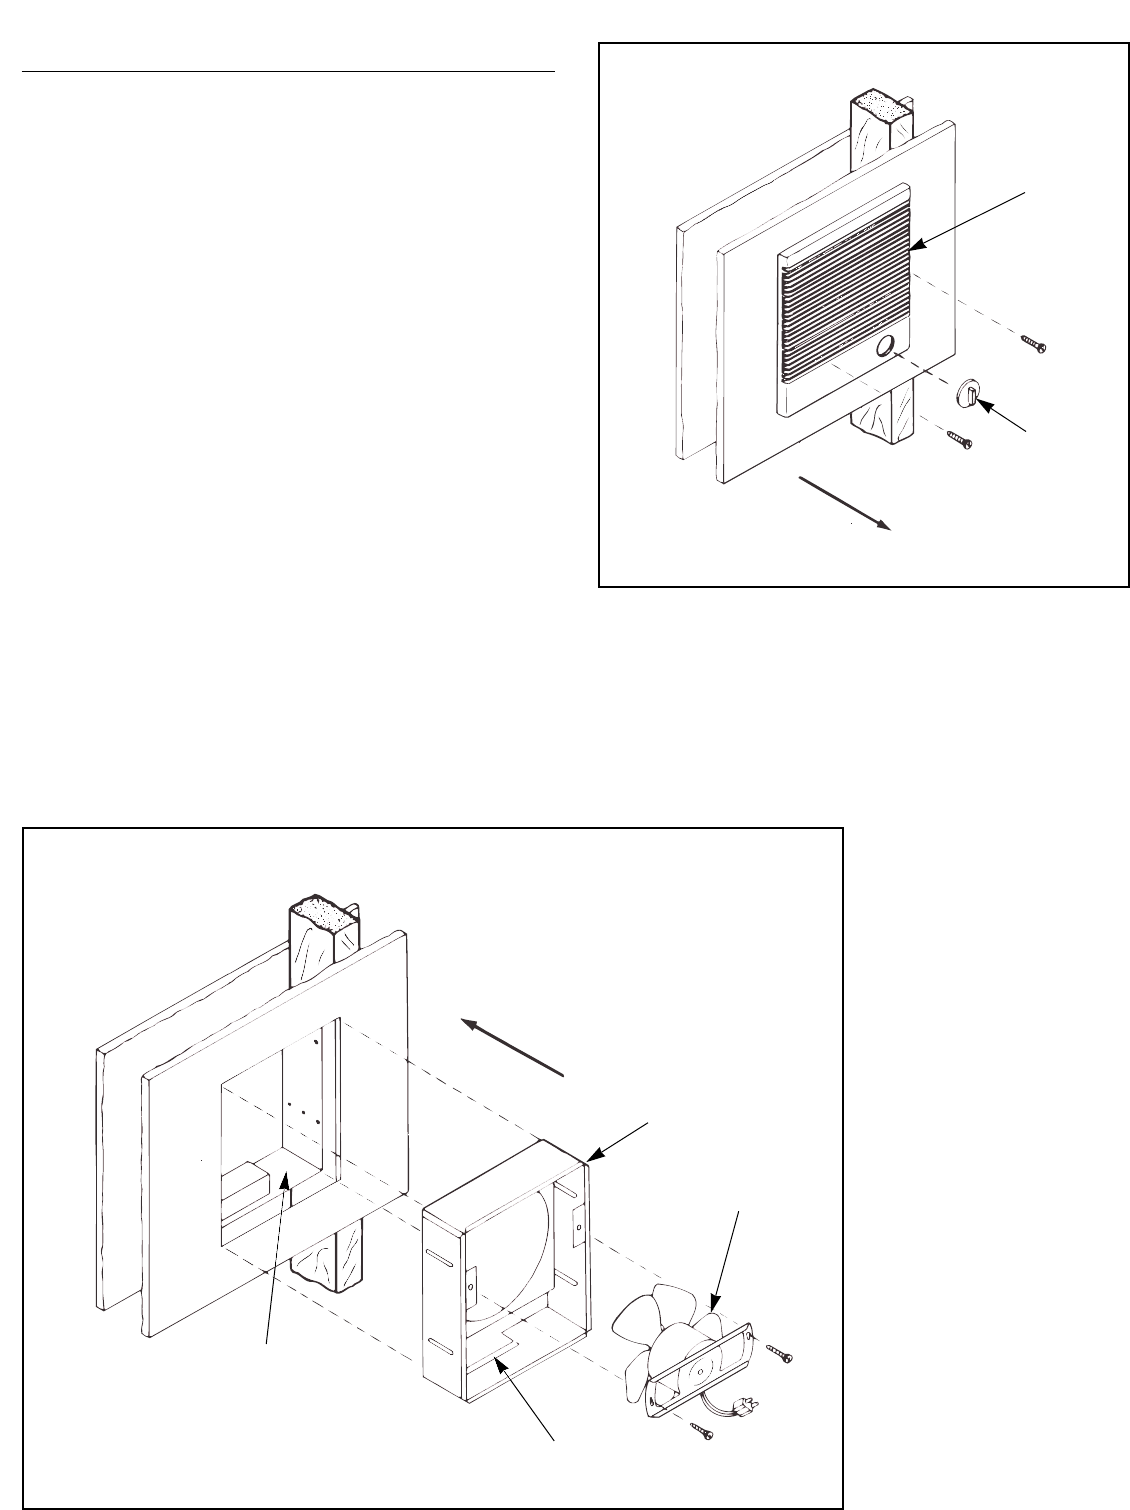
8. Refer to Figure 5. Nail or screw the completed sleeve
assembly to the wall stud through slots and holes in the
side of sleeve.
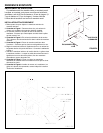
9. Refer to Figure 6. Mount motor and fan assembly, grilles,
and control knob in same manner as described under
“Completing Assembly”.
FIGURE 5
FIGURE 6
KNOCKOUTS
FAN AND MOTOR
ASSEMBLY
INNER SLEEVE
AIR FLOW
OUTER SLEEVE
CONTROL
KNOB
GRILLE
AIR FLOW