W415-0616 / B / 02.18.08
20
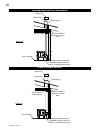
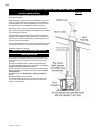
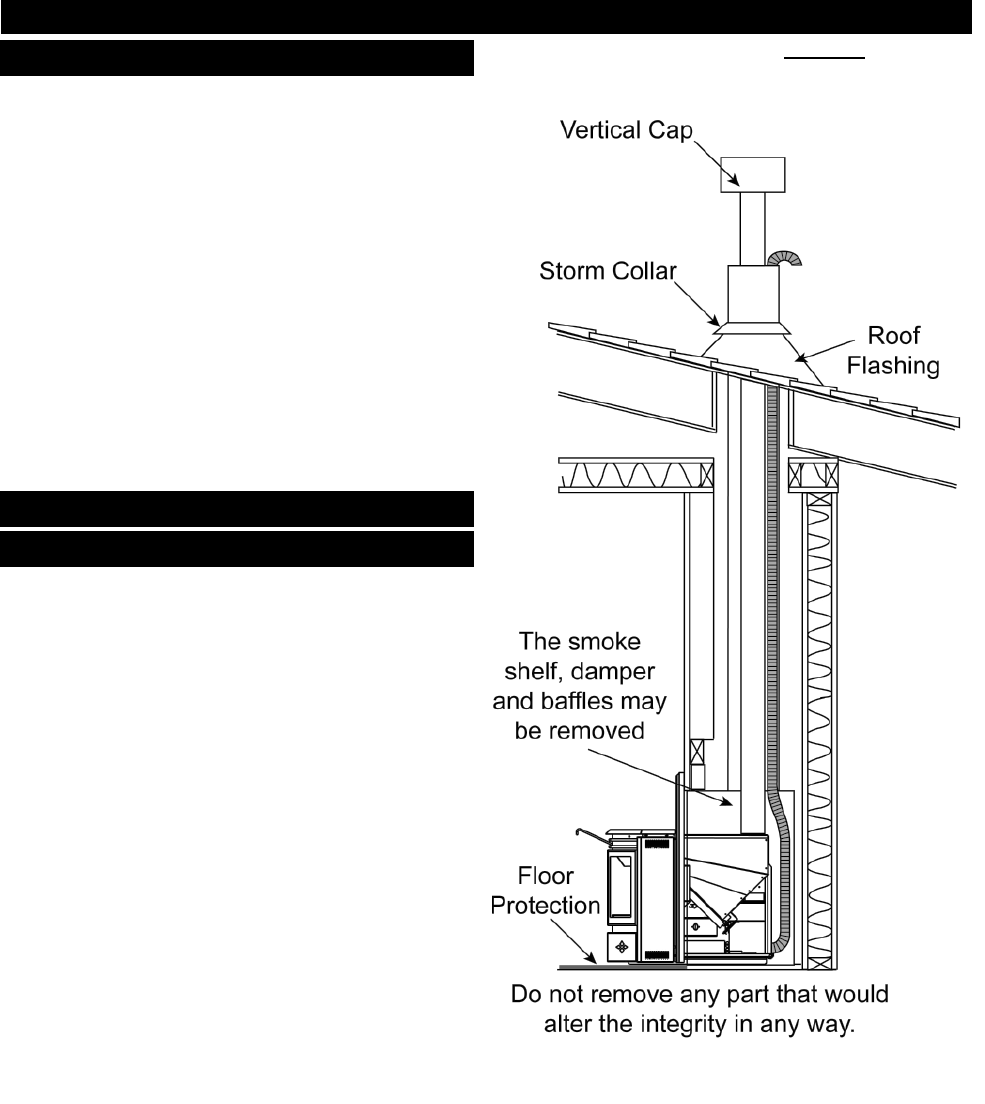
INSTALLATION INTO A FACTORY BUILT (METAL) FIREPLACE
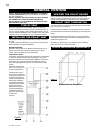
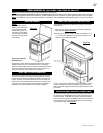
Figure 23
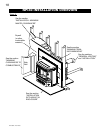
Stand-offs (See Dimensions on page 7) may be removed to fi t the
insert into the fi replace.
When installing the insert into a factory built fi replace, you must not
modify any part that would alter the integrity in any way. Bolted or
screwed together pieces (smoke shelf/defl ectors) may be removed,
but must be able to be re-installed if the insert was removed.
External trim pieces, which do not affect the operation of the fi re-
place, may be removed provided they are available to be re-installed
in event the insert is removed.
A warning label must be attached to the back wall of the fi replace
stating that "This fi replace has been altered to accommodate a fi re-
place insert and must be re-inspected by a qualifi ed person prior to
re-use as a factory built fi replace".
A non-combustible hearth must cover the fl ooring underneath, as well
as extend a minimum of six in front and to both sides of the heater.
Install fl oor protection if necessary.
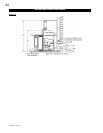
PRIOR TO INSTALLATION
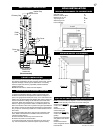
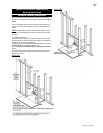
INSTALLATION INTO A MASONRY FIREPLACE
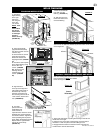
LINER INSTALLATION
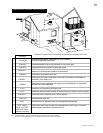
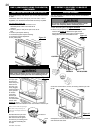
1. If you plan on connecting outside air it is recommended to do
so at this time. As illustrated connect the air vent to the back of the
insert, fl ex the vent up through the A vent chimney and bend the
vent 180°.
2. Remove the fi replace damper or fasten it permanently open.
3. Convert the exhaust tube to a vertical application. See "Rear to
Top Vent Conversion Instructions" section.
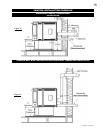
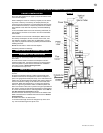
5. Run a liner down the chimney and connect to the exhaust tube.
Refer to manufacturer's installation instructions and the "General
Venting Section".
6. Install fl ashing. See "NPI Finishing - Flashing Installation"
section.
6. Position the insert in it's fi nal location.
7. Pull the excess length of liner out through the top of the chim-
ney. Trim the excess length and cap the vent. Cover the A vent
chimney to weatherproof.


