


24
W415-0299 / J / 04.14.08
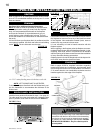
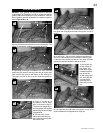
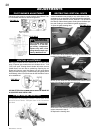
L36 LOUVRE INSTALLATION
FIGURE 52 a-c
HOOD
Attach the hood by pressing the
top fl ange into the clips along the
top of the louvre opening. Secure
using a screw through the centre
slot.
LOWER LOUVRES
Insert the hinge clips into the slots
located at the bottom left and right
corners of the unit.
To remove the louvres, pull the
back tabs of the clips forward,
while pushing the louvre assem-
bly back. Lift the clip.
UPPER LOUVRES
Insert the louvre tabs into the slots
located at the top left and right
corners of the unit.
SLOT
TAB
B
C
HINGE
CLIP
SLOT
A
B
C
A
CLIPS
CENTRE
SLOT
FLANGE
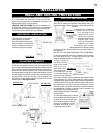
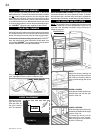
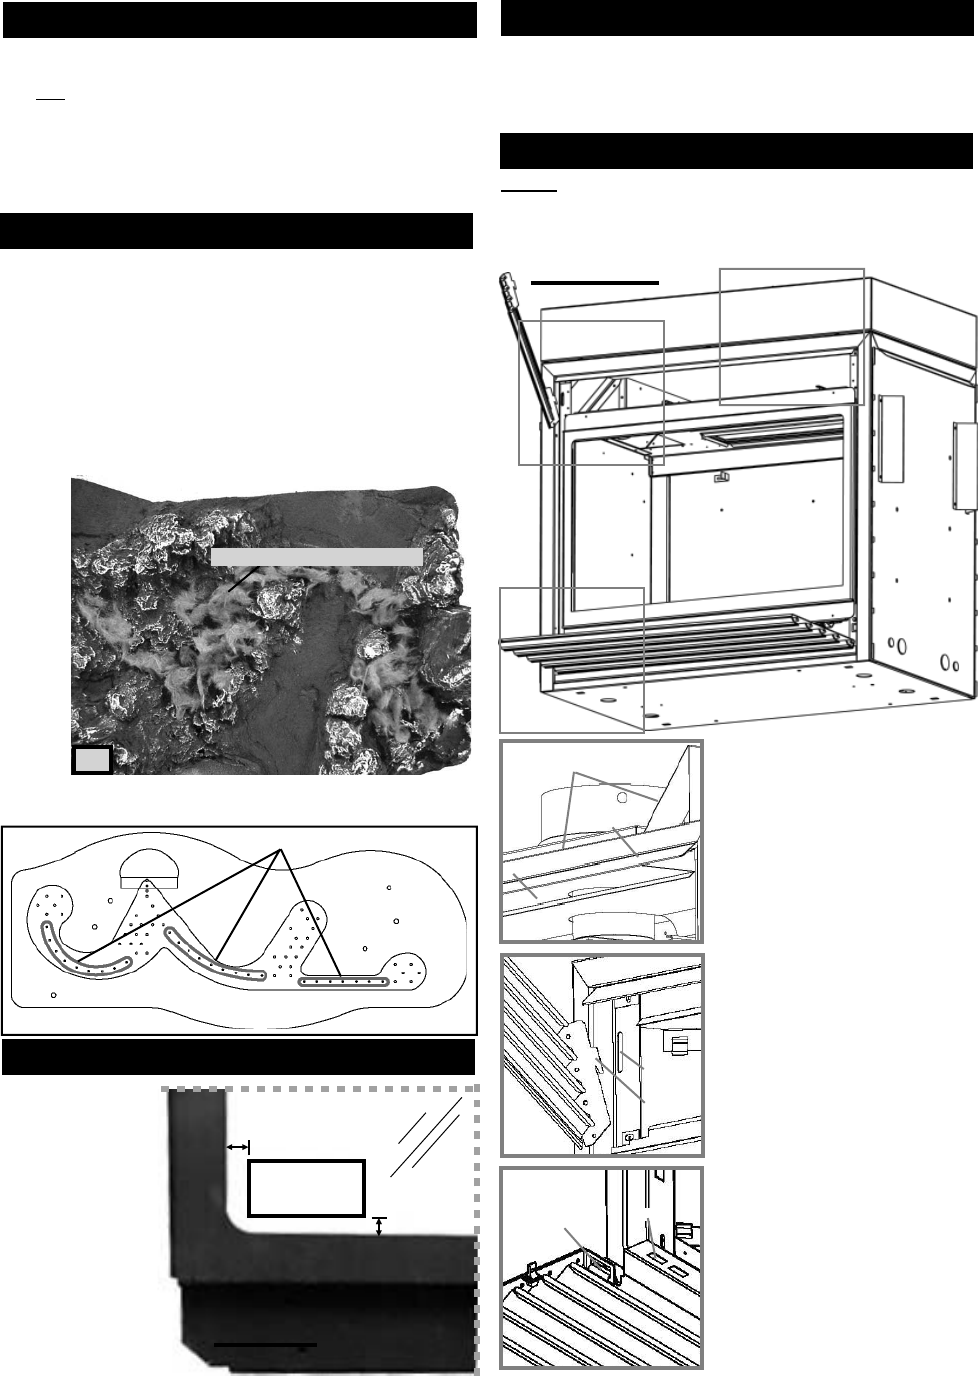
Tear the embers into small pieces and place on the ported
area of the burner. Care should be taken to shred the embers
into thin, small irregular pieces as only the exposed edges
of the fi bre hairs will glow. The ember material will only glow
when exposed to direct fl ame; however, care should be taken
to not block the burner ports. Blocked burner ports can cause
an incorrect fl ame pattern, carbon deposits and delayed igni-
tion. PHAZER
TM
logs glow when exposed to direct fl ame.
Randomly place the embers around the bottom brick panels
in a realistic manner but not in contact with the fl ames. Keep
ember dust away from burner ports to avoid plugging them.
Fine dust found in bottom of bag not to be used. PHAZER
TM
logs, and embers glow when exposed to direct fl ame. Use
only certifi ed PHAZER
TM
logs, glowing embers and charcoal
embers available from your Authorized dealer.
50
GLOWING EMBERS
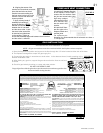
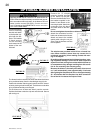
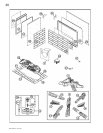
DOOR OPENING AND CLOSING: The upper louvres must be
removed to allow the door to be opened or closed. To access
the lower door latch, open the valve control door. Release the
top and bottom door latches, located at the right side of the door.
GLOWING EMBERS
CHARCOAL EMBERS
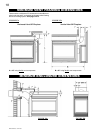
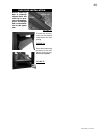
DOOR INSTALLATION
Remove the back-
ing of the logo sup-
plied and place on
the glass viewing
door, as indicated.
LOGO
½"
½"
LOGO PLACEMENT
FIGURE 51
Ensure that glowing embers suffi ciently cover the carry over
ports, highlighted below, to achieve maximum glow.
CARRY OVER PORTS
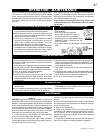
NOTE: The protective wrap on plated parts is best removed
when the assembly is at room temperature but this can be
improved if the assembly is warmed, using a hair dryer or
similar heat source.