S-500 SERIES SUBMERSIBLE PUMPS — OPERATION & PARTS MANUAL — REV. #0 (10/01/04) — PAGE 15
S-500 SERIES SUB. PUMP — OPERATION
Hose Connections
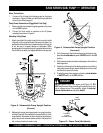
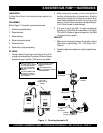
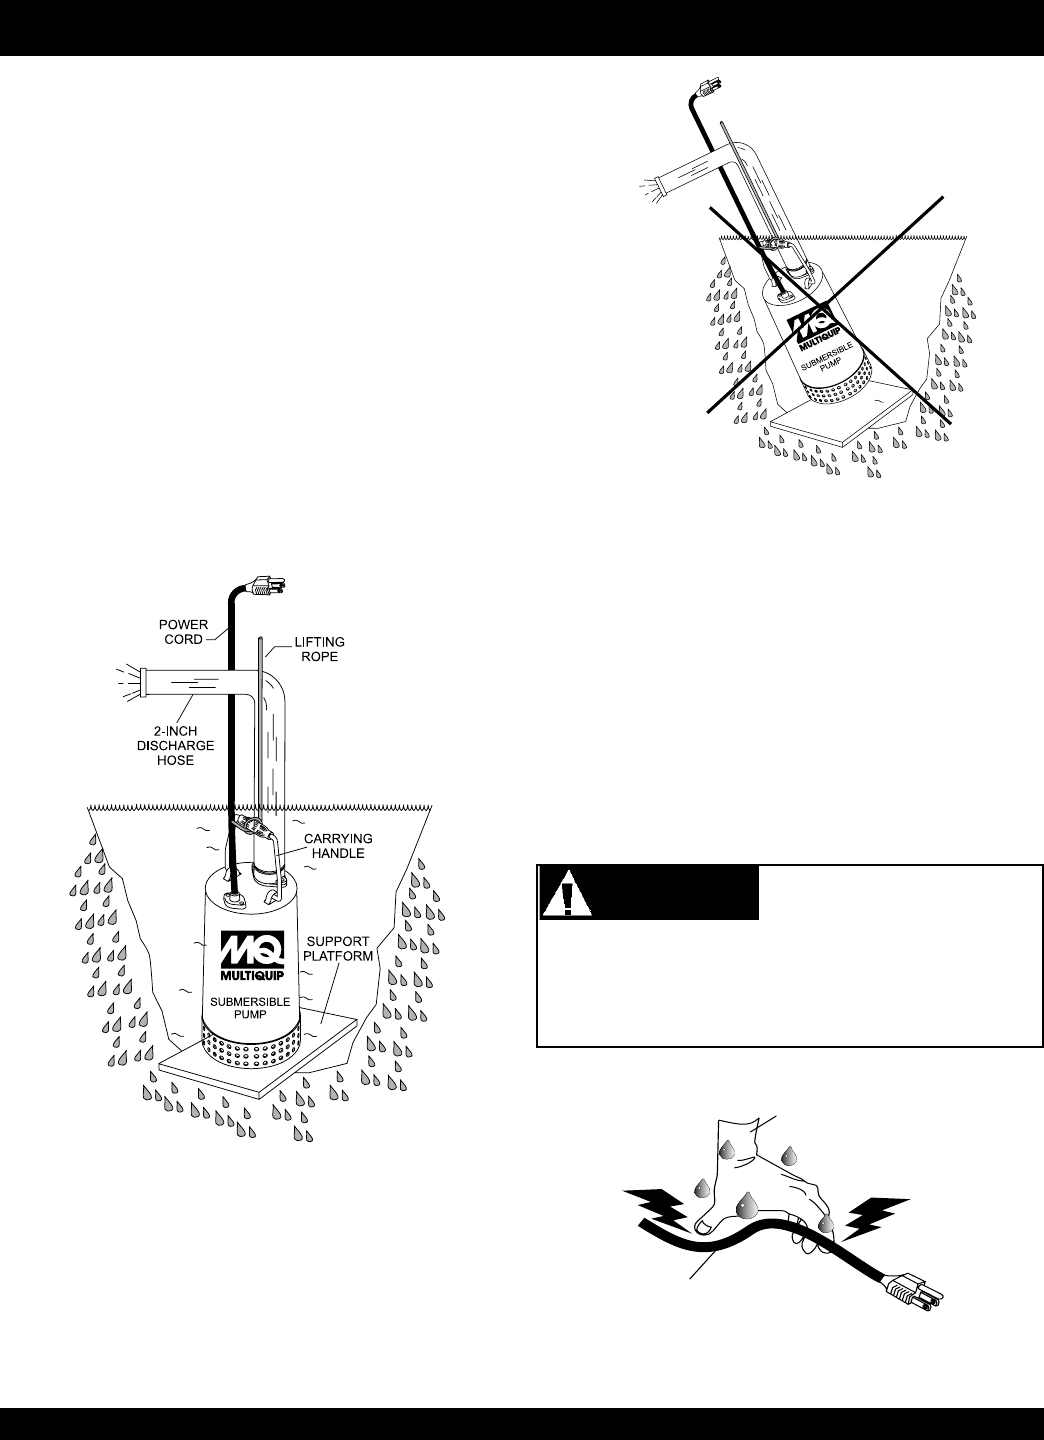
1. Connect a 2-inch hose to the discharge port on the pump
as shown in Figure 8. Make sure that the hose is attached
correctly to the discharge port.
Pump Power Connections (Piggy-Back Cord Only)
1. Make sure the circuit breaker supplying power to the pump
is in the OFF position.
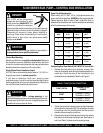
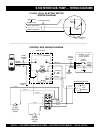
2. Connect the float switch or switches to the AC power
receptacle as shown in Figure 6.
Attaching Lifting Rope
1. Attach a suitable lifting cable (rope) to the carrying handle
(Figure 8) on the pump and lower the pump into place. For
applications where there is an excessive amount of mud, grit
or silt, the use of a support platform is desirable. When
pumping water from swimming pool type applications where
there is little or no debris, the support platform is not required.
Figure 8. Submersible Pump Upright Position
(Correct)
2. Make sure the pump is always placed in an upright position,
not tilted (Figure 9). Never position the pump directly on a soft,
loose bottom. Remember to attain maximum pumping ca-
pacity and prevent excessive wear, position the pump so it
will not burrow itself into sand or clay.
Figure 9. Submersible Pump Upright Position
(Incorrect)
3. If all of the pump's electrical requirements have been met,
place the
circuit
breaker
or power
ON/OFF
switch in the
ON
position.
4. Wait a few seconds and water should begin to flow from the
discharge hose.
5. If water is not flowing from the discharge hose or not flowing
freely after a few minutes, remove the power from the pump
and check the system for leaks.
6. To stop the pump from pumping, place the
circuit breaker
or
ON/OFF
switch in the OFF position.
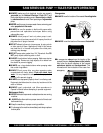
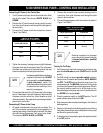
NEVER! grab or touch a live power cord (Figure 10). DO
NOT stand in water when connecting the pump's power cord
into a voltage source. The possibility exists of
electrical
shock
,
electrocution
and possibly
death!
POWER
CORD
(POWER ON)
WET
HANDS
Figure 10. Power Cord (Wet Hands)
DANGER


