BASIC ENGINE
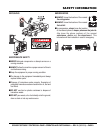
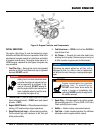
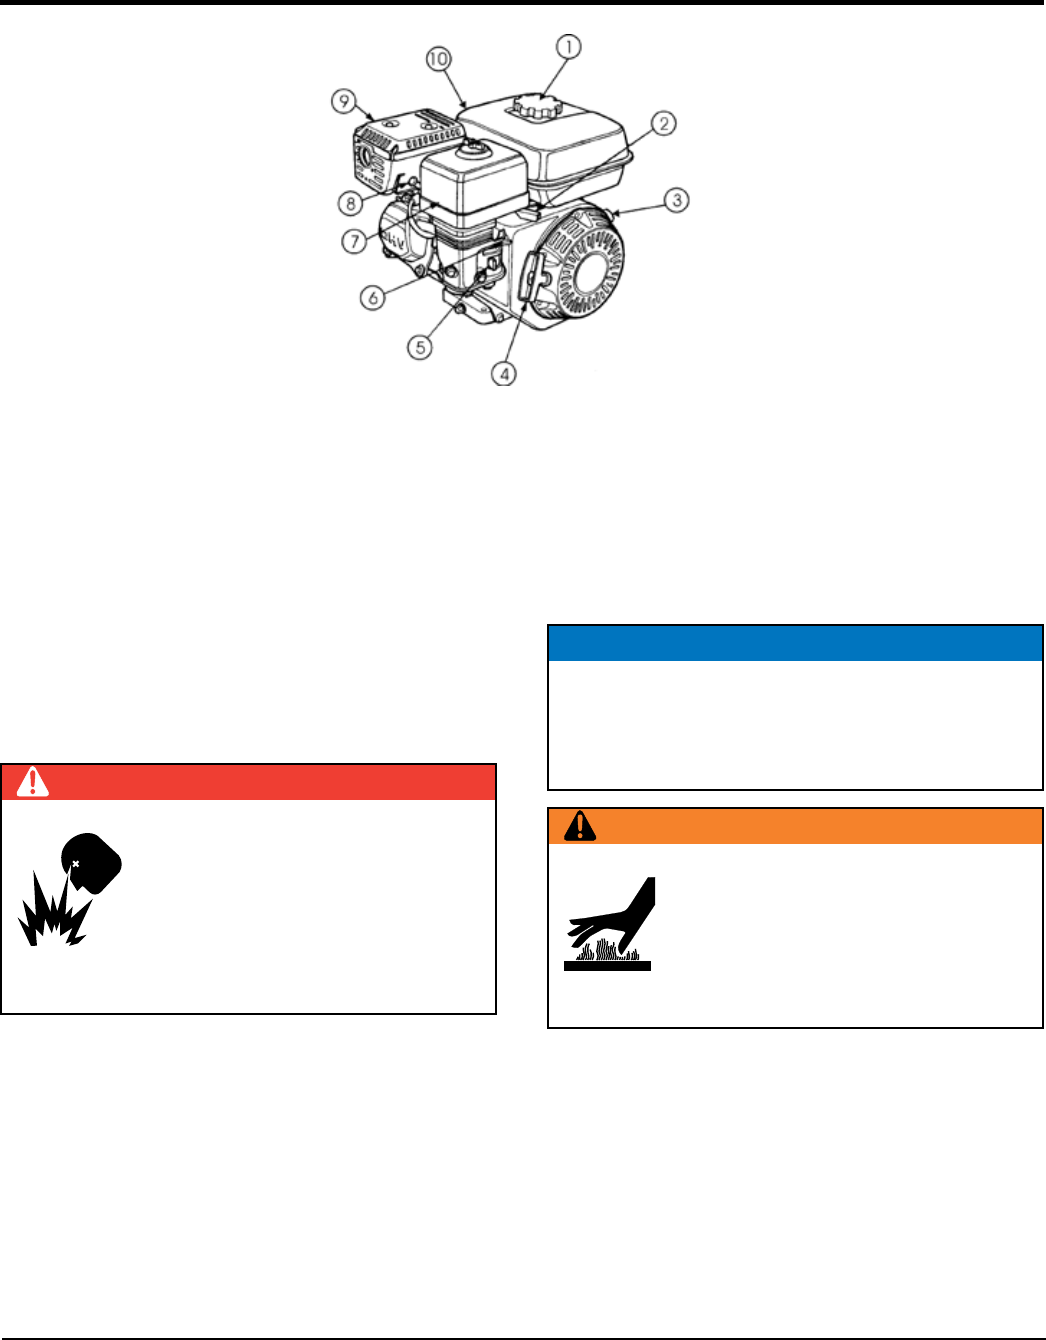
Figure 3. Engine Controls and Components
The engine (See Figure 3) must be checked for proper
lubrication and filled with fuel prior to operation. Refer to the
manufacturer's engine manual for instructions and details
of operation and servicing. The engine shown above is a
HONDA engine, operation for other types of engines may
vary somewhat.
1. Fuel Filler Cap — Remove this cap to add unleaded
gasoline to the fuel tank. Make sure cap is tightened
securely. over fill.
2. Throttle Lever — Used to adjust engine RPM speed
(lever advanced forward - SLOW, lever back toward
operator - FAST).
3. ON position permits engine
starting, OFF position stops engine operations.
4. Manual-starting method.
Pull the starter grip until resistance is felt, then pull
briskly and smoothly.
Adding fuel to the tank should be done
only when the engine is stopped and has
had an opportunity to cool down. In the
event of a fuel spill, attempt to
start the engine until the fuel residue has
been completely wiped up and the area
surrounding the engine is dry.
5. to let fuel flow. to
stop the flow of fuel.
6. Air Cleaner — Prevents dirt and other debris from
entering the fuel system. Remove wing-nut on top of
air filter cannister to gain access to filter element.
7. Spark Plug — Provides spark to the ignition system.
Set spark plug gap to 0.6 - 0.7 mm (0.028 - 0.031 inch).
Clean spark plug once a week.
8. Muffler — Used to reduce noise and emissions.
9. Fuel Tank — Holds unleaded gasoline. For additional
information refer to engine owner's manual.
NOTICE
Operating the engine without an air filter, with a
damaged air filter, or a filter in need of replacement
will allow dirt to enter the engine, causing rapid engine
wear.
WARNING
Engine components can generate
ext rem e hea t. To pr event bu rns,
touch these areas while the
engine is running or immediately after
operating. operate the engine with
the muffler removed.


