12
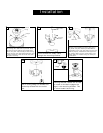
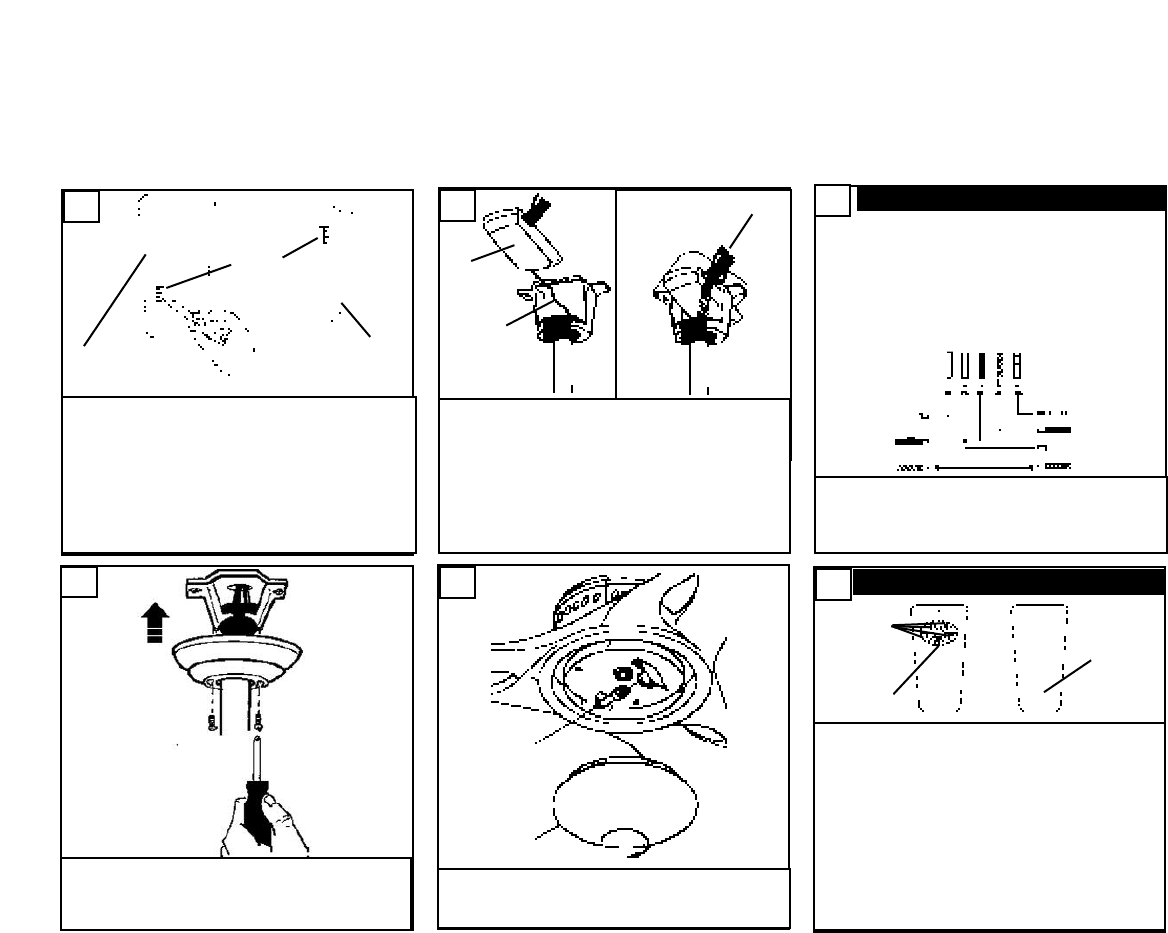
Raise the canopy up and align the two holes in
the canopy with the two holes in the hanger
bracket. Secure with two 5/32” x 1/2” screws
provided.
15
Install 75W MAX JD type Halogen lamp into
lampholder. Install glass by turning clockwise
until locked in position.
16
Install 9v battery by removing cover on back of
transmitter and connecting to terminals and re-
install cover.
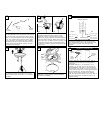
FAN SPEED Depress “1” for low speed, “2” for
medium or “3” for high. To turn fan off press “0”
LIGHT DIMMER To turn light on, press the button
with bulb icon once quickly. To turn off press once
quickly while the light is on. T
o dim light hold down
button and bulb icon. The light will cy
cle from
bright to dim to bright until button is released.
Light will maintain last setting if turned off. Note: If
power is interrupted to fan light will come on at
brightest setting.
17
M
ake connections as shown above. Make sure
a
ll exposed conductors are in the wire nuts.
After all connections are made push wire nuts
into junction box with wire nuts pointing
u
pward.
14
W
IRING DIAGRAM
Before installing the remote receiver. Make sure
t
he DIP switches in the transmitter and receiver
a
re set the same. Use instrument with a sharp
point to move the switches into the proper posi-
t
ions. The remote will not operate if this proce-
dure is not done. If interference from outside
transmitters or other remote devices is incoun-
t
ered, change the dip switch settings on both
transmitter and receiver.
REMOTE OPERATION
B
attery
c
ompart-
ment
Light
control
button
Fan
speed
controls
13
C
arefully insert remote receiver into the mount-
ing bracket. Make sure the antenna is not
p
inched by running it through the mounting
bracket first (Fig.A). Receiver should be located
as pictured above (Fig.B). Make wiring connec-
t
ions as per step 12. Make
sure that all wire nut
connections are tight with no exposed conduc-
tors. Point connectors upward and push into the
j
unction box
.
Fig.BFig.A
Wire nuts
R
emote
r
eceiver
A
ntenna
Remote
r
eceiver
Remote
transmitter
DIP
switches
Green (ground)
White (common)
B
lack (hot) Fan
B
lue (Hot) Light
Plain (ground)
Black (hot)
White (common)
HOUSE FAN
Blue
to
Light
R
ed to F
a
n M
otor
Black to House
White to Fan
White to House
REMOTE RECEIVER


