


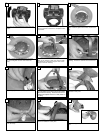
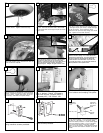
Find the glass retainer with visible screw. Loosen the
screw and tip the retainer to the side. Next lift glass
and place the glass edge into the remaining glass
retainers. Then lift the other side of the glass upward
and tip the loosened glass retainer downward to
engage the glass. Retighen the glass retainer screw.
Install the 2x50 watt halogen bulbs. Do not
touch bulb surface as oily residue from skin can
cause the bulb to explode.
I
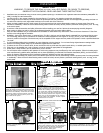
nstall all 5 fan blade assemblies to the motor
as shown above. Tighten screws securely.
L
oosen 3 of the 4 screws that will hold the light
kit pan. Remove the screw that is associated
t
o the closed hole on the light kit pan as shown
in the inset.
Lift light kit pan to the fan motor assembly.
A
lign the 3 screws with the key hole slot holes
i
n the light kit pan (see inset). Rotate the light
kit pan as shown. Then install the screw
r
emoved in the previous step though the closed
hole. Tighten all 4 screws securely.
3
1
32 33
34
35
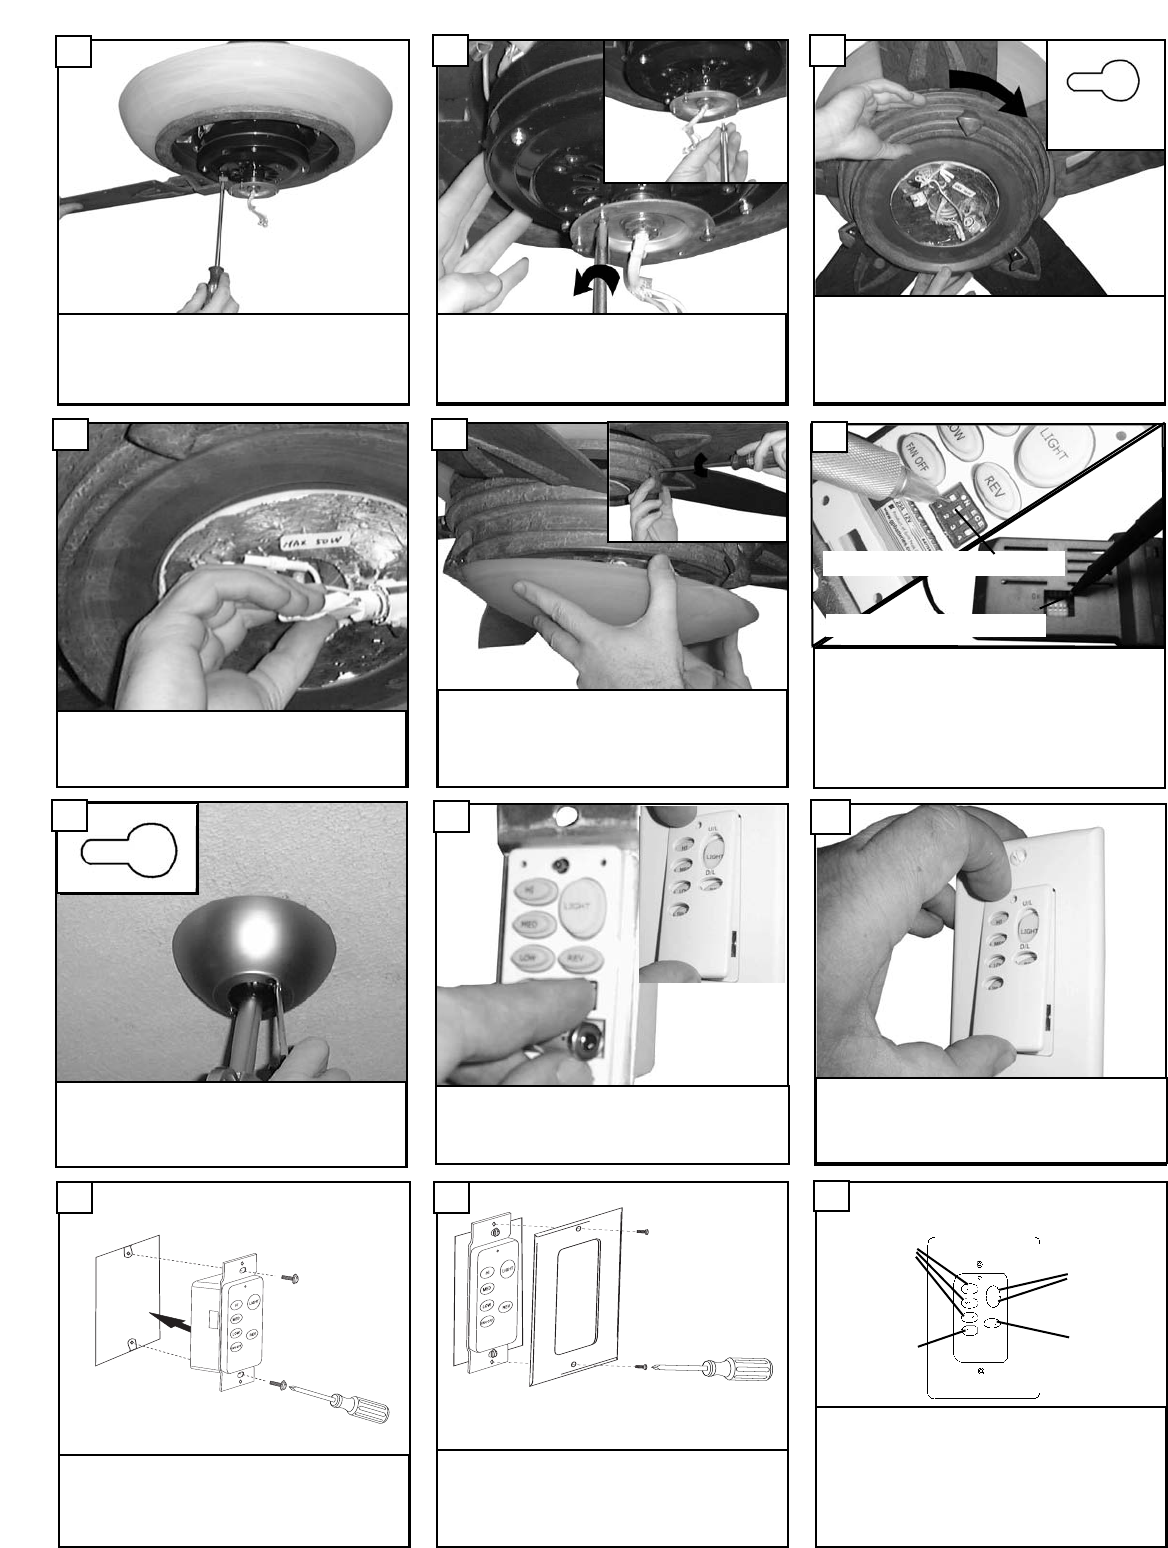
Install w
all control unit to outlet box
using machine screws pro
vided.
40
Lift Canopy to ceiling aligning the key hole slots
with the screws on the bottom of the Mounting
br
acket. R
otate the canop
y Counter Clockwise
to lock in place. Tighten the screws to secure
the Canopy. See inset for Keyhole shape
37
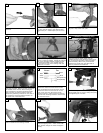
Attach front cover to wall control
with screws provided.
41
S
et dip switches on the Remote Transmitter and Remote
Receive
r to the same settings. This must be done so the
units will communcate properly. If you have other fans you
can set to control from one transmitter by setting both
receivers the same as the transmitter. If you have more
than one fan with remote. You can set the dip switches to
different positiosns to have seperate control.
Remote Transmitter Dip swtiches
Remote Receiver Dip switches
36
Remove cover by snaping off from
top or bottom. Install 12V battery
into wall remote. Duracell MN21 /
Eveready A23 / GP 23A all 12V.
38
Attach cover of remote by placing
over buttons and snaping into place.
39
To control fan speed select from High, Medium
or low speed buttons. T
o turn the fan off press
the Fan on / off button. To dim upper lights
press and hold U/L botton. T
o dim Lower lights
press and hold D/L button. To turn off either
up or down light press and quickly release
either U/L or D/L button. Press button mark
ed
REV to reverse the rotation direction of the fan
blades
Fan speed
control but-
tons
Fan on / off
Light dim-
mer for up
and down
lights
F
an
reverse
button
42