16 57D0016
VENT INSTALLATION
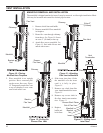
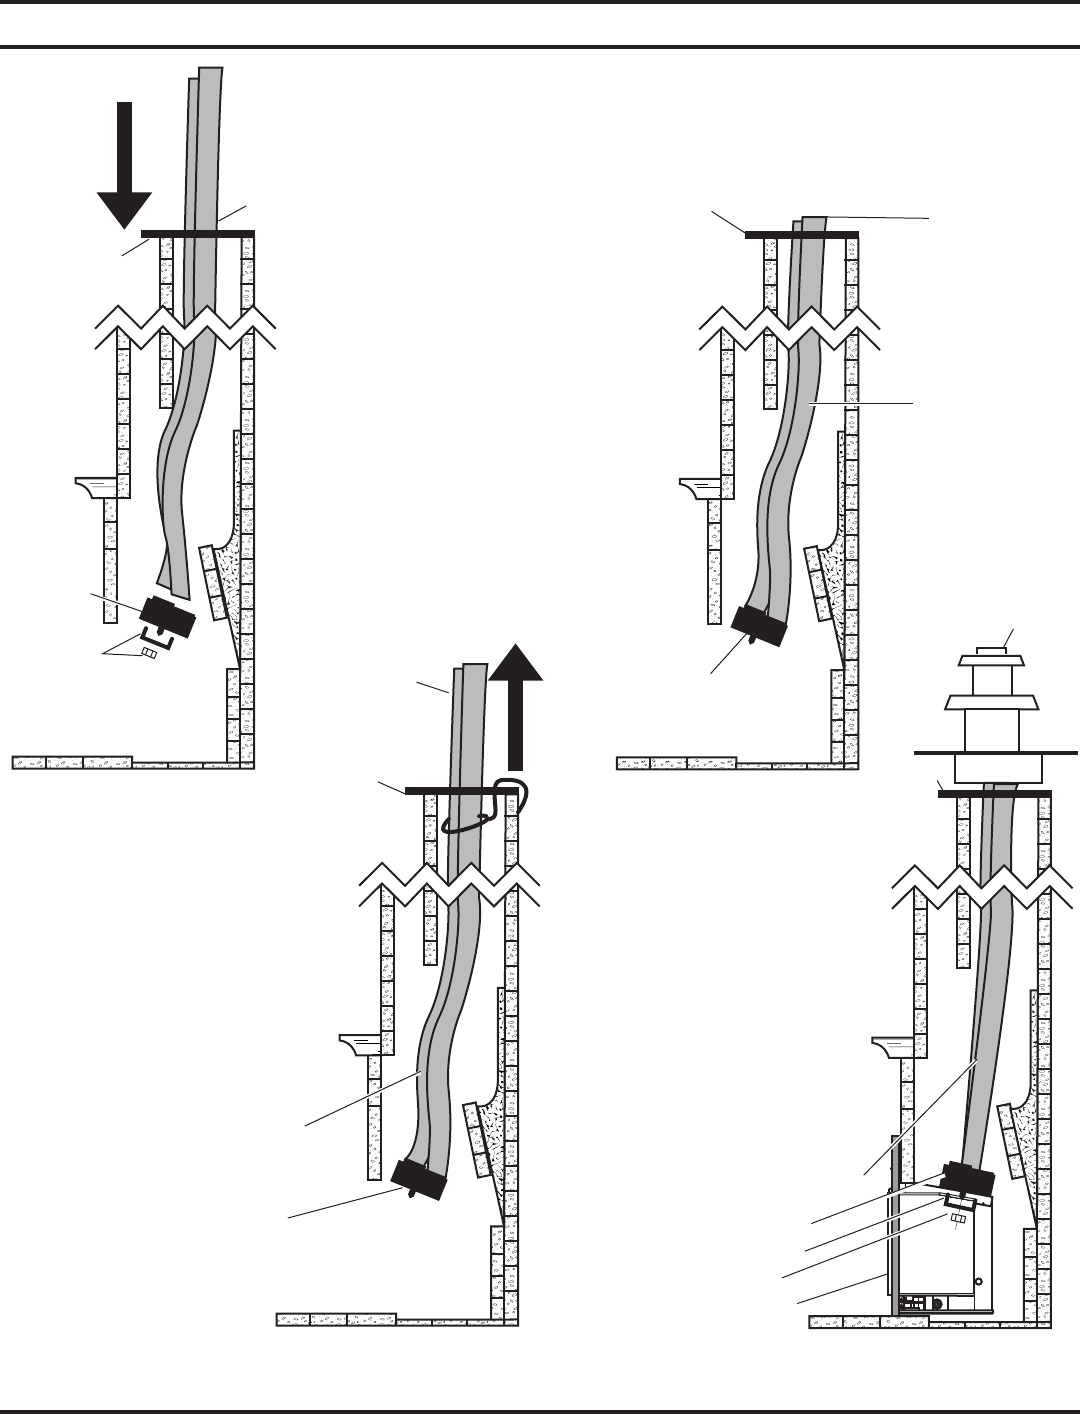
MANIFOLD REMOVAL AND INSTALLATION
The manifold is shipped attached to insert. It may be removed to allow tight installation. Mani-
fold may be loosened and rotated for desired pipe location.
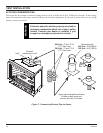
1. Remove brick liner and baffle.
2. Remove manifold. Place manifold
in fireplace.
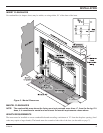
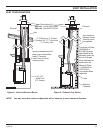
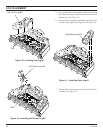
3. Route flex vent through chimney
from above. See Figure 10. Leave
an extra 3" (914mm) at the top.
4. Attach flex vent to manifold. See
Figure 11. Seal with silicone and
attach with screws.
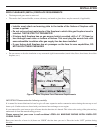
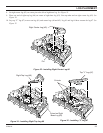
5. Place manifold in an upright
position. Have someone pull
on the excess flex vent.
Figure
12. Temporarily attach flex vent
to top of chimney. Leave some
extra slack in flex vent.
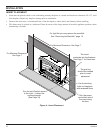
6. Slide insert into place. Guide
the manifold over the insert
until it is fully in place.
Figure 13.
7. Remove any slack from flex
vent. Attach manifold to insert.
Figure 13.
8. Remove any excess slack in
flex line. Attach vent termina
-
tion. Figure 13.
Figure 12 - Pulling On
Excess Flex Vent
Figure 13 - Sliding Insert
Into Place
Manifold
Chimney
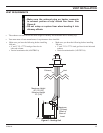
Figure 10 - Placing
Manifold Into Fireplace
Figure 11 - Attaching
Flex Vent to Manifold
Flex Vent
Extra 3"
(914mm)
Manifold
Flex Vent
Chimney
Manifold
Chimney
Excess
Flex Vent
Slack in
Flex Vent
Manifold
Bracket
Nut
Insert
Excess Slack Taken
Out of Flex Vent
Vent
Termination
Chimney
9. Replace
baffle and
brick liner.
Bracket
Nut


