


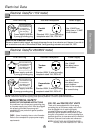

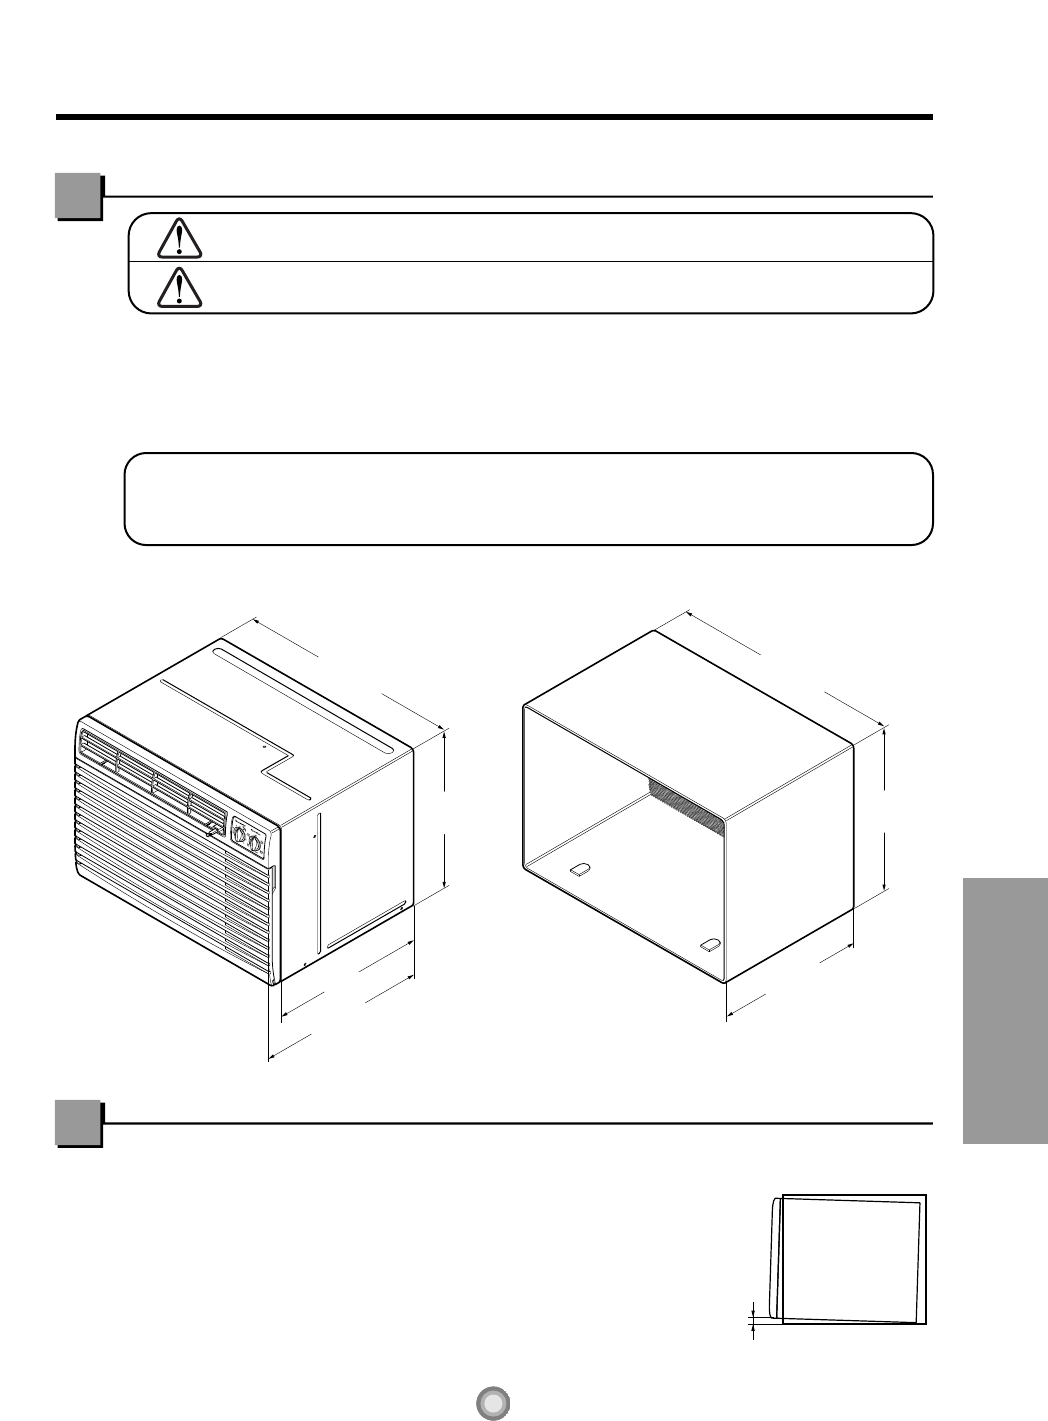
11
Features and Installation
14-
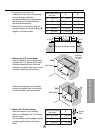
13
/32"
(366 mm)
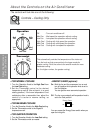
1/4 Bubble
of the level
24-
21
/32"
(626 mm)
18"(458 mm)
19-
21
/32"
(499 mm)
15-
17
/32"
(394 mm)
26"
(662 mm)
16-
23
/32"
(425 mm)
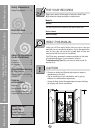
How to Install the Unit
For existing sleeve, you should measure the wall sleeve dimensions.
You can install the new air conditioner according to these installation instructions to achieve the best
performence. All wall sleeves used to mount the new air conditioner must be in good structural
condition and have the rear grille that securely attaches to the sleeve or the flange of the sleeve to
secure the new air conditioner.
With the LG sleeve, you can maintain the best performance of the new air conditioner.
If you keep the existing sleeve, you run the risk of poor performance or product failure.
This is not covered under the LG warranty.
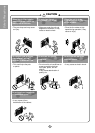
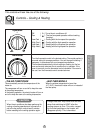
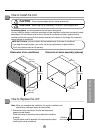
How to Replace the Unit
Note : When you completed the installation, the new air conditioner unit
should have a rearward slope, as shown below.
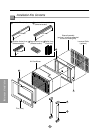
1. Remove the old air conditioner from the wall sleeve and
prepare the wall sleeve.
Clean the interior of the sleeve (do not disturb the insulation
or seals).
The wall sleeve must be fastened in the wall securely before
installing the new air conditioner.
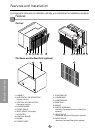
Dimension of air conditioner
Dimension of sleeve assembly (optional)
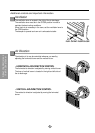
CAUTION : There are sharp edges that can cause serious cuts.
CAUTION : When lifting the air conditioner, it is HEAVY. Use 2 peoples to lift.