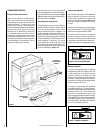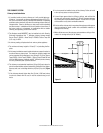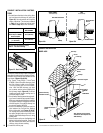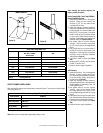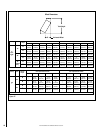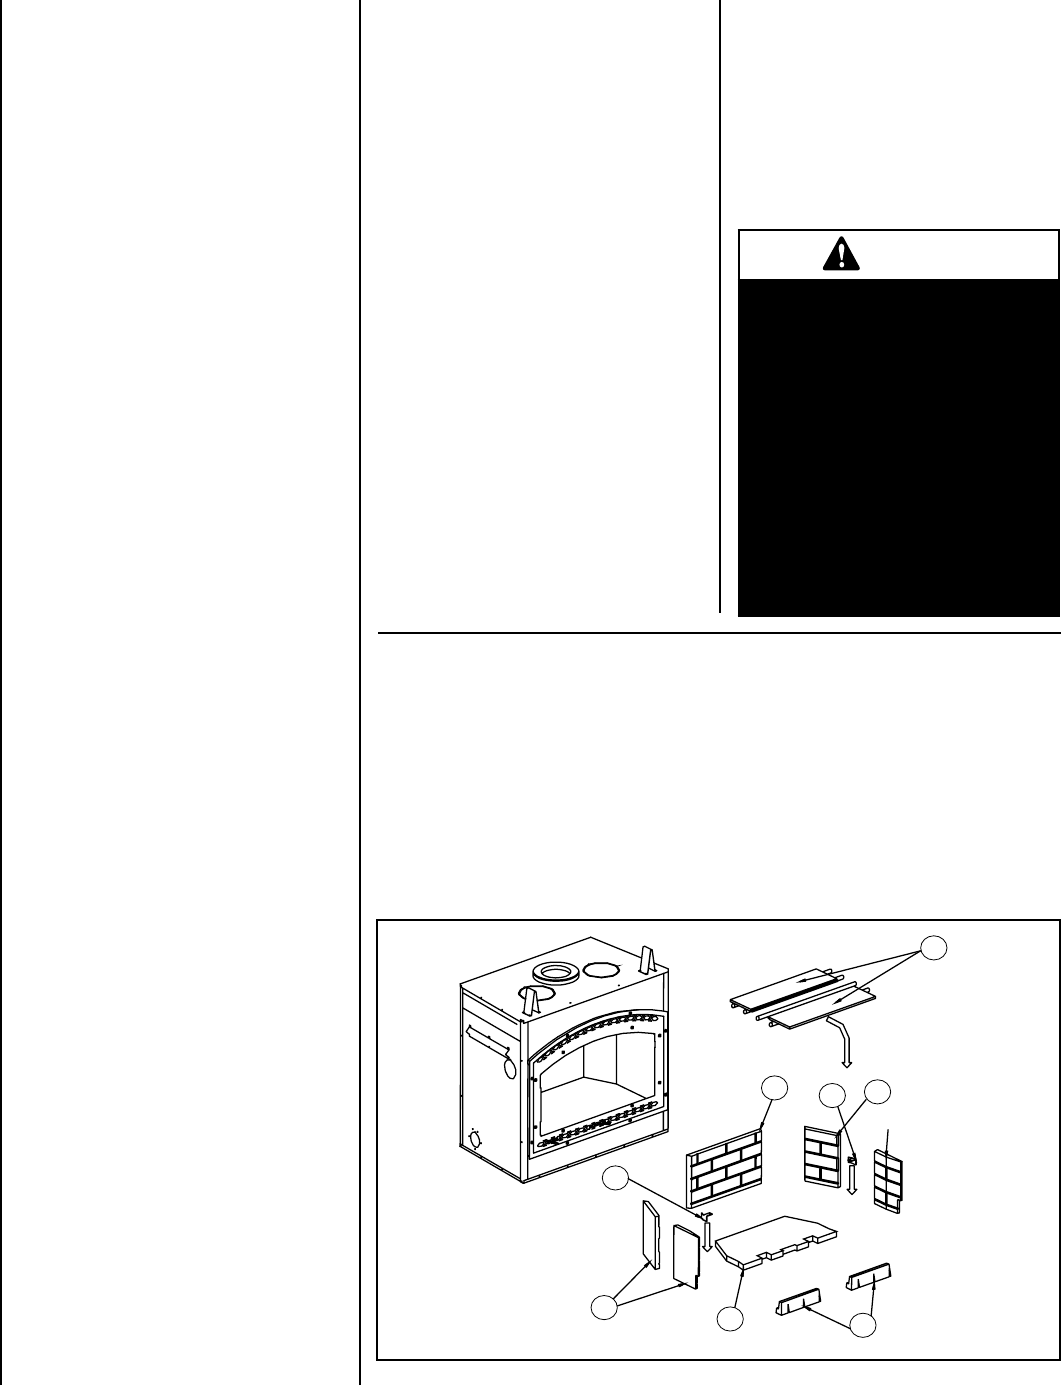
Figure 5
IMPORTANT CAUTIONS
A. Do not block the hot air vents to the fire-
place as this will cause the fireplace to
overheat.
B. Never use gasoline, kerosene, charcoal
lighter fluid or similar liquids to start or
rekindle a fire in this fireplace. Keep all
such liquids well away from the fireplace
at all times.
C. Do not burn coal. The sulphur in coal will
corrode the firebox.
D. Do not burn driftwood which has been in the
ocean or salt water. The salt will corrode
the firebox and chimney.
E. Do not burn wood in the area in front of the
grate.
F. Do not abuse the unit by burning paper, or
cardboard or construction material such as
pressed wood, plywood or lumber. Wood
protectors, metallic paper, coal, plastic,
waste, sulphur and/or oil will damage the
fireplace.
G. Do not allow the wood to smoulder or burn
without flame, since this will produce
excessive creosote in the unit.
MAINTAINING YOUR MONTECITO
ESTATE
Creosote
When wood is burned slowly without a flame,
it produces tar and other organic vapors which
combine with expelled moisture to form a black
deposit called creosote which accumulates on
the flue lining. When ignited, this creosote
makes an extremely hot fire. If the creosote
accumulation is large, a creosote fire in the
chimney can damage the chimney and over-
heat the surrounding wood framing. Creosote
formation in a chimney can be minimized
by making sure there is always visible flame
burning, avoid smoldering fires and by proper
refueling techniques.
Chimney Maintenance
Regular chimney inspection and maintenance
combined with proper operation will prevent
chimney fires. Keep your chimney clean. Do not
allow more than 1/16” (1.6 mm) creosote build
up in your chimney. The amount of creosote will
depend on variables such as frequency of use
and type of fire. We recommend that you:
A. Initially inspect the chimney system weekly.
From this, you will learn how often it will be
necessary to clean your chimney.
B. Have your chimney cleaned by a qualified
chimney sweep. If you wish to clean it
yourself, we recommend using a stiff plastic
or non-metallic brush. If a metal brush is
used, its size should be slightly smaller than
the flue to avoid damaging the chimney. Do
not use a brush that will scratch the stainless
steel interior of the chimney.
WARNING
When cleaning the fireplace,
the ashes should be placed in
a metal container with a tight
fitting lid. The closed container
of ashes should be placed on a
non-combustible floor or on the
ground outside the house, pend-
ing final disposal. If the ashes
are disposed of by burial in soil
or otherwise locally dispersed,
they should be retained in the
closed container until all cinders
have thoroughly cooled.
C. Do not expect chemical cleaners to keep
your chimney clean. The rain cap can be
removed for inspection and/or cleaning of
the chimney.
Dealing With a Chimney Fire
Regular chimney maintenance and inspection
can prevent chimney fires. If you have a chimney
fire, follow these steps:
1.
IMPORTANT: Close the fireplace door and
the combustion air controls; this will stifle
the fire.
2. Alert your family of the possible danger.
3. If you require assistance, alert your fire
department.
4. If possible, use a dry chemical fire extin
-
guisher, baking soda or sand to control the
fire. Do not use water as it may cause a
dangerous steam explosion.
5. Ensure that sparks and hot embers com
-
ing out of the chimney are not igniting the
roof.
6. Do not use the fireplace again until your
chimney and fireplace have been inspected
by a qualified chimney sweep or a fire depart-
ment inspector.
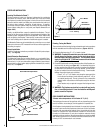
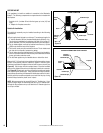
1
2
3
4
5
6
7
6
DOOR FRAME FINISH CARE
Use a glass cleaner and a soft cloth to polish
the casing. Do not use abrasives such as steel
wool, steel pads or an abrasive polish for they
may scratch the frame’s finish.
DISPOSING OF ASHES
Remove ashes only when the fire is out and
the ashes are cold (24 to 48 hours after the
fire is out).
1. Remove the side refractory brackets (6)
2. Remove the front refractory bricks (3)
3. Remove the bottom refractory brick (4)
4. Remove the left side refractory bricks (5)
5. Remove the right side refractory bricks (2)
6. Remove the back refractory brick (1)
7. Remove the deflectors (7) above the tubes
(Can be removed without removing other bricks
for chimney cleaning)
To install the new refractory bricks, follow the
above steps in reverse.
REFRACTORY REPLACEMENT
The intense heat of the fire will normally cause
hairline cracks in the refractory brick. These
cracks can be minimized by proper curing as
described in section First Fires. They will not
normally diminish the effectiveness of the
refractory brick. If large cracks develop, then
the refractory should be replaced. To replace
the refractory bricks, follow these steps:
6


